
Table of Contents
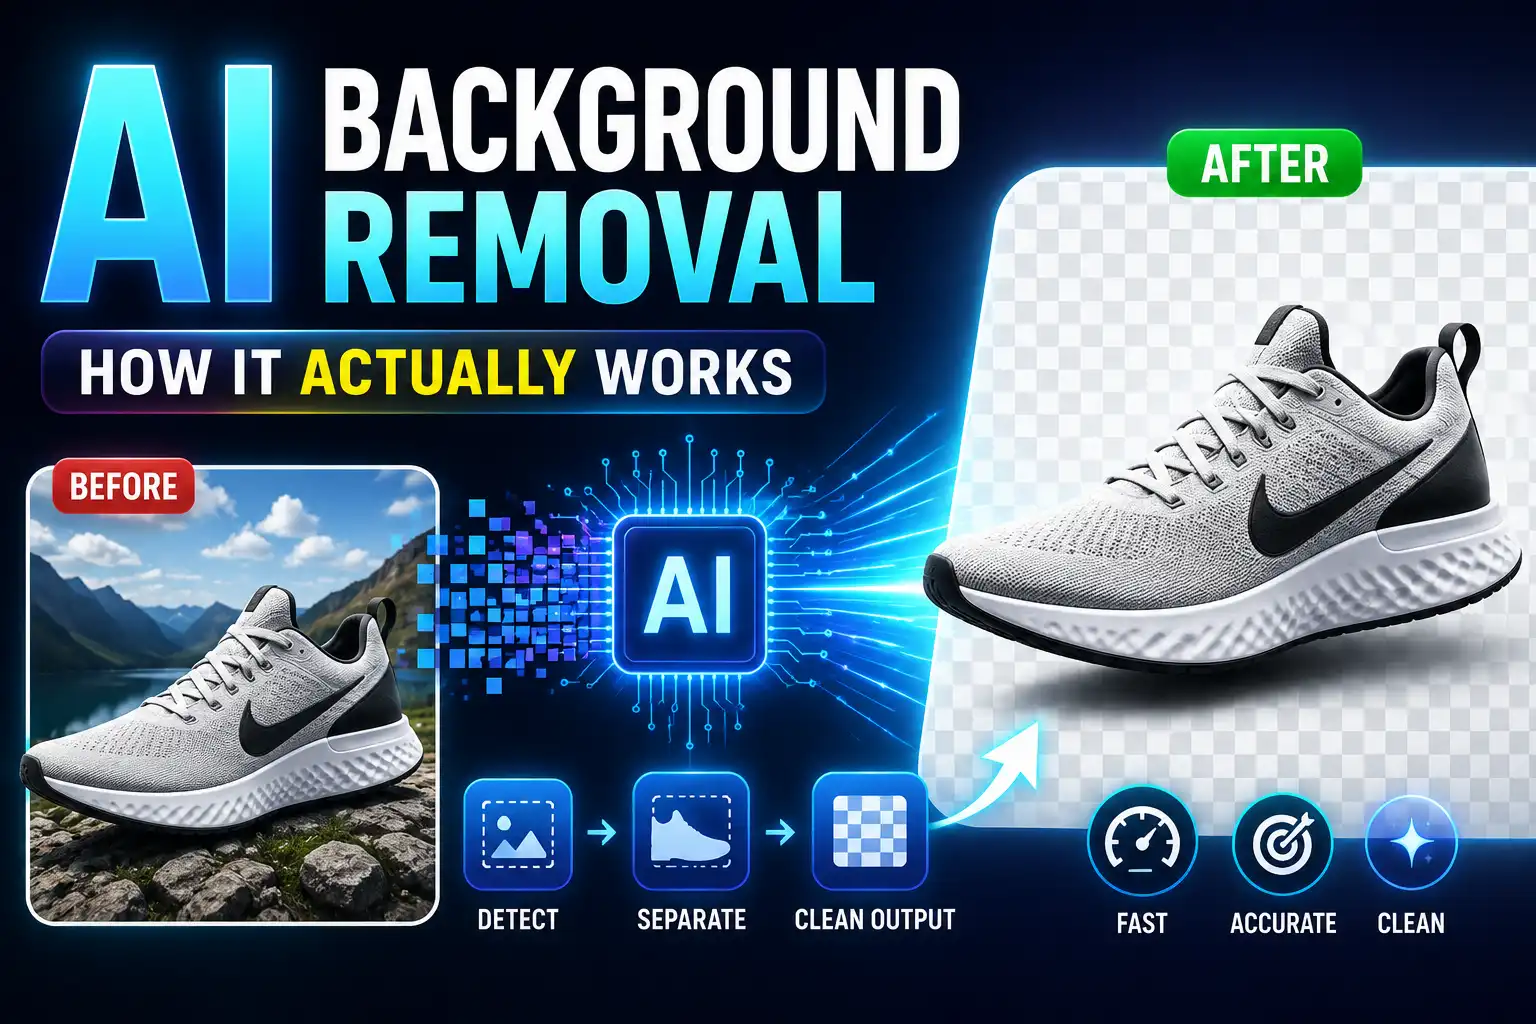
AI background removal is a process where a trained neural network analyzes an image and separates the foreground subject from everything behind it. Instead of you manually tracing edges or selecting colors, the model predicts which pixels belong to the subject and which belong to the background. The result is a transparent PNG you can place on any new background.
That's the practical answer. But understanding how the model makes those predictions — and where it's likely to fail — helps you get better results and avoid frustration when a tool doesn't behave the way you expected.
The Core Mechanism: Pixel Classification
At its most fundamental level, AI background removal is a classification problem. Every pixel in your image gets evaluated. The model asks: is this pixel part of the foreground, part of the background, or somewhere in between?
The "somewhere in between" matters more than most people realize. A hard edge — like a logo on a solid white box — is either foreground or background. But a strand of hair, a soft shadow, or a semi-transparent fabric edge doesn't fall neatly into one bucket. The model handles those cases by assigning partial opacity values, a process called alpha matting.
When the model finishes, it produces two things: a binary mask that marks which pixels to keep, and an alpha channel that controls how transparent each kept pixel should be. Together, they define the cutout you download.
How the Model Learned to Recognize Subjects
The model didn't start out knowing what a person looks like. It learned from examples.
During training, the system sees millions of images where the correct answer is already known. Some training images are real photographs manually labeled by human annotators. Others are synthetic: a known foreground object — a person, a product, an animal — is composited onto a random background, so the true cutout is mathematically perfect.
From that data, the model builds internal representations. It learns that skin tones and facial structures are usually foreground. That a continuous region touching the image border is often background. That a sharp change in color or texture likely marks an object boundary.
Crucially, the model doesn't memorize specific images. It learns generalizable patterns. That's why it can process a photo it has never seen before and still produce a reasonable cutout. It's applying principles, not recalling examples.
What Happens After You Upload an Image
The visible result appears in seconds, but several distinct processing stages happen in sequence:
- Decoding. The tool reads your file — JPEG, PNG, WebP — and converts it into a grid of pixel values.
- Preprocessing. The image may be resized or normalized to match the model's expected input dimensions. Very large images are often downscaled internally before processing.
- Feature extraction. A convolutional neural network scans the image at multiple scales, detecting edges, textures, colors, and semantic patterns.
- Segmentation. Each pixel receives a foreground probability. A threshold determines the initial binary cut.
- Edge refinement. For soft boundaries, the model adjusts alpha values to create gradual transitions rather than jagged cuts.
- Output compositing. The background is removed, and the foreground is written to a transparent PNG.
The exact implementation varies between tools, but this general pipeline is consistent across most modern systems.
Why AI Removal Is Different From Traditional Methods
Before AI-based approaches, background removal meant manual or semi-automated selection. The magic wand selects pixels by color similarity. The lasso follows a user-drawn path. The pen tool creates precise vector paths. These methods work, but they require skill, time, and patience.
They also fail predictably. A color-based selection breaks when the subject and background share similar tones. Edge detection struggles with fine structures like hair. And every new image requires starting over from scratch.
AI background removal replaces that manual process with semantic understanding. The model doesn't just see colors — it recognizes objects. It knows that a person's hair is part of the person even when the hair color matches the wall behind them. It understands that the gap between two leaves might be background, not a hole in a solid shape.
That semantic layer is the key difference. It's what allows a tool to process a portrait with flyaway hair in seconds, producing a result that would take a human editor several minutes to trace manually.
Where AI Background Removal Excels
The technology works best when the image provides clear signals for the model to interpret.
Strong candidates include:
- A product photographed on a plain white or light background
- A person standing against a solid-colored wall
- A logo with flat colors on a contrasting backdrop
- An object with well-defined edges and no transparency
- A subject that occupies a significant portion of the frame
In these cases, the foreground is visually obvious, the edges are detectable, and the model can produce a clean cutout with minimal errors.
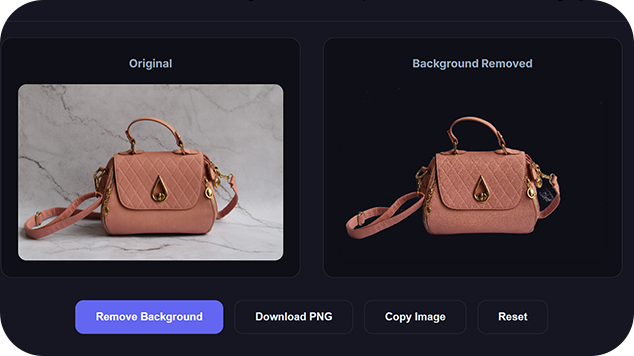
Consider a realistic workflow: an online seller photographs a handmade mug against a white sheet. They need the mug on a transparent background for an Amazon listing. Instead of opening editing software and tracing the outline, they run the photo through a browser-based background remover. Seconds later, they have a transparent PNG ready to upload.
If that matches what you're trying to do, the MiniToolsPro background remover handles exactly this kind of task without requiring any image editing experience.
Where the Model Gets Confused
Understanding the failure modes prevents wasted time and helps you pick the right image for the task.
Low foreground-background contrast. A dark-haired subject against a dark backdrop gives the model little edge information to work with. The result may shave off hair detail or leave a dark halo.
Intricate structures. Mesh, lace, chain-link fences, or a wicker chair contain thousands of tiny foreground-background transitions. The model produces an approximation that may look rough at full size.
Transparency and translucency. Glass, smoke, water spray, or a sheer curtain have no clear boundary. The model has to guess where the object ends and the background begins, and the guess isn't always accurate.
Busy backgrounds. A subject in front of a bookshelf or patterned wallpaper creates competing edges. The model may keep background fragments or remove parts of the subject that blend into the pattern.
Overlapping subjects. Multiple people or objects at different depths make it unclear where the foreground ends. The model may include the second subject or cut through it.
None of this means the tool is defective. It means the tool has a specific competence range, and images outside that range produce imperfect results. Choosing your source image accordingly is part of using the technology well.
Why Source Image Quality Matters More Than You Think
The model can only work with the information it receives. A poor source image produces a poor cutout, regardless of how sophisticated the model is.
Resolution matters. A low-resolution image has fewer pixels at the subject's edge, so boundaries become blocky. Diagonal lines and curves suffer most. The model can't invent detail that isn't there.
Compression artifacts matter. JPEG compression introduces noise around high-contrast edges — exactly where the model needs clean data to make boundary decisions. The noise confuses the classifier and produces rough, dirty edges.
The practical takeaway: use the highest-quality source available. If you shot the photo yourself, export as PNG or maximum-quality JPEG. If the image came from the web, check whether a larger version exists. If the image is a screenshot, crop tightly to maximize effective resolution.
A two-minute improvement to the source often does more for the result than any amount of post-processing.
AI vs Manual: A Practical Decision Framework
Neither approach is universally better. The right choice depends on the image, the intended use, and your available time.
Use AI background removal when:
- You need a fast, automated result
- The image has a clear subject and reasonable contrast
- You're processing several images and manual editing isn't practical
- You don't have access to or experience with full design software
- The output will appear at moderate sizes where minor imperfections are invisible
Use manual editing when:
- The image contains fine details that must be perfect
- The output will be printed large or used in a high-end professional context
- The subject has complex edges like hair, fur, or translucent elements
- You need precise control over the cutout boundary
- The automatic result is close but not clean enough, and a quick manual touch-up is feasible
A hybrid approach is common in professional workflows: run the automatic removal first to handle the bulk of the work, then manually clean the remaining edge issues. The AI handles 90 to 95 percent of the task; you handle the final refinement.
How to Improve Your Results Before Uploading
You can't change how the model works, but you can change what you give it.
Increase contrast. If the subject and background are similar in tone, a quick brightness and contrast adjustment makes the boundary clearer. The model gets a stronger signal to work with.
Crop tightly. Removing excess surrounding area increases the subject's effective resolution and reduces the number of background regions the model needs to evaluate.
Start with the original file. Avoid screenshots and downloaded thumbnails. Every generation of compression and resizing strips away edge detail the model relies on.
Choose the right image. If a photo has low contrast, a busy background, and fine hair detail, no automated tool will deliver a flawless cutout. Either accept the imperfection, choose a different image, or plan for manual cleanup.
After the Removal: Formats and Verification
The output from an AI background removal tool is almost always a PNG with a transparent background. PNG supports an alpha channel, which is what makes transparency possible.
Don't convert the result to JPEG. JPEG doesn't support transparency. Any transparent region gets flattened to a solid color — usually white or black — and you've undone the work. Keep the transparent PNG as your master file.
If you need a smaller file for web use, WebP supports transparency and produces smaller files than PNG. But PNG remains the safest default for broad compatibility.
After processing, verify the result before using it. Zoom to at least 200% and check the edges. Look for stray background pixels, missing sections of thin structures, or a visible halo around the subject. Test the transparent PNG on white, black, and a mid-tone background to see whether any problems appear.
If the result needs a smaller file size, you can reduce it with an image compressor. If it needs to fit specific dimensions, use an image resizer to scale it without losing clarity.
Why Hair and Fine Edges Are Difficult
Not every part of an image is equally easy for AI to separate. Hair, fur, thin objects, and soft edges can make background removal more challenging. If you're dealing with these details, see our guide to background remover settings for hair and fine edges.
Frequently Asked Questions
Is AI background removal really automatic?
Yes. The model processes the image without manual tracing or selection. You upload the file, wait a few seconds, and download the transparent result. The only manual step is checking the output quality before you use it.
Does it work on logos as well as photos?
Yes, but logos with thin lines, small text, or complex internal shapes need closer inspection. A simple logo on a contrasting background usually processes cleanly. Detailed logos may require a second pass or small manual cleanup.
Why does the tool sometimes remove part of my subject?
Usually because the subject and background were too similar in color, or the subject's edge was too soft for the model to detect. Low contrast and compressed source images are the most common culprits.
Can I process multiple images at once?
Some tools support batch processing, but many browser-based tools handle one image at a time. Check the specific tool's capabilities before planning a large batch.
Is the output good enough for professional use?
For many professional contexts — e-commerce listings, marketing banners, social media posts, presentation slides — yes. For high-end print or detailed compositing work, you may want to refine the automatic result manually or use a specialist workflow.
Does the tool store my uploaded image?
That depends on the specific tool's data handling practices. If you're processing sensitive or unreleased images, review the tool's privacy policy or avoid uploading those files. For everyday public images, the convenience trade-off is usually acceptable.
The Model Does the Work; You Make the Call
AI background removal has changed how people handle cutouts. What used to require design skills and patience now takes seconds in a browser. But the technology isn't a substitute for judgment.
Check the edges. Test the result on different backgrounds. Verify that the subject is intact and the transparency is clean. When the output looks right, use it. When it's close, fix it. When it's wrong, improve the source and run it again. The model handles the heavy lifting; you decide whether the result is good enough.
For a fast, practical way to remove backgrounds without installing software, try the MiniToolsPro background remover. Upload your image, download the transparent PNG, and verify it before you put it to work.
Before exporting your logo, think about where it will be used. A transparent PNG is often more flexible because it can be placed over different designs and colors. Our comparison of transparent PNG vs. white background explains the differences.
Share this article 👇



0 Comments