Table of Contents
You have a perfect photo, but it's too large to email, upload, or share. Whether it's a 10MB image from your DSLR or a screenshot that exceeds a website's size limit, you need an image size reducer to make it manageable.
Reducing picture size isn't just about saving storage space. Large images slow down websites, get rejected by email servers, and waste mobile data. That's why having a fast, reliable way to compress photos matters—for work, for sharing memories, and for keeping your digital life running smoothly.
This guide covers everything you need to know: how image compression works, when to use different formats, common mistakes to avoid, and the easiest way to reduce picture size without sacrificing quality.
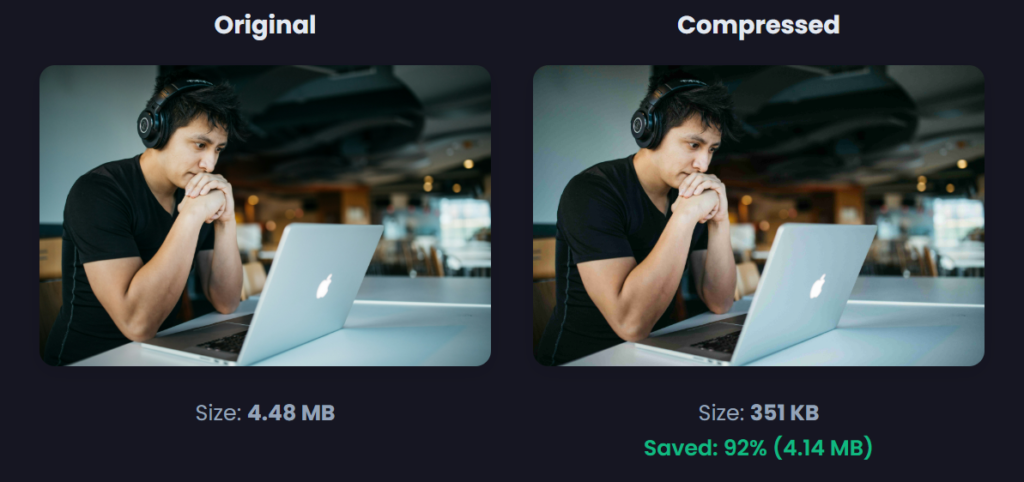
How does an image size reducer work? An image size reducer compresses your photo by removing redundant data and reducing color complexity while maintaining visual quality. For JPEG images, this means adjusting compression quality from 0–100. For PNG, it often involves reducing color depth (e.g., from millions of colors to 256). Modern tools also support WebP format, which provides 25–34% smaller files than JPEG at comparable quality levels.
What Is an Image Size Reducer?
An image size reducer is a tool that decreases a photo's file size (in KB or MB) while keeping the image recognizable and usable. Unlike resizing, which changes pixel dimensions (width × height), reducing picture size focuses on file weight through compression algorithms.
When you use a photo compressor, the tool analyzes your image and removes non-essential data. This might include:
- Color reduction – using fewer unique colors (especially effective for PNG files)
- Redundant data removal – stripping metadata like GPS coordinates
- Quality adjustment – lowering JPEG quality from 100% to 80% can reduce file size by 50% or more with minimal visible difference
Think of it like packing a suitcase. You can remove bulky items or choose a more efficient folding method. Either way, you fit more into the same space. An image size reducer does the same thing for your photos.
Why Reducing Picture Size Matters
Large image files create problems everywhere they go. Here's why using a picture compressor should be part of your regular workflow:
Faster Website Loading
Google research shows that 53% of mobile users abandon a site if it takes longer than 3 seconds to load . Images are typically the heaviest assets on any webpage. By using an image size reducer online free tool, you can slash load times and improve user experience.
Email Delivery Success
Most email providers cap attachments at 25MB. A single high-resolution photo from a modern smartphone can easily exceed 8–12MB. By compressing photos before sending, you avoid bounce-backs and keep your messages flowing.
Storage Savings
Modern smartphone cameras produce incredible detail—and enormous file sizes. The average photo from a 12-megapixel camera is around 4–6MB. Over thousands of images, that adds up to gigabytes of wasted space. A image size reducer free tool helps you reclaim that storage.
Bandwidth Conservation
If you're on a metered data plan or uploading images to cloud services, every megabyte counts. Compressing photos before uploading reduces data usage and speeds up transfers.
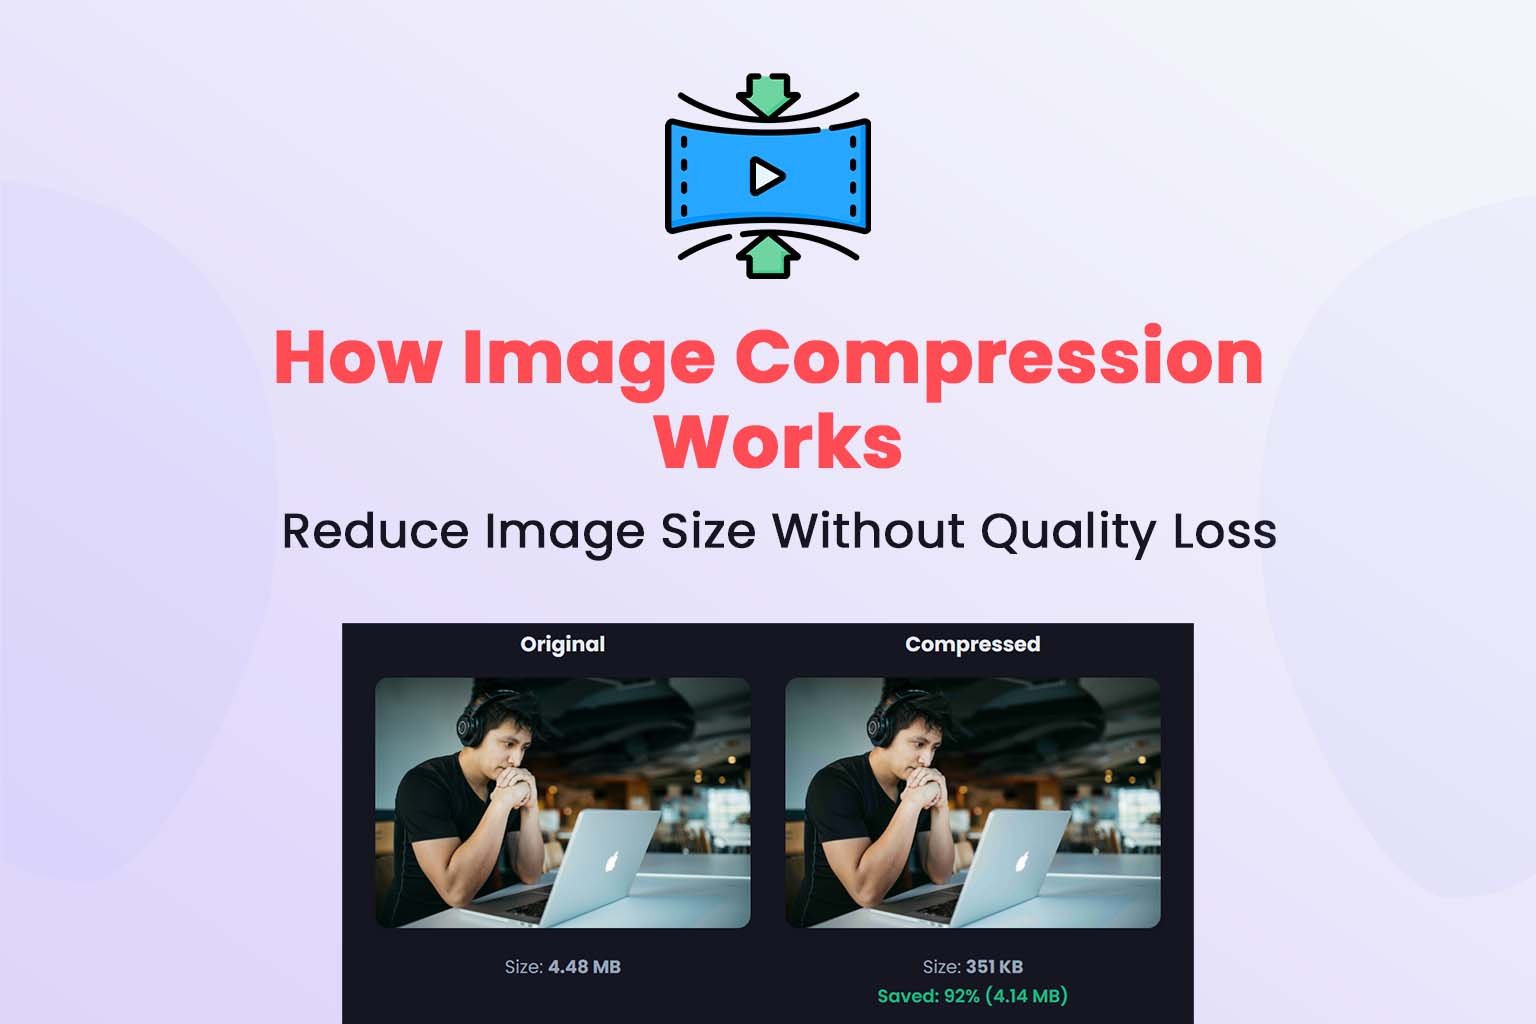
How Image Compression Works
Understanding the basics helps you choose the right settings for each photo. There are two main types of compression:
Lossy Compression
This method reduces file size by discarding some visual data that the human eye is unlikely to notice. JPEG and WebP (in lossy mode) use this approach. You control the quality setting:
- High quality (80–100%) – minimal visible difference from the original, file size reduced by 30–50%
- Medium quality (60–80%) – some compression artifacts visible on close inspection, file size reduced by 60–80%
- Low quality (below 60%) – noticeable quality loss, suitable for thumbnails or previews
The key is finding the sweet spot: the lowest quality setting that still looks acceptable for your intended use. For web images, 80% JPEG quality is often ideal—significantly smaller files with virtually undetectable quality loss.
Lossless Compression
This method reduces file size without removing any visual data. PNG (with indexed colors) and WebP (in lossless mode) use this approach. File size reductions are more modest (typically 10–30%) but preserve every pixel exactly.
Choosing Between JPEG, PNG, and WebP
Different image formats suit different types of photos. Here's a quick reference:
| Format | Best For | Compression | Transparency |
|---|---|---|---|
| JPEG | Photographs, gradients, detailed images | Lossy (adjustable quality) | No |
| PNG | Graphics, logos, screenshots, images with text | Lossless (with indexed color option) | Yes |
| WebP | Any image type; ideal for web use | Lossy or lossless | Yes |
WebP is a newer format supported by all modern browsers and Android devices since API level 17 . It combines the best of both worlds: lossy WebP is 25–34% smaller than JPEG at equivalent quality, and lossless WebP is 26% smaller than PNG.
Quick Reference: Image Size Reduction Guide
| Use Case | Recommended Format | Quality Setting | Expected Reduction |
|---|---|---|---|
| Website hero images | WebP or JPEG | 80–85% | 50–70% |
| Email attachments | JPEG | 70–80% | 60–80% |
| Social media (Facebook, Instagram) | JPEG | 80% | 50–65% |
| Product photos for e-commerce | WebP or JPEG | 85–90% | 40–60% |
| Archival storage | WebP lossless or PNG | N/A | 10–30% |
| Thumbnails | JPEG or WebP | 60–70% | 70–85% |
| Images with text or logos | PNG or WebP | Lossless | 10–30% |
How to Reduce Image Size: Step-by-Step
You have several options for reducing picture size, from manual methods to automated tools. Here's what you need to know about each approach.
Method 1: Using an Online Image Size Reducer
Online tools offer the simplest and fastest way to compress photos. Here's a typical workflow:
- Upload your image – click the upload button or drag and drop your photo
- Select compression settings – choose quality level or target file size
- Process the image – the tool applies compression algorithms
- Download the compressed version – save to your device
Most online picture compressors use intelligent lossy compression that selectively reduces color information in areas where the human eye is less sensitive. The result is a file that's significantly smaller but visually identical for most practical purposes .
Method 2: Using Professional Software (Adobe Photoshop)
If you have access to Adobe Photoshop, here's how to reduce picture size professionally :
- Open your file: File > Open
- Adjust dimensions if needed: Image > Image Size – reduce width or height (check "Constrain Proportions" to maintain aspect ratio)
- Export for web: File > Export > Save for Web (Legacy)
- Choose JPEG format for photos (PNG for graphics with transparency)
- Adjust quality from Maximum to Medium or Low
- Click Save
The "Save for Web" feature is particularly powerful because it shows you a preview of the compressed image alongside the original, with file size displayed for each quality setting.
Method 3: Reducing Image Size on Mobile
Smartphone apps offer convenient ways to compress photos directly on your device. Look for apps that support:
- Batch compression – compress multiple images at once
- Specified file size – target a particular KB or MB limit
- Format conversion – switch between JPEG, PNG, and WebP
The best mobile photo compressors use advanced lossy compression that makes file size reductions almost invisible to the naked eye .
Common Image Size Reduction Mistakes and How to Avoid Them
Mistake 1: Over-Compressing Important Images
The problem: Setting quality too low (below 60%) can cause visible artifacts—blocky patches, color banding, and loss of fine detail.
The solution: Always preview compressed images before saving. If you notice degradation, increase quality by 5–10% until acceptable. Remember: a 500KB image at 75% quality often looks virtually identical to a 2MB image at 100% quality.
Mistake 2: Using the Wrong Format
The problem: Saving screenshots or graphics as JPEG causes blurry text and muddy colors. Saving photographs as PNG creates unnecessarily large files.
The solution: Use JPEG or WebP for photographs and images with gradients. Use PNG for graphics, logos, text-heavy images, and any image requiring transparency.
Mistake 3: Ignoring Metadata
The problem: Photos often contain embedded metadata (GPS location, camera settings, date/time) that adds file size without visual benefit.
The solution: Use tools that strip EXIF data during compression. This can save an additional few KB per image—significant when processing hundreds of photos.
Mistake 4: Not Resizing Before Compressing
The problem: Trying to reduce a 4000×3000 pixel image to 100KB is like trying to fit a king-size mattress into a sedan. It rarely works well.
The solution: Resize dimensions first, then compress. A 1200×900 pixel image at 80% quality will look better and be smaller than a 4000×3000 pixel image at 40% quality.
Real-World Use Cases for Image Size Reduction
Here's how different people benefit from using an image size reducer:
1. Web Developers and Bloggers
Every image on your website should be optimized. Using an image size reducer online free tool before uploading saves bandwidth and speeds up page load times. This improves user experience and search engine rankings.
2. Small Business Owners
Product photos for e-commerce sites or social media need to be visually appealing while loading quickly. An image compressor helps balance quality and file size, ensuring potential customers see crisp product images without slow loading times.
3. Students and Educators
Submitting assignments that include images? Many learning management systems have file size limits. Using a photo size reducer ensures your work gets uploaded without hitting restrictions.
4. Photographers
When sharing previews with clients or uploading to social media, compressing photos saves time and storage. Professional photographers often use batch compression to process hundreds of images at once .
5. Remote Workers and Teams
Sharing large images via email or Slack can slow down communication. Compressing photos before sending them makes collaboration faster and more efficient.
6. Travelers
Smartphone photos eat up storage quickly. A picture compressor helps you maximize space on your device, allowing you to capture more memories without worrying about running out of room.
Use Our Free Image Size Reducer Tool
Instead of navigating complex software or downloading multiple apps, you can use our free image size reducer directly in your browser. It's designed to make photo compression fast and simple, with no registration required.
Here's what you get with our image compressor:
- Fast compression – process photos in seconds
- Multiple format support – JPEG, PNG, and WebP
- Adjustable quality – control the balance between file size and quality
- Batch processing – compress multiple images at once
- Privacy-first – your images are processed locally and never stored on our servers
Try our free photo compressor now and see how easy it is to reduce picture size without sacrificing quality.
Advanced Tips for Professional Image Optimization
Use the Right Quality for Each Image
Not all images need the same compression settings. Here's a pro tip: use higher quality (85–90%) for hero images and product photos, and lower quality (70–75%) for thumbnails, backgrounds, or decorative images. The smaller thumbnail format hides compression artifacts more effectively.
Consider WebP for Modern Websites
WebP offers superior compression compared to JPEG and PNG. Lossy WebP images are 25–34% smaller than JPEG at equivalent quality levels, while lossless WebP is 26% smaller than PNG . Most modern browsers support WebP, making it an excellent choice for web use.
Use Indexed Colors for PNG
When saving PNG images, reduce the color depth to 256 colors (indexed mode) whenever possible. This reduces each pixel from 3 bytes to 1 byte—a 67% reduction in memory before compression even starts .
Stripe Metadata
Many online tools and professional software can strip EXIF data during compression. This includes GPS coordinates, camera model, and other unnecessary information. It's especially important for images shared publicly, as it protects your privacy and slightly reduces file size.
Frequently Asked Questions About Image Size Reduction
Will reducing image size affect quality?
It depends on the compression level. Moderate compression (70–80% quality for JPEG) typically produces files that look identical to the original to the average viewer. Only when you compress heavily (below 60%) or repeatedly compress the same image do you see noticeable quality degradation.
What's the best image size reducer for large batches?
Our free online tool supports batch compression, allowing you to process multiple images simultaneously. For very large batches (100+ images), you might prefer desktop software that offers automated workflows.
Can I reduce image size without losing quality?
Yes, using lossless compression (like PNG indexed mode or WebP lossless). However, the file size reduction is modest (typically 10–30%). For meaningful reductions (50% or more), some quality loss is inevitable, but it can be kept visually imperceptible through intelligent compression algorithms.
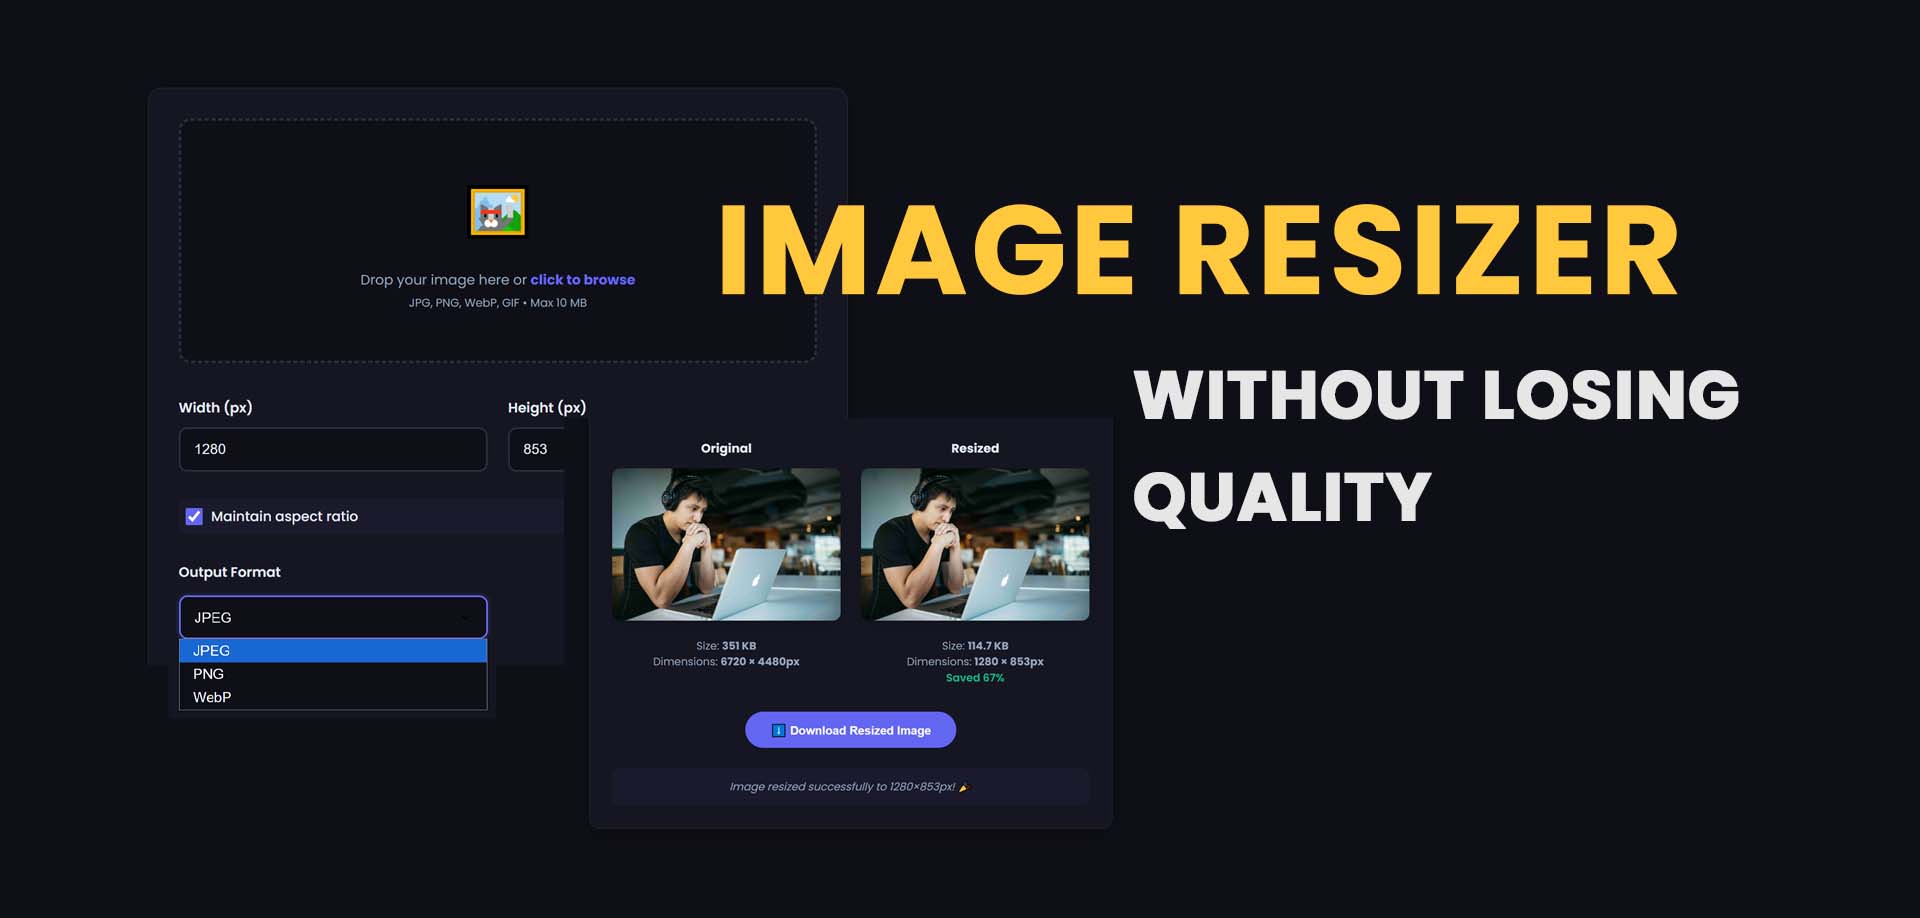
What's the difference between resizing and compressing?
Resizing changes pixel dimensions (width × height). Compressing reduces file size while keeping dimensions unchanged. You can do both: reduce dimensions first, then compress for the smallest possible file size.
Is it safe to use online image compressors?
Yes, with reputable tools. Our image size reducer processes images locally in your browser using JavaScript. Images are never uploaded to our servers, protecting your privacy and security.
Why is my photo still too large after compression?
If your photo remains large, it might have very high dimensions (e.g., 6000×4000 pixels). Try resizing to smaller dimensions (like 1200×800) before compressing. Also check whether you've selected the highest quality setting—choosing a lower quality will reduce file size further.
Should I use JPEG or PNG for my images?
Use JPEG for photographs, images with gradients, and complex scenes. Use PNG for graphics, logos, text-heavy images, and images requiring transparency (like product images with cut-out backgrounds). WebP is a modern alternative that works well for both categories.
How much can I reduce an image's file size?
Typical reductions range from 30% to 80% depending on the original image and quality settings. A 10MB JPEG at 80% quality might reduce to 2-3MB. A PNG screenshot could reduce from 500KB to 100KB using indexed colors.
What is the best compression quality for web use?
80% for JPEG and WebP is widely considered the sweet spot—significantly smaller files with virtually no visible quality loss. For thumbnails or decorative images, 70% is often acceptable. For images requiring high fidelity (like product photos), 85-90% is recommended.
Can I compress animated images or GIFs?
Our image size reducer currently supports static images. For animated images, you'll need specialized tools that can process each frame individually while maintaining animation quality.
Final Thoughts
Reducing image size doesn't have to be complicated. Whether you're a photographer sharing previews, a business owner optimizing product photos, or just someone trying to save storage space, the right image size reducer makes all the difference.
Remember the key principles: choose the right format for your image type, find the quality sweet spot that balances file size and visual fidelity, and don't forget to strip unnecessary metadata.
Our free photo compressor is built to make this process as quick and painless as possible. Upload your image, select your settings, and download a smaller file—all without worrying about privacy or quality.
Try it now and see how easy it is to reduce picture size without sacrificing what matters most: the quality of your images.
Related Tools You May Find Useful
- Image Resizer – Change image dimensions while maintaining aspect ratio
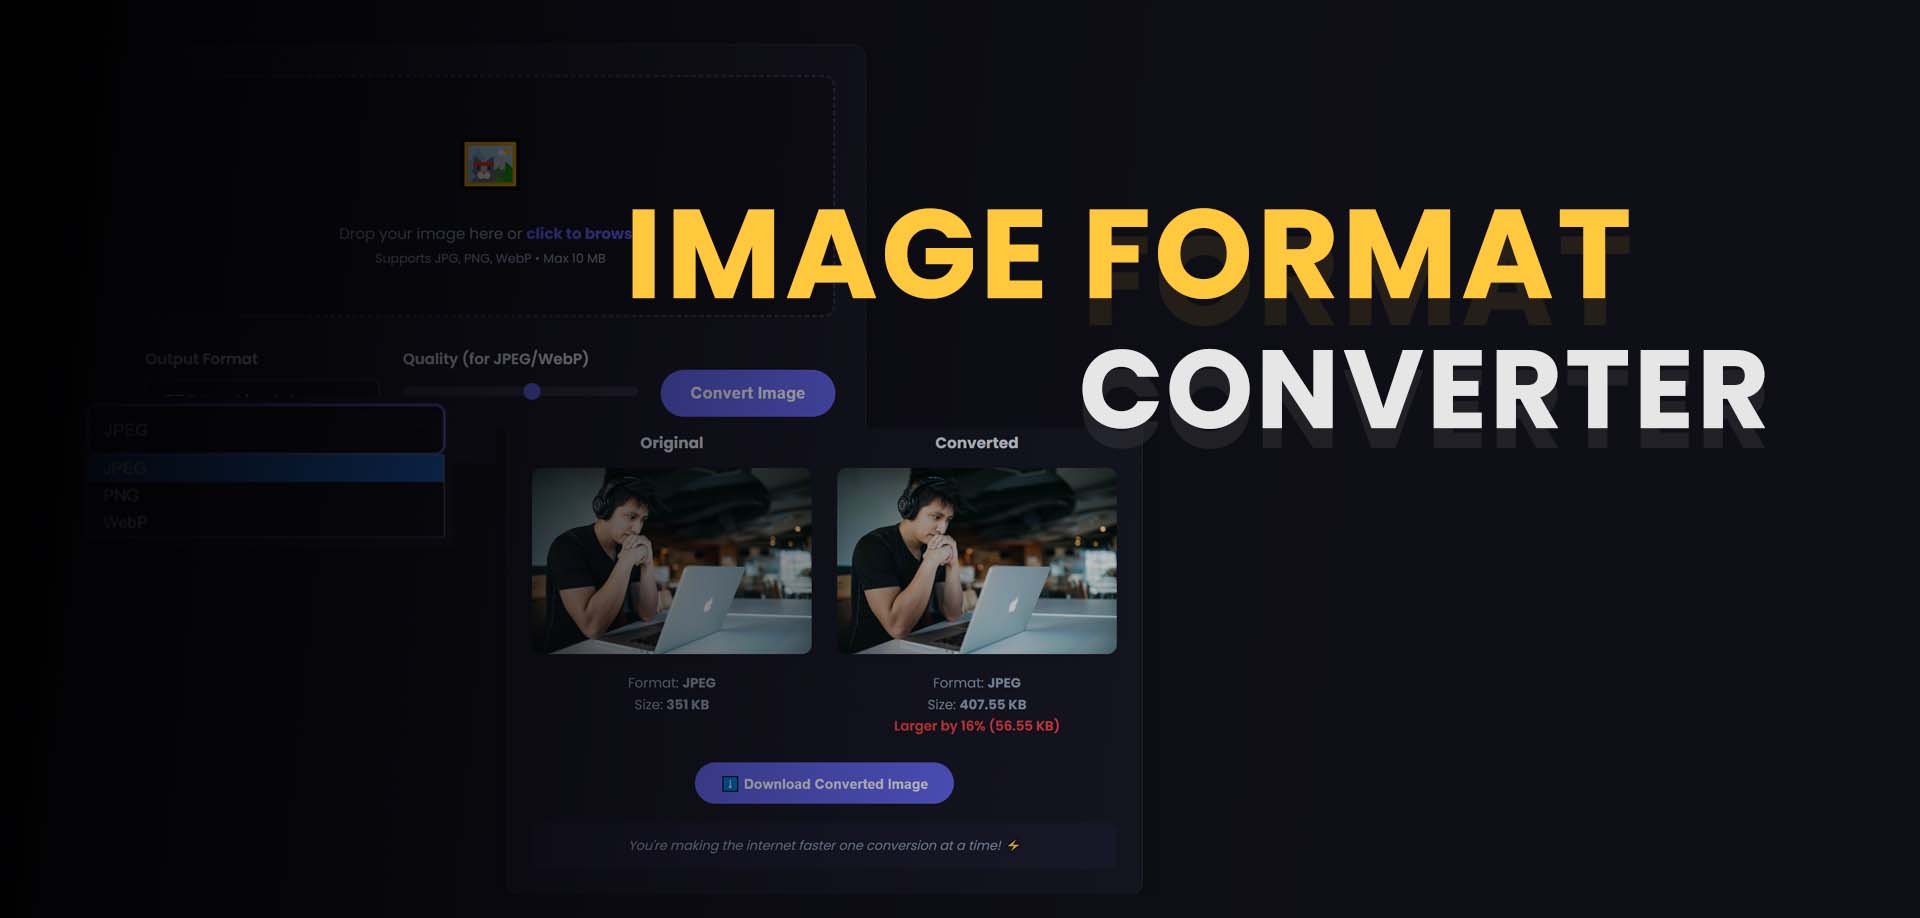
- Image Converter – Convert between JPEG, PNG, WebP, and other formats
- PDF Compressor – Reduce PDF file sizes with our online tool
- Background Remover – Remove image backgrounds automatically
- Grayscale Image Converter – Convert color images to black and white
- Image to Base64 – Encode images as Base64 strings for web use
And if you found this guide helpful, check out our Free Photo Compressor Guide for additional tips and techniques.
Share this article 👇
0 Comments