
Table of Contents
Resize an image the wrong way, and you end up with soft edges, blurry text, or pixelated blocks where there used to be clean detail. Resize it the right way, and you can shrink or enlarge a photo with almost no visible difference from the original. The difference comes down to three things: which direction you're resizing, which method your software uses to fill in or remove pixels, and what format you save the result in.
This guide walks through what actually happens when you resize an image, why quality loss happens in the first place, and the specific steps that keep your photos sharp — whether you're prepping product photos for a store, shrinking a hero image for faster page loads, or getting a picture ready to print.
What "Resizing" Actually Means
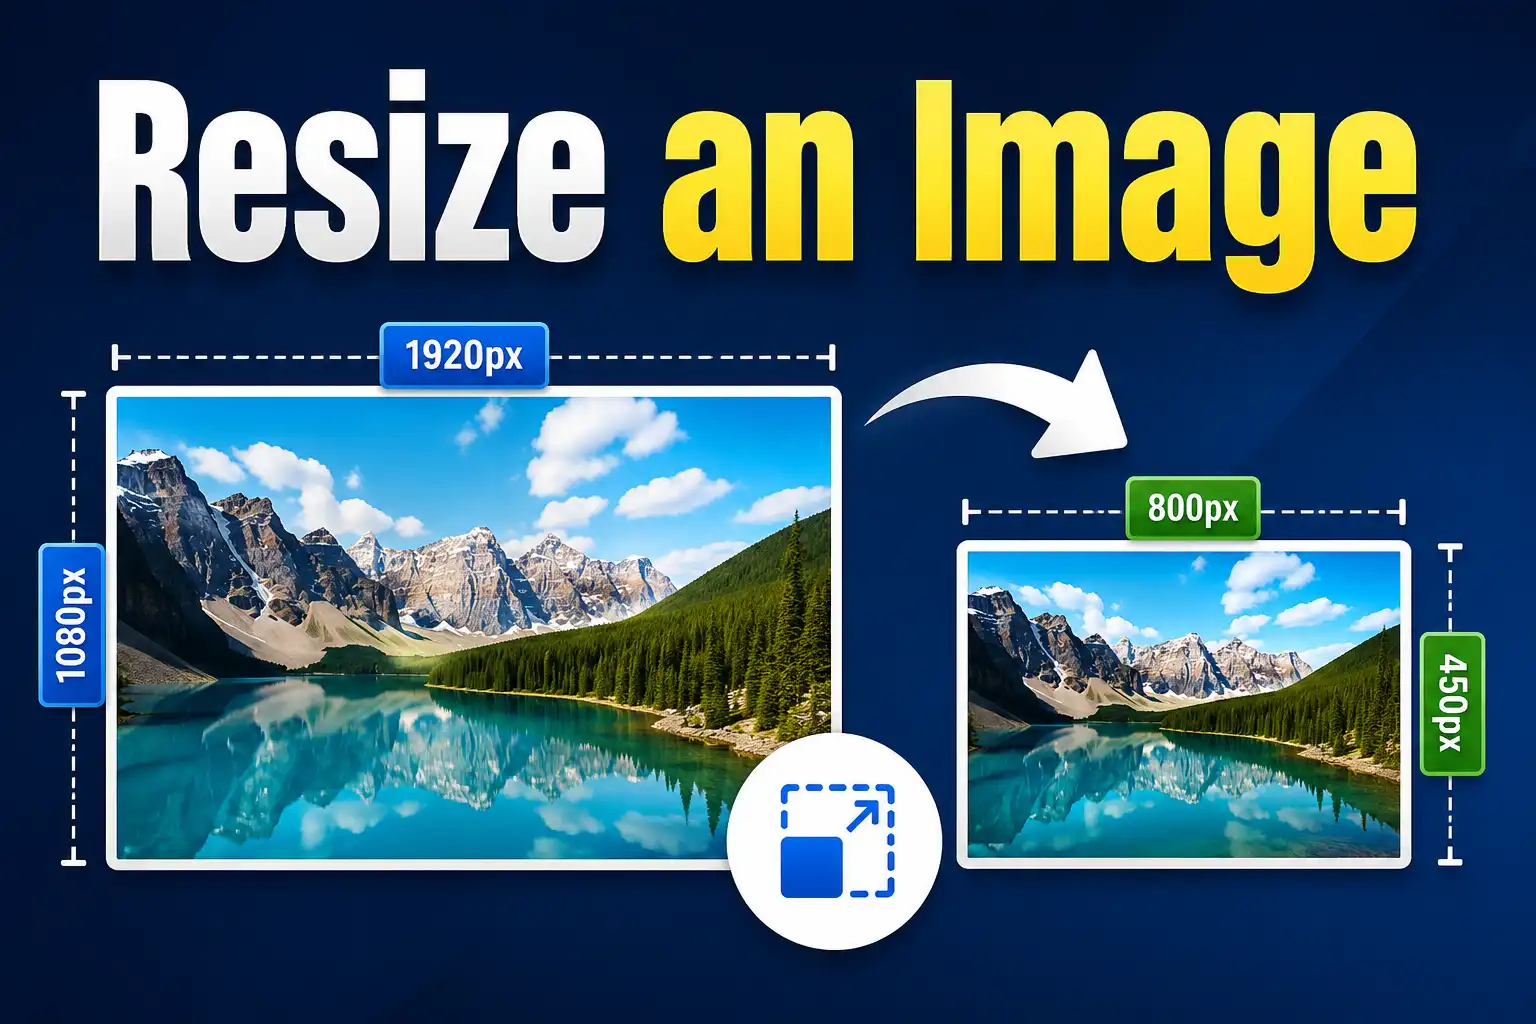
Resizing changes the pixel dimensions of an image — the number of pixels across and down. A photo that's 4000 x 3000 pixels becomes, say, 1200 x 900 pixels. That's different from cropping, which removes part of the image, and different from compressing, which keeps the same dimensions but reduces file size by simplifying color data. People often use "resize" loosely to mean any of these, but for quality purposes the distinction matters: resizing and compressing degrade an image in different ways, and fixing one won't fix the other.
Why Image Quality Drops When You Resize
Every pixel in a digital image holds specific color information. When you shrink an image, software has to decide which pixels to keep and which to discard or blend together. When you enlarge an image, it has to invent new pixels that were never in the original file. Both operations rely on an interpolation algorithm — a set of rules for estimating pixel values that didn't exist before.
The quality loss comes from two main sources:
- Downscaling loss — shrinking an image discards real pixel data. If it's done with a poor algorithm, fine detail (hair, text, thin lines) can turn into noisy or blocky patches instead of smooth reductions.
- Upscaling loss — enlarging an image has no real data to add, so software guesses. Basic interpolation methods produce visibly soft or blurry results because they're essentially averaging nearby pixels rather than reconstructing detail that was never captured.
This is why enlarging a small image almost always looks worse than shrinking a large one — you're asking the software to create information out of nothing.
Interpolation Methods, in Plain English
Most resizing tools let you choose (or automatically apply) an interpolation method. The names sound technical, but the practical difference is easy to summarize:
| Nearest neighbor | Fastest, lowest quality. Copies the closest existing pixel with no blending — produces hard, blocky edges. Rarely a good choice for photos. |
| Bilinear | Blends the nearest 4 pixels. Smoother than nearest neighbor but can look slightly soft, especially when enlarging. |
| Bicubic | Blends a larger 4x4 pixel neighborhood using a smoother curve. The standard choice for both shrinking and enlarging photos — sharper and more natural than bilinear. |
| Lanczos | A higher-quality resampling method that tends to preserve edge sharpness well, particularly when reducing image size significantly. |
If your software gives you a choice, bicubic or Lanczos will almost always outperform nearest neighbor or bilinear for photographic images. For flat-color graphics like icons or pixel art, nearest neighbor can actually be the better choice, since you don't want blending to blur crisp edges.
Step-by-Step: Resizing an Image Without Losing Quality
1. Start from the largest version you have
Never resize a copy that's already been shrunk or heavily compressed. Each resize and each re-save compounds quality loss. Always work from the original, full-resolution file.
2. Decide whether you're shrinking or enlarging
Shrinking preserves quality far better than enlarging. If you need an image larger than its native resolution, understand you're trading some sharpness for size — there's no way around that with a standard resize, though dedicated upscaling tools that use pattern-based reconstruction can reduce (not eliminate) the softness.
3. Keep the aspect ratio locked
The aspect ratio is the relationship between width and height (for example, 4:3 or 16:9). Resizing without locking it stretches or squashes the image, distorting faces, logos, and straight lines. Most tools have a "lock aspect ratio" or "maintain proportions" checkbox — leave it checked unless you specifically need to crop or stretch.
4. Choose dimensions based on actual use, not guesswork
Resize to the dimensions the image will actually display at. A photo that only needs to appear at 800 pixels wide on a webpage doesn't need to stay at 4000 pixels — that's wasted file size with no visible benefit. Conversely, don't shrink below what you'll need; enlarging later means starting the quality loss over again.
5. Use a high-quality resampling method
If the software gives you a setting, choose bicubic or Lanczos over nearest neighbor or bilinear, per the comparison above.
6. Save in the right format for the content
The format you export to affects quality just as much as the resize itself:
- JPG — good for photos, but it's a lossy format, meaning every save discards some data. Fine for most photography once resized.
- PNG — lossless, ideal for screenshots, graphics, logos, or anything with sharp edges or transparency. Larger file sizes for photos.
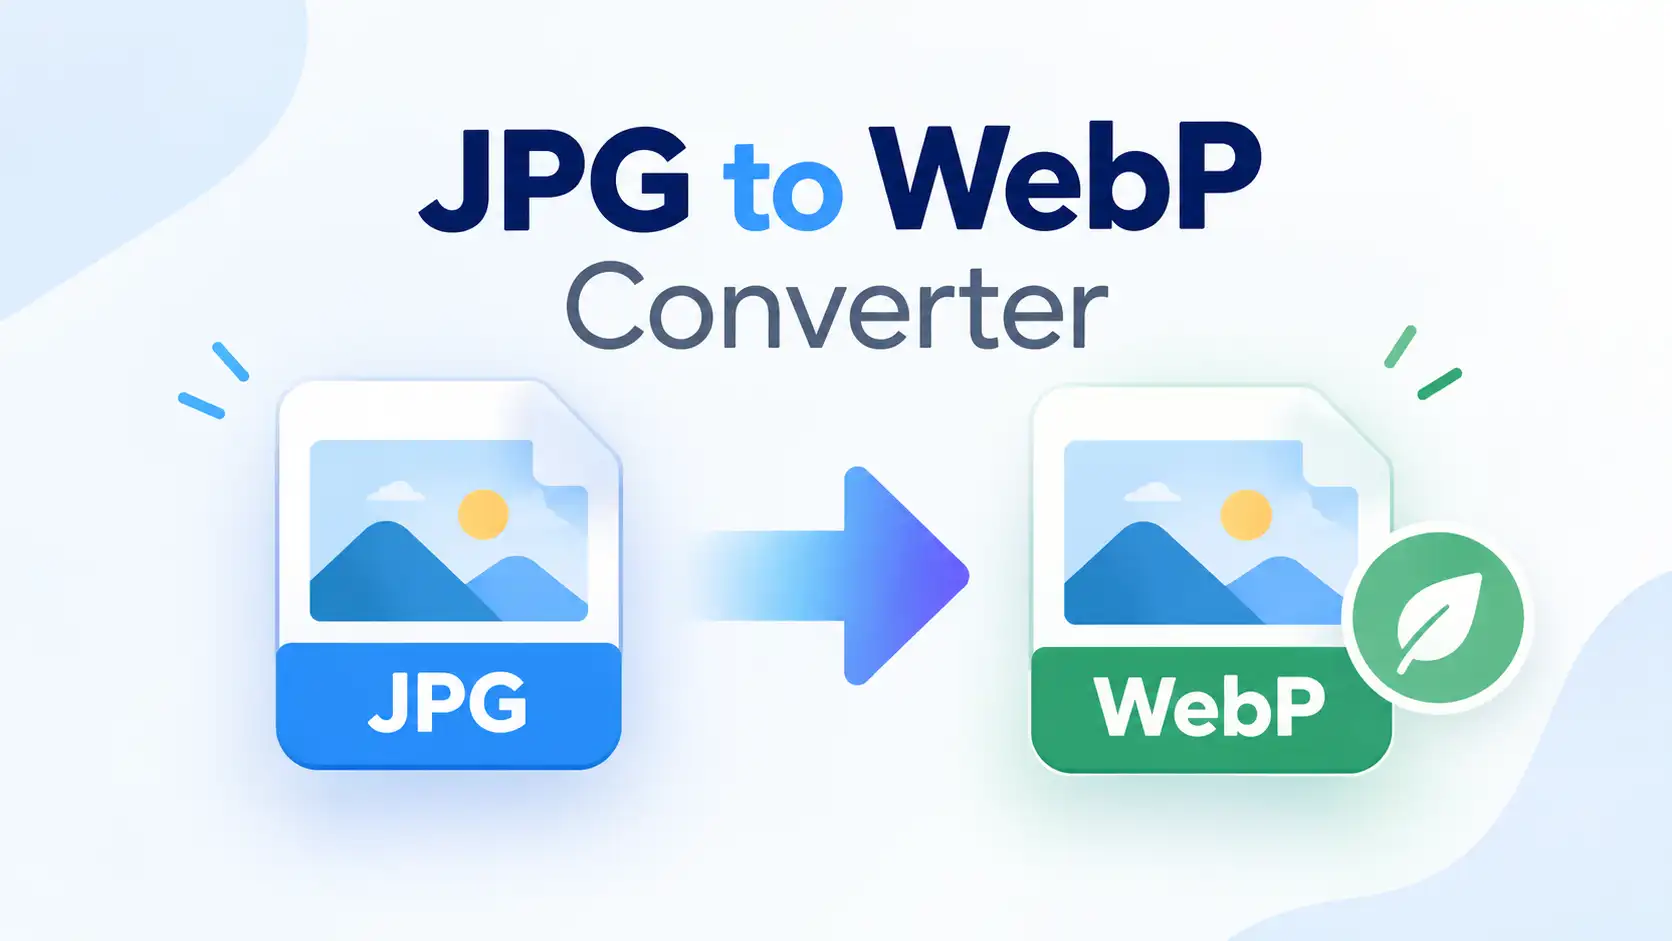
- WebP — generally produces smaller files than JPG or PNG at comparable visual quality, with broad support across modern browsers.
Resizing and re-exporting a JPG multiple times will degrade it a little each time, even if the pixel dimensions stay the same — that's a separate, compounding effect from generational compression loss.
A Practical Example
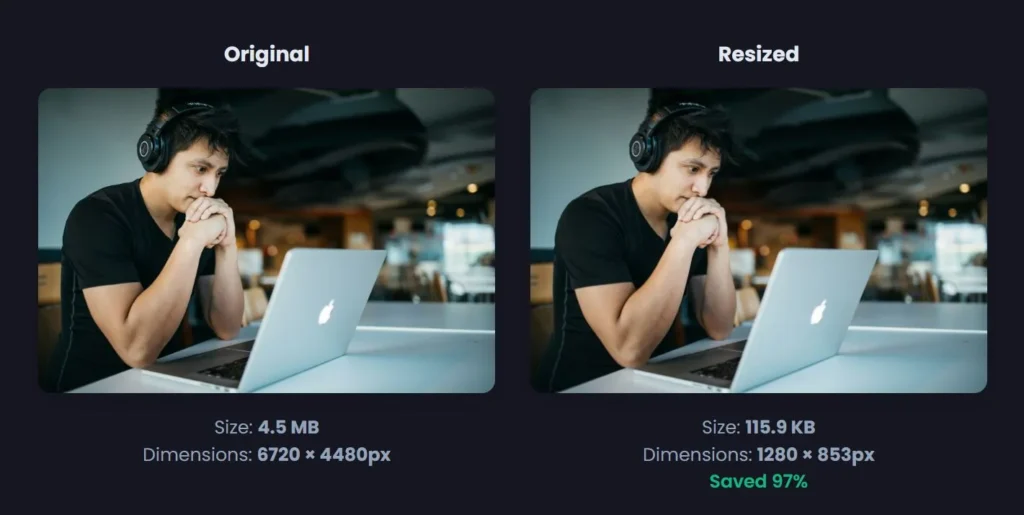
Say you have a 4032 x 3024 pixel photo straight from a phone camera (around 4 MB) and you need it for a blog post where it'll display at 1200 pixels wide. Locking the aspect ratio, 4032 x 3024 scales down to 1200 x 900 — the math is simple ratio scaling: 1200 ÷ 4032 = 0.2976, so the height becomes 3024 × 0.2976 ≈ 900. Resized with bicubic interpolation and exported as a compressed JPG or WebP, that file typically lands well under 200 KB while still looking sharp at its display size, because you're only keeping the pixel data actually needed.
Common Mistakes That Ruin Image Quality
- Enlarging a small image well beyond its native resolution — this is the single biggest cause of blurry, pixelated results.
- Resizing without locking aspect ratio — causes visible stretching or squashing.
- Resizing the same file repeatedly — each pass loses a little sharpness; always resize once from the original.
- Confusing resizing with compressing — a large-dimension, low-quality JPG isn't fixed by shrinking it; you need to address quality settings separately.
- Ignoring the target use case — resizing to arbitrary dimensions instead of the size the image will actually display at, either wasting file size or under-delivering detail.
Resizing vs. Compressing: Know the Difference
These two get mixed up constantly. Resizing changes how many pixels the image contains. Compressing keeps the pixel count the same but reduces file size by simplifying the data (lossy compression) or optimizing storage without discarding data (lossless compression). For web use, the best results usually come from doing both: resize to the dimensions you actually need, then compress at a reasonable quality setting. Doing only one of the two often leaves unnecessary file size on the table or produces a smaller file that's still oversized for its use.
Resizing Manually vs. Using an Online Tool
Desktop editing software gives the most control but takes longer and usually needs installation. Manually resizing dozens of images one at a time is also easy to get wrong — inconsistent dimensions, forgotten aspect-ratio locks, or accidentally re-exporting from an already-shrunk copy. Once you understand the mechanics above, an image converter that handles resizing, format conversion, and export together in one pass removes most of that manual error, particularly when you're processing several images or need a specific output format quickly. You can resize and convert your images with MiniToolsPro's Image Converter without installing anything.
FAQ
Does resizing an image reduce its file size?
Usually, yes — shrinking pixel dimensions reduces the amount of data the file needs to store, which lowers file size. But the format and compression settings you export with have just as much impact, sometimes more.
Why does my resized image look blurry?
Most often it's because the image was enlarged beyond its original resolution, or a low-quality interpolation method (like nearest neighbor or basic bilinear) was used. Blur can also come from repeated saves of a lossy format like JPG.
What's the best format to resize an image to?
For photos, JPG or WebP after resizing. For graphics, screenshots, or anything needing transparency, PNG. WebP generally offers the best balance of quality and file size for web use.
Can I enlarge a small image without losing quality?
Not fully — enlarging always involves the software estimating pixel data that doesn't exist in the original. Quality loss can be minimized with a good resampling method, but a small image stretched much larger than its native resolution will show softness or blur.
Should I resize before or after compressing?
Resize first, then compress. Compressing an oversized image and then shrinking it wastes effort — the extra pixel data gets discarded anyway. Resizing to the final dimensions first, then compressing, gives more predictable results.
Need to improve your image after resizing? Here is an Image Upscaler to enhance image quality and make your photos look sharper with just one click.
Share this article 👇


0 Comments