
Table of Contents
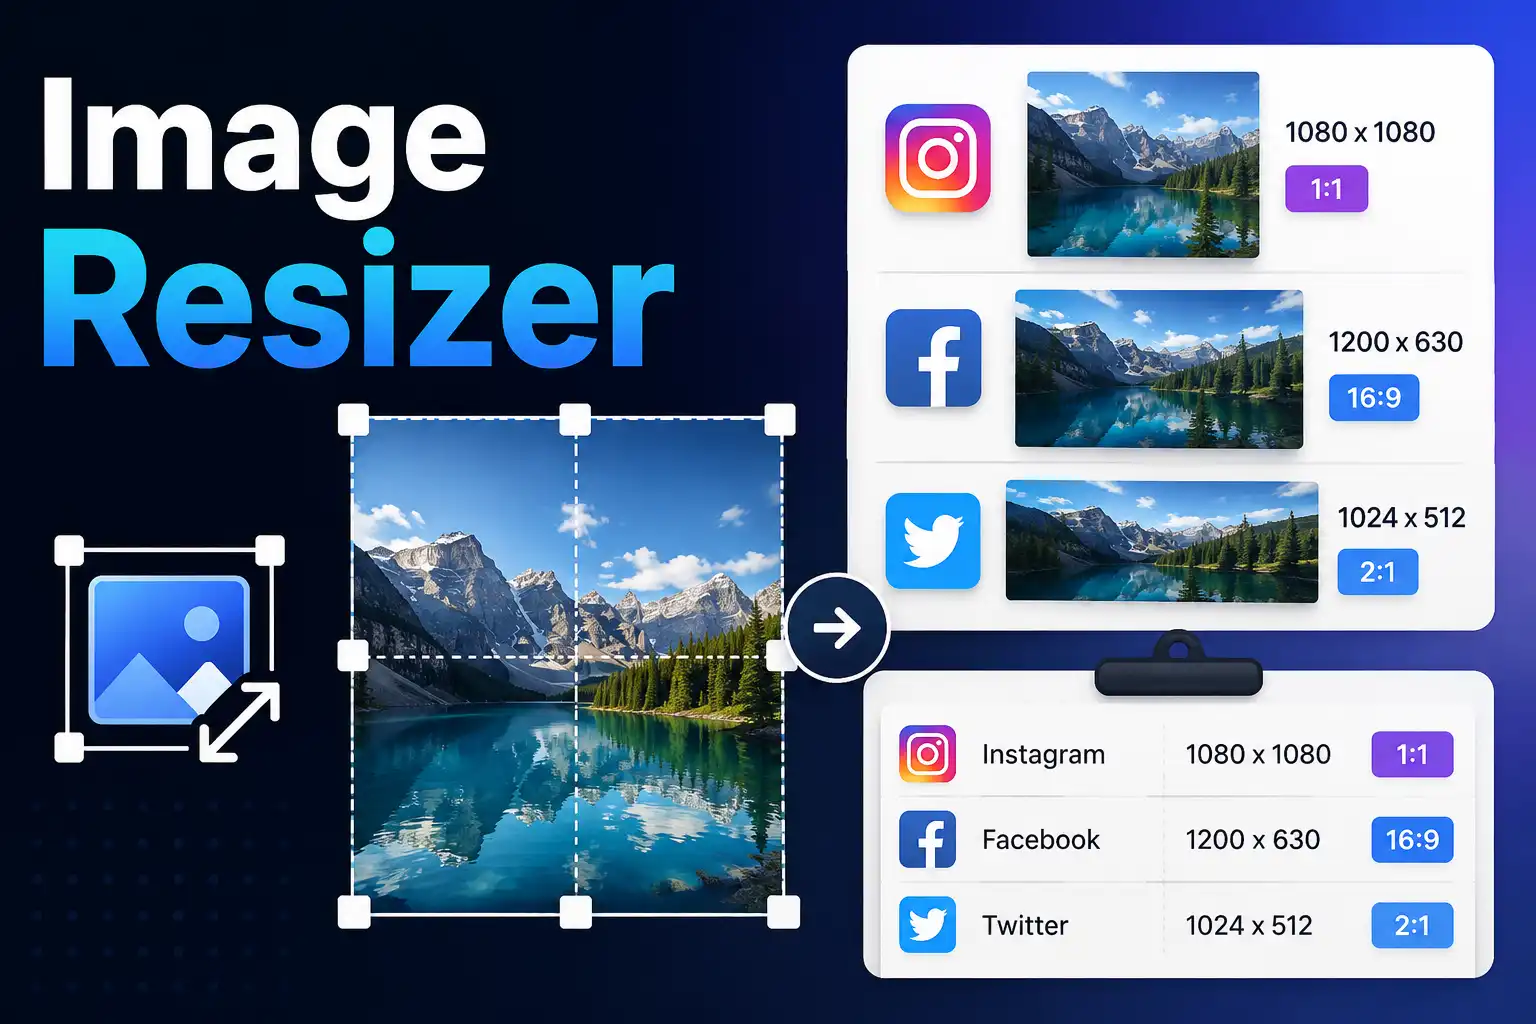
To resize an image for Instagram, first choose where the image will appear. A square feed post, portrait post, landscape image, Story, and Reel don't use the same shape. The key is to match the aspect ratio before changing the final pixel dimensions. Otherwise, the image can look stretched, poorly cropped, or leave important parts outside the visible area.
For most standard Instagram posts, people commonly prepare images around 1080 pixels wide. From there, the height depends on the format you need.
Instagram Image Sizes at a Glance
| Instagram Placement | Common Image Size | Aspect Ratio |
|---|---|---|
| Square Feed Post | 1080 × 1080 pixels | 1:1 |
| Portrait Feed Post | 1080 × 1350 pixels | 4:5 |
| Landscape Feed Post | 1080 × 566 pixels | Approximately 1.91:1 |
| Instagram Story | 1080 × 1920 pixels | 9:16 |
| Reel Cover or Vertical Content | 1080 × 1920 pixels | 9:16 |
These dimensions are useful working sizes for creating Instagram graphics. Instagram's interface and display behavior can change, so for important campaigns or branded content, check the current requirements for the exact placement before publishing.
What Does It Mean to Resize an Image for Instagram?
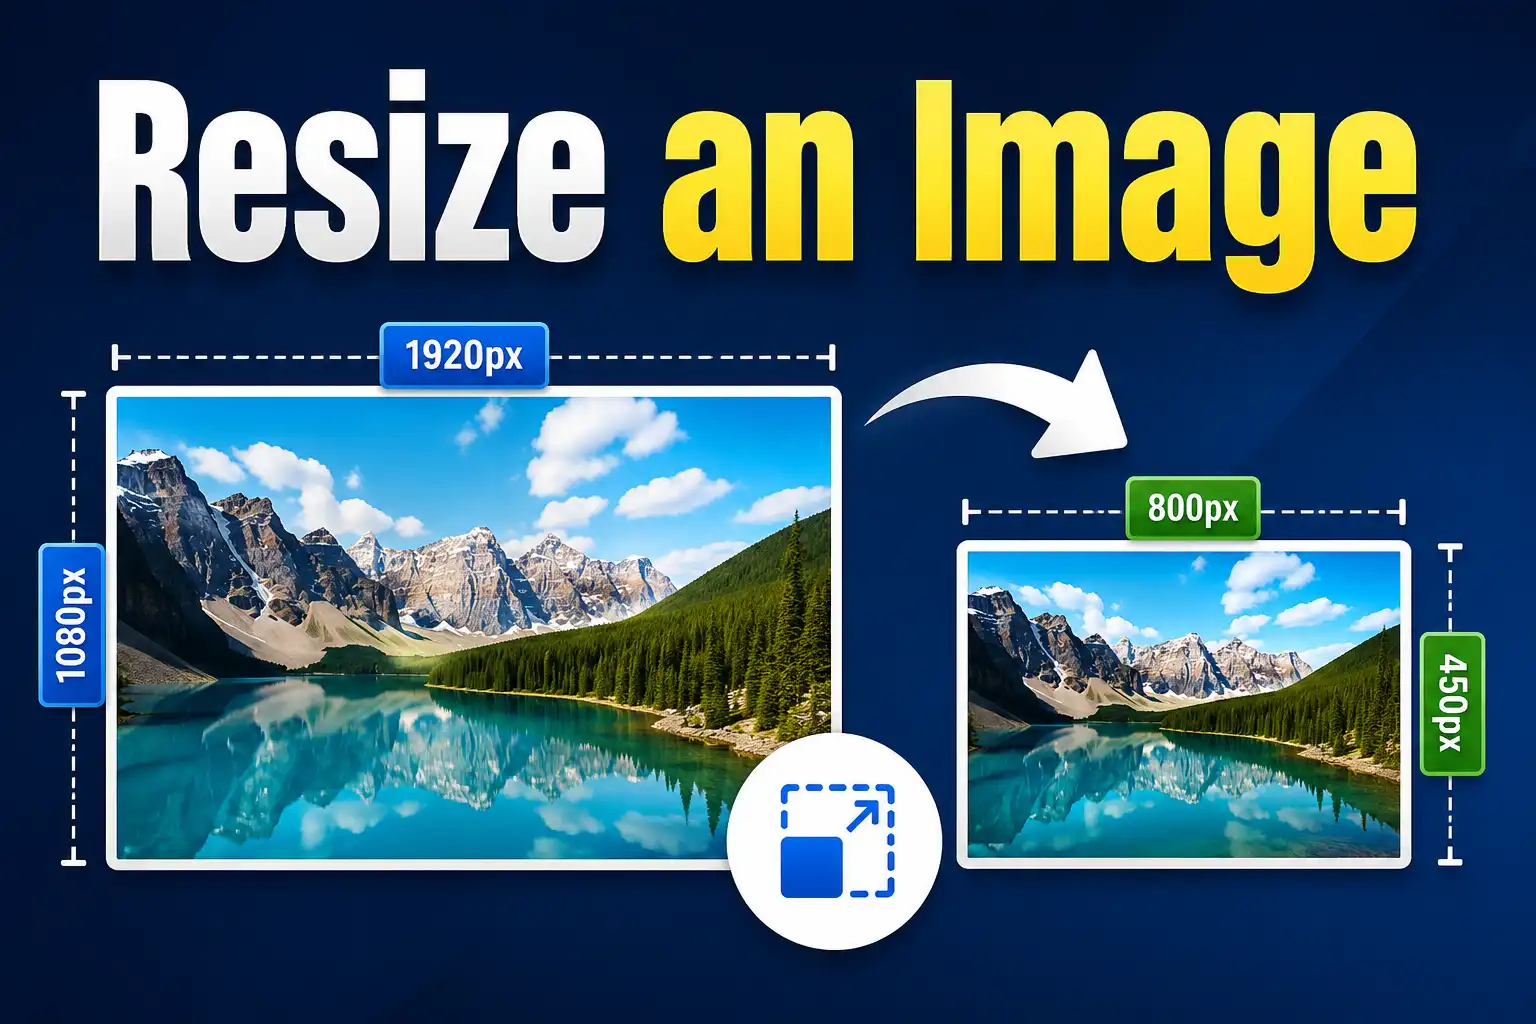
Resizing changes the pixel dimensions of an image. For example, you might take a photo measuring 4000 × 3000 pixels and create a smaller version measuring 1080 × 1350 pixels for a portrait Instagram post.
However, changing dimensions isn't always as simple as typing a new width and height.
Your original image has its own shape, known as its aspect ratio. If that shape doesn't match the Instagram format you want, forcing the image into new dimensions can distort it.
For example, imagine you have a landscape photo:
3000 × 2000 pixels
This is a 3:2 image. If you directly force it into a 1080 × 1350 portrait format, the image proportions change. Faces can appear taller, objects can look narrower, and text can become distorted.
In most cases, you should either preserve the original proportions or crop the image before resizing it.
Resize vs Crop: Know the Difference Before Editing
Many Instagram image problems happen because resizing and cropping are treated as the same thing. They aren't.
| Action | What Happens | When You Need It |
|---|---|---|
| Resize | Changes image width and height | The image needs different pixel dimensions |
| Crop | Removes part of the image | The original shape doesn't match the target format |
| Compress | Reduces file size | The image file is unnecessarily large |
| Convert | Changes the file format | You need a different image format |
Suppose you have a wide landscape photograph and want to turn it into a square Instagram post. Resizing alone can make the image look squeezed. Cropping removes part of the width so the remaining image fits naturally into a square.
If your composition needs adjustment before changing dimensions, you can crop the image to the right shape first.
How to Resize Image for Instagram Without Stretching It
The safest approach is to preserve the original aspect ratio whenever the target format has the same shape as your source image.
For example, suppose your original image is:
2400 × 1600 pixels
The ratio is 3:2.
If you reduce the width to 1200 pixels while keeping the same proportions, the height should become 800 pixels:
2400 × 1600 → 1200 × 800
The image remains visually proportional because both dimensions are reduced by the same ratio.
The problem starts when you change only one dimension or force both dimensions into an unrelated shape.
For example:
2400 × 1600 → 1080 × 1080
This changes a rectangle into a square. Unless the image is cropped or placed inside a larger canvas, forcing those dimensions will distort the original image.
Best Size for a Square Instagram Post
A square Instagram post uses a 1:1 aspect ratio. A commonly used working size is:
1080 × 1080 pixels
Square images are useful when:
- The main subject is centered.
- You are posting a product image.
- You are creating a quote graphic.
- You want a format that can also work across other social platforms.
- You have a logo or simple design with balanced spacing.
If your original photo is rectangular, don't simply force it into a square. Check whether important parts of the image can be cropped without damaging the composition.
For example, a portrait of one person may crop well into a square. A group photo with several people standing across the frame may not.
Best Size for an Instagram Portrait Post
Portrait images use more vertical space in the feed than square images. A commonly used portrait format is:
1080 × 1350 pixels
This uses a 4:5 aspect ratio.
A portrait layout can work particularly well for:
- Product photography
- Fashion images
- Portrait photography
- Before-and-after graphics
- Blog promotion graphics
- Vertical infographics
- Text-based social designs
The extra vertical space gives you more room to work with, but it also means a wide landscape image may require significant cropping.
Best Size for Instagram Stories
Stories are designed for a full-screen vertical viewing experience. The commonly used 9:16 format is:
1080 × 1920 pixels
A regular landscape photo usually doesn't fit this shape naturally. If you stretch a horizontal image vertically, it will look distorted. If you simply place it in the middle of a vertical canvas, you may end up with large empty areas above and below it.
For Stories, it is often better to create a dedicated vertical version rather than trying to force a horizontal image into a tall format.
If your image includes text, logos, or important visual details, avoid placing essential elements at the extreme edges of the design. Interface elements can overlap parts of the screen depending on how the content is displayed.
What Happens When You Resize an Image?
An image is made from pixels. When you resize it smaller, the image-processing software reduces the number of pixels used to represent the picture.
For example:
4000 × 3000 pixels = 12 million pixels
After resizing to:
1000 × 750 pixels = 750,000 pixels
The resized version contains significantly fewer pixels than the original.
This is why reducing image dimensions can also reduce file size. However, dimensions aren't the only factor affecting file size. Image format, compression settings, image detail, and transparency can also make a significant difference.
Will Resizing an Image Reduce Its Quality?
Resizing doesn't automatically mean an image will look bad. Reducing a large image to a smaller size can produce a clean result when the final image is viewed at the intended dimensions.
Problems are more likely when you enlarge a small image.
Suppose you have a 400 × 400 pixel image and want to make it 2000 × 2000 pixels. The new version requires many additional pixels that weren't present in the original. Image-processing software has to estimate how those additional pixels should look.
The result may appear softer than the original.
For Instagram content, it is generally better to start with a sufficiently detailed original image and resize downward when necessary rather than repeatedly enlarging small files.
Should You Resize Before or After Cropping?
When both cropping and resizing are required, the usual workflow is:
- Start with the original image.
- Choose the Instagram format you need.
- Crop the composition to the correct aspect ratio.
- Resize the cropped image to the final pixel dimensions.
- Check the image format and file size.
- Upload and review the result.
This gives you better control over composition.
For example, if you have a wide photograph and want a 1080 × 1350 portrait image, cropping first lets you decide which part of the photograph should remain visible. Resizing afterward simply adjusts the cropped version to the final dimensions.
If you resize first and crop later, you can still get a usable result, but you may be working with fewer pixels than necessary.
How to Resize Image for Instagram Online
You don't need to install image-editing software just to create a new version of a photo for Instagram. The basic process is straightforward.
- Choose the Instagram placement.
- Identify the correct aspect ratio.
- Check whether your original image already has the same shape.
- Crop the image if the aspect ratio needs to change.
- Enter the target width and height.
- Keep the proportions consistent when the image should not be distorted.
- Save the resized version separately from the original.
When you simply need to change image dimensions, you can resize an image for Instagram with the MiniToolsPro Image Resizer.
Example: Resize a Landscape Photo for an Instagram Post
Imagine you have a blog header image measuring:
1920 × 1080 pixels
This is a wide 16:9 landscape image.
Now you want to create an Instagram portrait post measuring 1080 × 1350 pixels.
The two images have completely different aspect ratios:
- Original: 16:9
- Target: 4:5
You cannot change the original directly into the target dimensions without deciding on the extra image area.
You have several options:
Option 1: Crop the Image
Remove parts of the left and right sides until the remaining composition fits the portrait shape. This works well if the main subject is near the center.
Option 2: Add Background Space
Keep the entire landscape image and place it within a vertical canvas. You may add a background color or a blurred version of the image behind it.
Option 3: Create a Separate Composition
For important marketing graphics, the best result may come from redesigning the image specifically for the portrait format.
The right choice depends on what the image contains. A product image with a centered object may crop easily. A panoramic landscape photograph may lose too much information.
Don't Confuse Image Dimensions With File Size
This is one of the most common image-editing mistakes.
Image dimensions are measured in pixels:
1080 × 1080 pixels
File size is measured in units such as:
- KB
- MB
Two images with identical dimensions can have very different file sizes.
For example, two 1080 × 1080 images may differ because one is a detailed photograph and the other is a simple graphic. The file format and compression settings can also produce different file sizes.
If your image already has the correct Instagram dimensions but the file is unnecessarily large, resizing may not be the only solution. You may need to compress the image to reduce its file size.
Which Image Format Should You Use for Instagram?
The best format depends on the image and your workflow.
JPG or JPEG
JPG is commonly used for photographs and images containing many colors. It can produce relatively small files, although repeated saving and aggressive compression can introduce visible artifacts.
PNG
PNG is useful for graphics that need transparency or very sharp edges, such as logos and certain text-heavy designs. PNG files can sometimes be larger than comparable JPG images.
WebP
WebP is widely used on websites because it can provide efficient file sizes. Before preparing an image specifically for a social media upload, check that the platform and your workflow accept the format you plan to use.
If you need to change an image format, convert it before preparing the final version.
Common Mistakes When Resizing Images for Instagram
Stretching the Image to Fit Exact Dimensions
This happens when width and height are changed independently without considering the original aspect ratio. People can appear unusually tall or wide, and circular objects can become oval.
Using One Image Shape for Every Instagram Placement
A square feed post and a vertical Story serve different visual purposes. One design may technically work everywhere, but it may not make the best use of the available space.
Making a Small Image Much Larger
Increasing the pixel dimensions of a small image does not create genuine detail. The enlarged version may look soft or pixelated.
Repeatedly Resizing the Same File
Keep the original image whenever possible. Create each new size from the best available source rather than taking a small version and resizing it again for another platform.
Ignoring the Composition After Resizing
The numbers may be correct while the image still looks wrong. Always check whether faces, products, logos, and important text remain properly positioned after cropping and resizing.
A Better Workflow When You Need Multiple Instagram Sizes
If you regularly publish the same campaign across Instagram posts, Stories, and other platforms, keep one high-quality master file and create separate versions.
A practical workflow might look like this:
- Master image: Keep the highest-quality editable version.
- Square version: Prepare for a 1:1 composition.
- Portrait version: Adjust for a 4:5 composition.
- Landscape version: Preserve a wide composition where appropriate.
- Story version: Create a dedicated 9:16 vertical design.
This approach is especially useful for images containing text. A headline that looks balanced across a wide landscape design may become too small or awkwardly wrapped when squeezed into a vertical image.
Resize Image for Instagram Without Losing the Original
Always treat your original file as the source. Save the Instagram version as a separate copy.
For example:
- original-product-photo.jpg
- product-photo-instagram-square.jpg
- product-photo-instagram-portrait.jpg
- product-photo-story.jpg
This makes it easier to create new sizes later. You won't have to enlarge a previously reduced image because the original remains available.
FAQ
What size should I resize an image for an Instagram post?
For a square post, 1080 × 1080 pixels is a commonly used size. Portrait posts are commonly prepared at 1080 × 1350 pixels. The right choice depends on the composition and where the image will appear.
Can I resize a landscape image for Instagram?
Yes. If you want to keep the landscape format, resize it proportionally. If you want to turn it into a square or portrait image, you will usually need to crop part of the image or create a new composition.
Why does my resized Instagram image look stretched?
The new width and height probably changed the original aspect ratio. Resize proportionally when possible, or crop the image to the target shape before changing the final dimensions.
Should I crop or resize first for Instagram?
If the original image has a different aspect ratio from your target format, crop first and resize afterward. This gives you control over which parts of the image remain visible.
Does resizing reduce image file size?
Reducing pixel dimensions can reduce file size, but file size also depends on the image format and compression. If dimensions are already correct, compression may be more appropriate than further resizing.
Prepare the Image for the Placement, Not Just the Platform
There isn't one universal Instagram image size that works perfectly everywhere. A square feed post, portrait post, landscape image, and Story each use space differently. Start by choosing the placement, match the aspect ratio, crop when necessary, and then resize the final image.
When you need a quick new version of your image, resize your image for Instagram with the MiniToolsPro Image Resizer and keep the original file untouched so you can prepare other sizes whenever you need them.
Share this article 👇
0 Comments