
Table of Contents
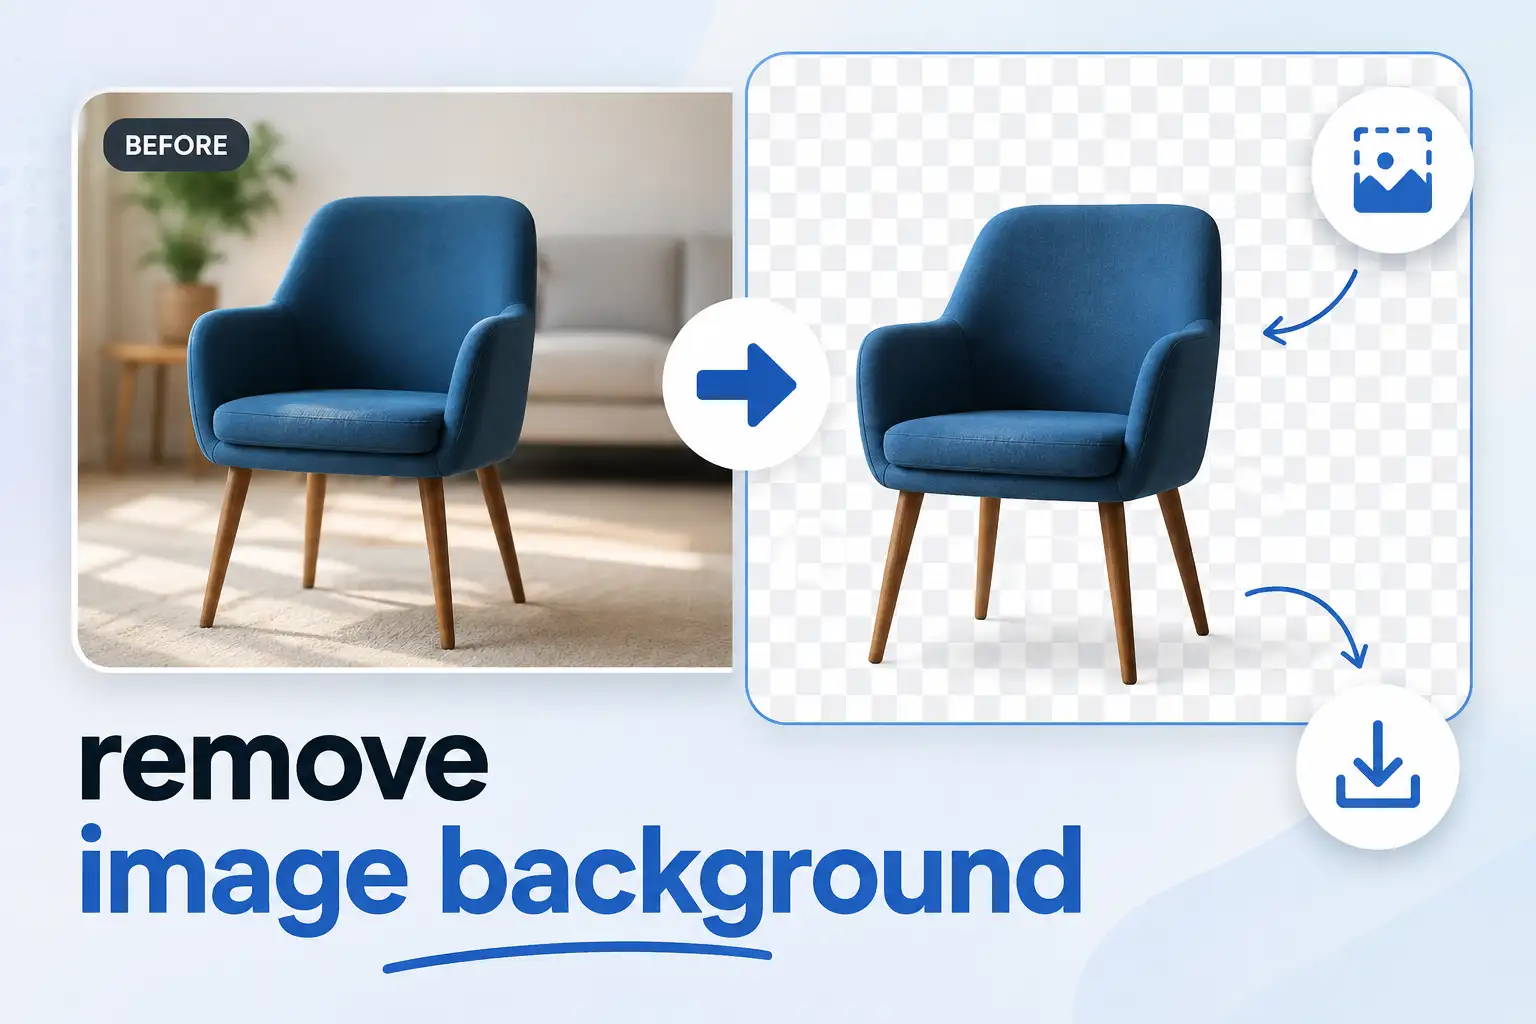
Removing an image background used to require Photoshop skills and careful manual selection. Now you can do it in under a minute with a free online background remover. The process is simple: upload your image, let the tool detect the subject, and download a transparent PNG. Here's exactly how to do it, plus tips for getting clean results.
This guide covers the complete workflow, common problems, and what to do after you've removed the background. Whether you're creating product photos, profile pictures, marketing graphics, or social media content, you'll know how to get professional-looking results without installing anything.
Why Remove an Image Background?
Background removal isolates the subject of an image so you can place it on a different background or use it as a standalone element. This is essential for:
- E-commerce product photos: Marketplaces like Amazon and eBay often require clean white backgrounds. Sellers remove busy backgrounds to meet platform requirements and make products stand out.
- Profile pictures: A clean headshot on a neutral or transparent background looks more professional than a cluttered photo.
- Marketing graphics: Designers isolate products, people, or objects to combine them into banners, ads, and social media posts.
- Presentations: Removing backgrounds from logos, product shots, or speaker photos creates cleaner slides.
- Print materials: Isolated subjects print more cleanly on brochures, flyers, and catalogs.
The common thread is flexibility. Once the subject is isolated, you can place it anywhere without the original background interfering.
How Online Background Removal Works
Modern background removal tools use machine learning models trained on millions of images. These models recognize what constitutes a subject — a person, product, animal, or object — and distinguish it from the background.
The process typically works like this:
- You upload an image.
- The tool analyzes the image and identifies the foreground subject.
- A mask is created, marking which pixels belong to the subject and which belong to the background.
- The background pixels are removed or made transparent.
- You download the result, usually as a PNG with a transparent background.
The entire process takes seconds for most images. Quality depends on how clearly the subject contrasts with the background and how complex the edges are.
Step-by-Step: How to Remove Image Background Online Free
Step 1: Choose the right image
Background removal works best when the subject is clearly defined. Images with a single main subject, good lighting, and contrast between the subject and background produce the cleanest results. Photos with multiple subjects, busy backgrounds, or subjects that blend into the background are more challenging.
Step 2: Upload your image
Go to a free online background remover and upload your file. Most tools support common formats like JPG, PNG, and WebP. The upload is processed in your browser or on the tool's server, depending on the service.
Step 3: Let the tool process the image
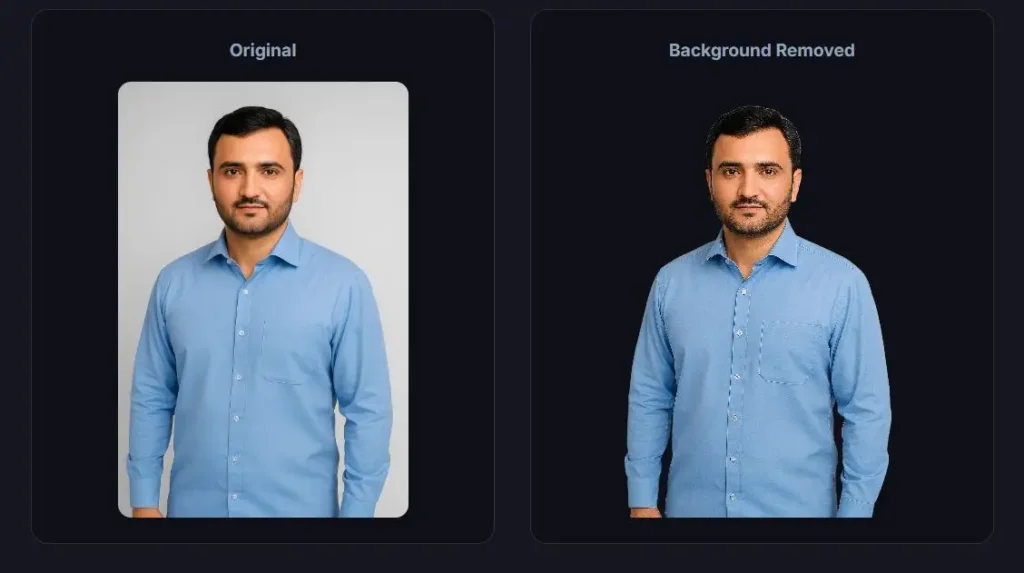
After uploading, the tool automatically detects the subject and removes the background. This usually takes a few seconds. You'll see a preview showing the subject on a checkered or transparent background.
Step 4: Review the result
Check the edges carefully. Look for areas where the background wasn't fully removed or where parts of the subject were accidentally cut away. Pay special attention to hair, fur, transparent objects, and fine details — these are the most common problem areas.
Step 5: Download the image
Download the result as a PNG file. PNG format preserves the transparency, which is essential if you plan to place the subject on a different background later. Avoid downloading as JPG, which doesn't support transparency and will fill the background with white.
What to Do After Removing the Background
Once you have a transparent PNG, several follow-up steps can improve the final result.
Place the subject on a new background
Open your transparent PNG in any design tool and add a new background layer. This could be a solid color, gradient, pattern, or a completely different photo. Position the subject and adjust the size as needed.
Clean up rough edges
If the automatic removal left jagged edges or small artifacts, you can clean them manually. Most design tools have an eraser or mask tool that lets you refine edges. Zoom in and work carefully around problem areas.
Compress the final image
Transparent PNGs can be large. If you're using the image on a website, compress the image to reduce file size without visible quality loss. This improves page load speed and bandwidth efficiency.
Resize if needed
If the image is larger than necessary for its display space, resize it to the correct dimensions. This further reduces file size and ensures crisp display.
Common Problems and How to Fix Them
Background remnants around hair or fur
Fine hair and fur are the hardest things for automatic tools to handle. If the result shows background color in these areas, try using an image with better contrast between the subject and background. You can also manually clean the edges in a design tool with a soft eraser.
Parts of the subject were removed
If the tool accidentally cut away part of the subject, the issue is usually low contrast or a subject that blends into the background. Try a different image with better lighting, or use a tool that allows manual touch-ups after automatic removal.
Jagged or rough edges
Jagged edges occur when the tool struggles to define the boundary precisely. Zooming in and manually smoothing edges in a design tool is the most reliable fix. Some background removers also offer edge-smoothing settings.
The subject is too small or too large
After removing the background, you may find the subject doesn't fit your intended use. Resize the image to the correct dimensions before placing it on a new background.
Transparent areas filled with white
This happens when you save or export as JPG. JPG doesn't support transparency and automatically fills transparent areas with white. Always use PNG or WebP for images with transparent backgrounds.
Best Practices for Clean Background Removal
Start with high-quality source images
The quality of the input directly affects the quality of the output. Sharp, well-lit images with clear subject separation produce dramatically better results than blurry or low-contrast photos.
Use images with a single clear subject
Background removal tools work best when there's one obvious subject. Group photos or complex scenes with multiple subjects often produce imperfect results that require manual cleanup.
Check the result at full size
Don't judge the result from a small preview. Zoom in to check edges, hair, and fine details. What looks acceptable at thumbnail size may reveal problems at full resolution.
Keep the transparent PNG as your master
Once you have a clean transparent PNG, save it as your working file. Create JPGs or WebPs from this master for specific uses, but always keep the transparent version for future flexibility.
When Free Background Removal Isn't Enough
Automatic background removal works impressively well for most everyday uses. But there are situations where it falls short:
- Complex edges: Flyaway hair, transparent objects, and intricate patterns often need manual work.
- Low-contrast images: When the subject and background are similar in color or brightness, automatic tools struggle.
- Multiple subjects: Tools expect one main subject. Multiple people or objects confuse the algorithm.
- Fine details: Jewelry, mesh fabric, and thin objects often get partially removed.
In these cases, a free online tool can still do the initial work, followed by manual refinement in a design tool. The automatic step saves the bulk of the effort even when it's not perfect.
Frequently Asked Questions
Is online background removal really free?
Many online tools offer free background removal with certain limitations. Some impose file size limits, watermark results, or restrict the number of images you can process per day. Check the specific tool's terms before relying on it for bulk work.
What format should I use for background removal?
Upload JPG, PNG, or WebP files. Download as PNG to preserve transparency. WebP also supports transparency and produces smaller files for web use, but PNG is more universally compatible.
Can I remove the background from a photo on my phone?
Yes. Most online background removers work in mobile browsers. Upload the photo from your phone's gallery, process it, and download the result directly to your device.
Why does my downloaded image have a white background?
You likely saved it as a JPG. JPG doesn't support transparency. Download as PNG or WebP instead to keep the background transparent.
How accurate is automatic background removal?
For simple, well-lit images with a single clear subject, automatic tools are highly accurate — often 95% or better. Accuracy drops with complex edges, low contrast, and multiple subjects.
Can I remove backgrounds from images in bulk?
Some tools support batch processing, but most free tools handle one image at a time. For bulk work, you may need a paid plan or a dedicated batch processing tool. Check the specific tool's capabilities before starting a large project.
Choose the Right Background Removal Approach
If you're removing a background for a specific purpose, the best approach can vary depending on the image. Product photos, LinkedIn and profile photos, and images with logos or fine details can all require slightly different techniques.
Making Background Removal Part of Your Workflow
Removing image backgrounds no longer requires specialized skills or expensive software. The process takes seconds with a free online tool, and with the right preparation and follow-up, you can produce professional results consistently.
Start with the best source image you can find, use the MiniToolsPro background remover to isolate your subject, then refine and optimize the result for your specific use. Keep the transparent PNG as your master, and you'll always have flexibility to place the subject on any background you need.
Once the background is removed, you may also need to decide whether to keep the image transparent or use a solid background. Our guide to transparent PNG vs. white background explains when each option makes more sense.
Share this article 👇


0 Comments