
Table of Contents
Have you ever downloaded an image from the web, only to have it turn into a blurry, pixelated mess when you tried to print it? Or perhaps you've uploaded a photo to your website, and it slowed everything down because the file was massive?
You're not alone. These are the most common symptoms of confusing image size with image resolution. While they sound similar, they are fundamentally different concepts that directly impact your website's performance and your images' visual quality.
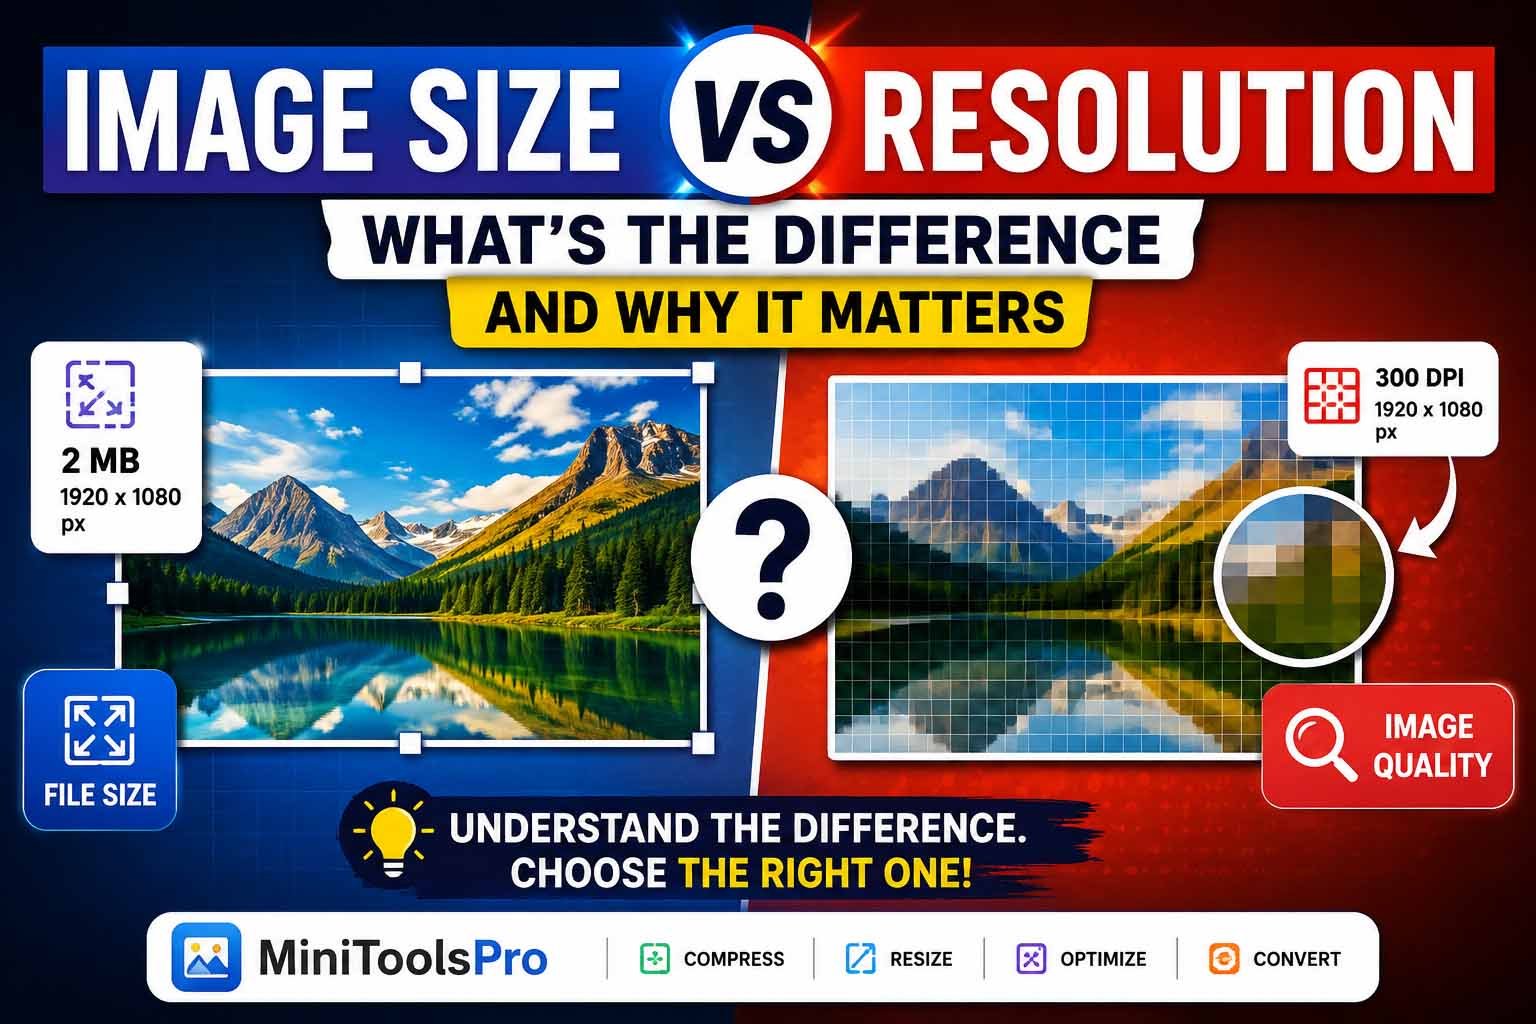
In simple terms, image size (often called pixel dimensions) refers to the width and height of an image measured in pixels, while image resolution refers to the detail an image holds, measured in pixels per inch (PPI) or dots per inch (DPI).
This guide will clearly explain the difference between image size and resolution. By the end, you will understand how to choose the right settings for any situation, from sharing images on social media to printing professional-quality photos. We'll also show you how to use MiniToolsPro's free Image Compressor to optimize your images effortlessly.
What is Image Size?
Image size refers to the total number of pixels that make up a digital image. It is typically expressed as pixel dimensions, such as 1920 x 1080. The first number (1920) is the width, and the second (1080) is the height.
Think of an image as a grid made of tiny squares called pixels. The more squares you have, the larger the image is in terms of its dimensions. For example, an image that is 4000 x 3000 pixels has 12 million pixels (12 megapixels), which is much larger than an 800 x 600 pixel image (0.48 megapixels).
Measuring Image Size
- Pixels: The standard unit of measurement for digital displays. It tells you how many individual points of color are in the image.
- Megabytes (MB) / Kilobytes (KB): This is the file size, which is how much storage space the image takes up on your hard drive or server. A large pixel dimension generally leads to a larger file size.
What is Image Resolution?
Image resolution is the measure of detail in an image. It is most often quantified as pixels per inch (PPI). This number describes how many pixels are packed into one linear inch of the image.
The concept of DPI (dots per inch) is very similar but primarily used for printing, describing how many dots of ink a printer uses per inch.
The Impact of Resolution
- High Resolution: A high PPI (e.g., 300 PPI) means pixels are packed closely together, resulting in a sharp, detailed image. This is essential for high-quality prints.
- Low Resolution: A low PPI (e.g., 72 PPI) means pixels are spread further apart. This results in a less detailed image, which is perfectly acceptable for web use but will appear blurry or pixelated when printed.
Why the Difference Matters
Understanding the distinction between image size and resolution is crucial for several practical reasons.
For the Web and Digital Displays
Computer monitors, phones, and tablets display images at a resolution of 72 PPI or 96 PPI. When preparing an image for the web, the pixel dimensions are what matters most. An image that is 1920 x 1080 pixels will look great on a standard monitor, regardless of whether its internal resolution is set to 72 PPI or 300 PPI. The display will simply show each pixel as a single point of color.
Key takeaway: For websites and social media, focus on pixel dimensions, not PPI. A large file size is the enemy of website loading speed. A bloated image can slow down your site, hurt your SEO rankings, and frustrate users. This is where tools like the Image Compressor are invaluable for reducing file size without significantly sacrificing quality.
For Printing
The world of print has different rules. Since printers use tiny dots of ink to create an image, they require a high resolution to produce a sharp result. The standard minimum resolution for high-quality prints is 300 DPI.
This is where the critical relationship between image size (pixel dimensions) and resolution (PPI/DPI) becomes clear. You calculate the maximum print size of an image by dividing its pixel dimensions by its resolution.
For example, let's say you have a 4000 x 3000 pixel image.
- At 300 DPI, the maximum print size is 4000 / 300 = 13.3 inches wide and 3000 / 300 = 10 inches tall.
- If you try to print this same image at 24 x 18 inches, its resolution would drop to only 166 DPI, resulting in a blurry, unprofessional print.
How Image Size and Resolution Work Together
Image size and resolution work together like a seesaw.
- Increase Resolution, Decrease Size: If you increase the PPI (pack more pixels into each inch) of an image, the printable dimensions of that image will shrink, but the image will be sharper. The pixel dimensions, however, do not change.
- Decrease Resolution, Increase Size: If you decrease the PPI (spread the same pixels over more inches), the printable dimensions grow, but the image becomes less detailed and risks looking pixelated.
Think of a bucket filled with 100 marbles. The bucket is your image size (pixel dimensions), and the marbles are your resolution (PPI). If you try to fill a larger bucket (print a bigger image) with the same 100 marbles, the marbles will be spread further apart, and the image will look less dense or sharp.
Image Size vs Resolution: A Quick Comparison Table
| Feature | Image Size (Pixel Dimensions) | Image Resolution (PPI / DPI) |
|---|---|---|
| What it Measures | The number of pixels (width and height) | The number of pixels per inch of an image |
| Common Units | Pixels (e.g., 1920 x 1080) | PPI (Pixels Per Inch), DPI (Dots Per Inch) |
| Primary Impact | File size and display dimensions | Image sharpness and print quality |
| Important For | Websites, social media, mobile devices | High-quality printing, professional photography |
| Can you change it? | Yes, by resizing or resampling the image | Yes, by changing the PPI value in an image editor |
Common Mistakes to Avoid
Many people fall into the same traps when dealing with image size and resolution. Avoid these common mistakes:
- Enlarging a Small Image: Taking a tiny image (like a 72 PPI web graphic) and making it larger in your editing software will not add detail. It will only stretch the existing pixels, making the image look pixelated or blurry. You should not enlarge raster images but you can always make them smaller.
- Ignoring File Size: A massive file is a poor experience for web users. What looks good on your screen might not look half as good when printed.
- Using the Wrong Resolution: Submitting a low-resolution image for a magazine or brochure will result in a fuzzy print, while using a high-resolution image on a website will waste bandwidth and slow load times.
Step-by-Step Guide to Getting the Right Image Size and Resolution
Follow this simple guide to ensure your images look their best in any situation:
Step 1: Determine the Image's Purpose
- For Web: You only need to consider pixel dimensions. Common sizes include 1920 x 1080 for full-screen hero images, 1024 x 768 for standard web graphics, or smaller thumbnails.
- For Print: Identify the physical dimensions of your print (e.g., 8.5 x 11 inches) and the required DPI (usually 300 DPI for high quality).
Step 2: Calculate the Needed Pixel Dimensions
- For Web: Simply set your image editor to the desired pixel width and height.
- For Print: Use this formula: Pixels = Inches x DPI. For an 8.5 x 11-inch flyer at 300 DPI, you would need an image that is 2550 x 3300 pixels (8.5 * 300 = 2550; 11 * 300 = 3300).
Step 3: Check Your Image's Current Properties
- Right-click on the image file on your computer and select "Properties" (Windows) or "Get Info" (Mac).
- Look for the "Details" tab. Here, you will see the image's pixel dimensions and its resolution (PPI/DPI).
Step 4: Resize or Resample if Necessary
- If your image is too large (e.g., for web use), you need to resample it to smaller pixel dimensions. Resampling means the software will discard some pixels to shrink the image.
- If your image is too small for its intended print size, you have a problem. You cannot easily add more detail. You can try to add pixels (upsampling), but the results are often poor and you should start with a larger, higher-quality source image.
- Ensure you do not needlessly increase resolution. A 100 x 100 pixel image set at 300 DPI is still a 100 x 100 pixel image.
Step 5: Compress Your Images for the Web
This is a crucial final step for any web image. The Image Compressor at MiniToolsPro is the easiest and fastest way to reduce your file sizes, making your website lightning-fast and saving valuable storage space.
Expert Tips for Perfect Images
- Always Start with the Highest Quality Possible: You can always make a high-resolution image smaller, but you can't truly create detail out of thin air. Source the highest quality image you can find.
- Save a Master Copy: Before you start cropping, resizing, and compressing, save a copy of your original, high-resolution image. This way, you can always go back and create different versions for other purposes.
- Raster vs. Vector Graphics: Raster images (like JPG, PNG, GIF) are made of pixels and lose quality when scaled up. Vector graphics (like SVG, EPS) are made of mathematical paths and can be scaled to any size without losing quality. Use vectors for logos and icons.
- When preparing an image for web use, the pixel dimensions are the only factor that matters for display. A 1920x1080 image will appear the same on your screen regardless of whether its resolution is set to 72 PPI or 300 PPI.
Frequently Asked Questions (FAQs)
What is the difference between image size and image resolution?
Image size refers to the pixel dimensions of an image (its width and height in pixels), while image resolution refers to the density of those pixels, measured in PPI (pixels per inch) or DPI (dots per inch). Image size determines how large the image appears on a screen, while resolution determines how sharp and detailed the image will appear, especially in print.
Does a higher resolution mean a larger image size?
Not necessarily. Resolution (PPI/DPI) and image size (pixel dimensions) are different concepts. You can have a small image (e.g., 500 x 500 pixels) with a high resolution (300 PPI), or a large image (e.g., 4000 x 3000 pixels) with a low resolution (72 PPI). The pixel dimensions determine the image's size on a screen, while the PPI value determines print quality.
What resolution is best for printing photos?
For high-quality photo prints, a resolution of 300 DPI is the standard benchmark. This ensures that the image has enough detail to appear sharp and clear when printed. For larger prints that will be viewed from a distance, such as billboards, a lower DPI (e.g., 150 DPI) may be acceptable.
What resolution is best for web images?
For web use, the resolution (PPI) doesn't matter for how the image is displayed on screen. What matters are the pixel dimensions. However, to ensure fast loading times, you must consider the file size (KB/MB). This is why using an image compressor to reduce file size is essential, regardless of the resolution you set.
Can I increase the resolution of a low-resolution image?
Technically, you can (by upsampling), but you cannot create new detail. The software will simply add more pixels by guessing the colors of the in-between pixels, which usually results in a blurry or soft image. It's always better to start with a high-resolution original.
What is the difference between PPI and DPI?
PPI (Pixels Per Inch) is a digital measurement that refers to how many pixels are packed into a digital image file's display. DPI (Dots Per Inch) is a physical measurement used in printing that describes how many dots of ink a printer lays down on paper. In practice, the terms are often used interchangeably, but PPI is for digital screens, and DPI is for print.
How do I reduce an image's file size without losing quality?
The best way to reduce file size is to use a dedicated image compression tool. The Image Compressor at MiniToolsPro uses intelligent algorithms to reduce file size while preserving image quality. You can also reduce the pixel dimensions (image size) to a more appropriate size for your use case, such as for web display.
What is resampling in image editing?
Resampling is the process of changing the total number of pixels in an image. When you resize an image and change its pixel dimensions (e.g., from 4000 x 3000 to 800 x 600), you are resampling the image. This can involve either adding pixels (upsampling) or removing pixels (downsampling).
What does "pixelated" mean?
A pixelated image is one where the individual pixels are visible to the naked eye. This happens when an image is enlarged beyond its intended size, or when the image has a low resolution (like 72 PPI) and is stretched too far. The image appears blocky and lacks the smooth, sharp detail of a high-resolution image.
Does compressing an image reduce its resolution?
Compressing an image reduces its file size (the amount of data it contains). This is different from reducing its resolution (PPI). However, some compression methods (like lossy compression) may discard some visual data to make the file smaller, which could affect image quality. A good compressor, like the one at MiniToolsPro, balances compression and quality well.
How do I check the resolution of an image on my computer?
You can easily check an image's resolution and pixel dimensions. On a Windows PC, right-click the image file, select "Properties," and go to the "Details" tab. On a Mac, right-click the file, select "Get Info," and look under the "More Info" section. You will see the image's pixel dimensions and its resolution.
Why is my image blurry when I print it?
The most common reason for a blurry print is that the image resolution is too low for the print size. The printer is trying to spread the limited pixel data over a large physical area, resulting in a loss of detail. Ensure your image has enough pixel density (300 DPI) for the dimensions you want to print.
How can I make my website images load faster?
To make your images load faster, you should reduce their file size. You can do this by using an Image Compressor like the one on MiniToolsPro. You should also ensure your image's pixel dimensions are no larger than necessary for the web (e.g., don't use a 4000x3000 pixel image for a website thumbnail).
What is the best format for images on the web?
JPEG is generally the best format for photographs and complex images because it offers a good balance of quality and file size. PNG is better for images that require transparency (like logos) but can have larger file sizes. For simple graphics and logos, consider using SVG, which is a vector format that scales without any loss of quality.
Do I need 300 DPI for images on my website?
No. For web use, the PPI/DPI setting is irrelevant. Computer monitors display images based on their pixel dimensions, not their DPI. You only need to worry about DPI when you are preparing an image for print. For the web, a 72 PPI image is perfectly fine as long as its pixel dimensions are correct.
Compress Your Images Online
Now that you understand the crucial difference between image size and resolution, you can ensure your images are ready for any purpose. For web use, the final and most important step is to reduce the file size of your images to ensure a fast, seamless user experience. A website that loads quickly will rank better and keep your visitors happy.
MiniToolsPro's Image Compressor is the ultimate online solution. It is completely free, works directly in your browser, and requires no installation. It's designed to be fast, secure, and incredibly easy to use. You can compress JPEG, PNG, WebP, and other image formats on both your desktop and mobile devices.
Our smart compression engine reduces your image file size significantly while preserving the visual quality your work deserves. Instead of manually adjusting pixel dimensions, you can let our tool do the hard work of optimizing your images for the web. Processing is secure and private, making it the perfect tool for photographers, web designers, and anyone who needs smaller image files.
Related Image Optimization Guides
Image dimensions, resolution, and file size affect how an image looks and performs online, but they are not the same thing. For practical ways to make images smaller, see our Image Compression Guide. If you want to reduce file size while preserving as much visual quality as possible, read How to Reduce Image Size Without Losing Quality. You can also learn how image compression works.
Ready to optimize your images and speed up your website? Try the Image Compressor today.
Final Thoughts
Navigating the worlds of image size and resolution is a fundamental skill for anyone who works with digital or printed images. Understanding that image size dictates how an image appears on a screen and that image resolution dictates its sharpness in print is the first step toward professional-grade results.
By avoiding common mistakes and following the simple step-by-step guide in this article, you can ensure your images always look their best, whether they are displayed on a 4K monitor or printed in a magazine. And for web users, the journey doesn't end at choosing the right pixel dimensions.
The final, critical step is to compress your images to reduce their file size, which protects your website from slow load times and poor user experience. MiniToolsPro's Image Compressor is a powerful, free, and easy-to-use online tool that makes this process effortless, helping you maintain a fast, efficient, and visually stunning website.
Important links
Google PageSpeed Insights, Web.dev Fast, Adobe, MDN Web Docs, W3C, Cloudflare
Share this article 👇


0 Comments