
Find the sweet spot between file size and image quality — and learn exactly how much compression your images can handle before they start to look bad.
You've probably asked yourself this question before: How much can I compress images before it looks terrible?
It's a fair question. You want your website to load fast. But you also want your images to look sharp and professional. The two goals often feel like they're pulling in opposite directions.
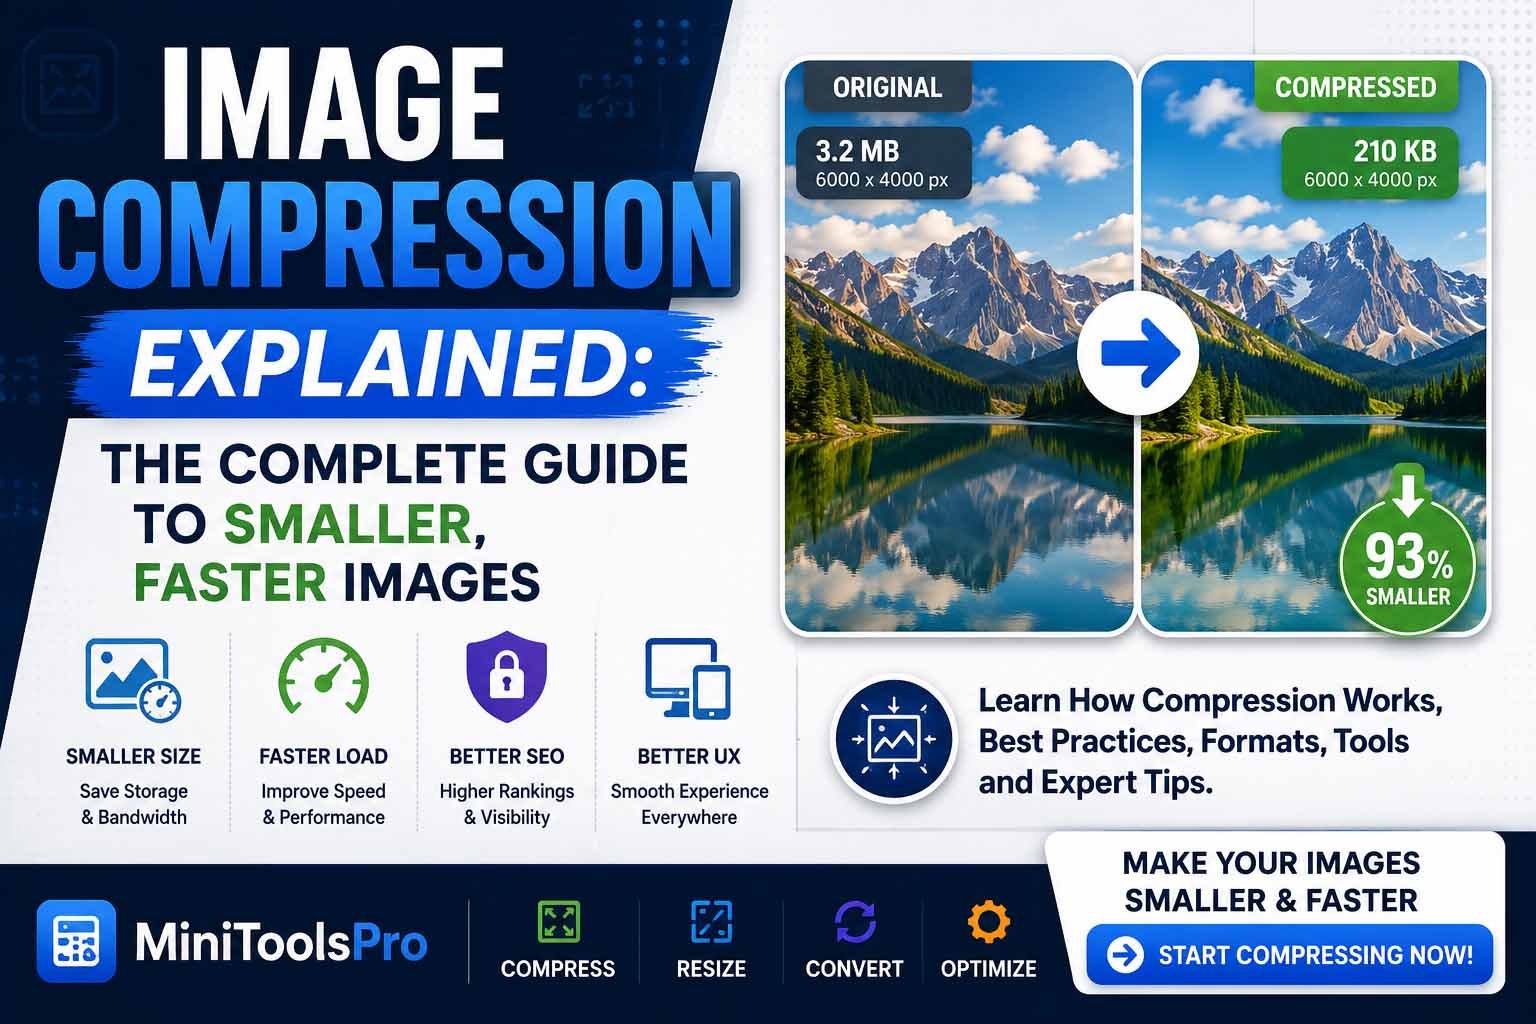
Here's the truth: you can compress most images by 60% to 80% without any noticeable loss in quality. In some cases, you can go even higher. But the exact number depends on several factors — the image format, the content of the image, and the compression method you use.
In this guide, we'll break down exactly how much you can compress different types of images. You'll learn the limits, the sweet spots, and the tools that help you find the perfect balance. By the end, you'll know exactly how far you can push your images without sacrificing quality.
We'll also show you how the MiniToolsPro Image Compressor lets you test different compression levels instantly, so you can see the results before you commit.
Table of Contents
The Short Answer: How Much Can You Really Compress?
Here's the quick answer:
- JPEG images – 60% to 80% file size reduction with mild quality loss. You can often go up to 90% reduction for simple images.
- PNG images – 20% to 50% reduction using lossless compression. Lossy PNG compression is not common and usually not recommended.
- WebP images – 25% to 35% smaller than JPEG with the same quality. You can often push further without visible artifacts.
These numbers are averages. Your actual results will vary based on the image itself. A photo with lots of detail and color variation will compress less than a simple graphic with flat colors.
Let's look at a real example:
| Image Type | Original Size | After 60% Compression | After 80% Compression |
|---|---|---|---|
| High-resolution product photo (JPEG) | 4.2 MB | 1.7 MB | 840 KB |
| Logo with transparent background (PNG) | 800 KB | 640 KB (lossless) | — (lossy not recommended) |
| Blog hero image (WebP) | 2.8 MB | 1.0 MB | 550 KB |
As you can see, the compression potential varies widely. The key is knowing where the limits are for your specific images.
What Determines How Much an Image Can Be Compressed?
Not all images compress equally. Here are the main factors that determine your compression ceiling.
Image content and complexity
An image with lots of fine detail, gradients, and colors (like a landscape photo) is harder to compress than a simple image with flat colors and sharp edges (like a logo or illustration).
Why? Because compression algorithms look for patterns and repetition. A blue sky has lots of repetition — easy to compress. A forest full of leaves has very little repetition — harder to compress.
Resolution and dimensions
Higher-resolution images contain more data. They can often be compressed more aggressively because there's more "extra" data to remove. A 4000-pixel-wide image can be compressed to a smaller percentage of its original size while still looking good.
File format
Some formats are designed for compression. JPEG and WebP are built to handle aggressive compression. PNG is not — it's designed for lossless preservation. You simply can't compress PNGs as much as JPEGs without losing quality.
Compression method (lossy vs. lossless)
Lossy compression removes data and gives you much smaller files. Lossless compression keeps all data and gives you smaller reductions. The method you choose directly affects how much you can compress.
Color depth and channels
Images with more color channels (like CMYK) or higher bit depth contain more data. This means they can be compressed more, but also that the quality loss may be more noticeable if you push too far.
Compression Limits by Image Format (JPEG, PNG, WebP)
Each format has its own compression behavior. Here's a detailed breakdown.
JPEG Compression Limits
JPEG is the most common format for photos and web images. It uses lossy compression by default.
| Compression Level | Quality Setting | Typical Size Reduction | Visual Quality |
|---|---|---|---|
| Light | 90–95% | 20–40% | Virtually identical to original. |
| Moderate | 75–85% | 50–70% | Very good — slight compression artifacts may appear on close inspection. |
| Aggressive | 50–70% | 70–85% | Acceptable for web use — visible artifacts but still usable. |
| Extreme | Below 50% | 85–95% | Poor quality — noticeable blurring, banding, and pixelation. |
For most web use, you can safely compress JPEGs to the 75–85% range. That gives you a 50–70% reduction in file size with quality that looks great on any screen.
PNG Compression Limits
PNG is designed for lossless compression. It's not meant to be compressed aggressively.
| Compression Method | Typical Size Reduction | Visual Quality |
|---|---|---|
| Lossless | 20–50% | Identical to original. |
| Lossy (PNGquant or similar) | 50–70% | Good — but may introduce color shifts or banding. |
For logos, icons, and graphics, stick with lossless compression. The 20–50% reduction is modest, but the quality stays perfect.
If you need smaller files, consider converting your PNG to WebP. WebP offers much better compression with the same visual quality.
WebP Compression Limits
WebP is a modern format that supports both lossy and lossless compression. It's designed to outperform JPEG and PNG.
| Compression Type | Typical Size Reduction (vs. JPEG) | Visual Quality |
|---|---|---|
| Lossy | 25–35% smaller than JPEG | Equivalent or better than JPEG at the same quality. |
| Lossless | 20–30% smaller than PNG | Identical to original. |
WebP is the best choice if you want maximum compression without sacrificing quality. It's supported by all major browsers and is becoming the standard for modern websites.
Lossy vs. Lossless Compression: What's the Difference in Limits?
Let's compare the two approaches side by side.
| Feature | Lossy Compression | Lossless Compression |
|---|---|---|
| File size reduction | 60–90% | 20–50% |
| Quality loss | Yes — some data is permanently removed. | No — all original data is preserved. |
| Best for | Photos, product images, web graphics. | Logos, screenshots, text-heavy images. |
| Maximum compression | Very high — you can go to 90%+ reduction. | Limited — you can't push beyond 50% without changing the image. |
| Reversible? | No — once compressed, data is gone forever. | Yes — you can always restore the original from the compressed version. |
The key takeaway: lossy compression offers much higher limits, but you trade quality for size. Lossless compression keeps quality perfect, but the size reduction is limited.
For most web use, lossy compression is the right choice. The quality loss at moderate levels (70–80%) is barely noticeable, and the file size benefits are enormous.
How to Find the Maximum Compression for Your Specific Image
You don't have to guess. There's a simple method to find the exact limit for any image.
Here's how to do it, step by step.
Step 1: Open a compression tool
Go to the MiniToolsPro Image Compressor. It's free, browser-based, and lets you test multiple compression levels quickly.
Step 2: Upload your image
Select the image you want to test. The tool will show you the original file size.
Step 3: Start with a moderate compression level
For JPEG, start at 80% quality. For PNG, start with lossless compression. For WebP, start at 75% quality.
Step 4: Check the preview
Look at the compressed preview. Does it look good? If yes, reduce the quality by 5% and test again.
Step 5: Repeat until you find the limit
Keep reducing the quality in small steps. At some point, you'll see artifacts, blurriness, or color banding. That's your limit.
Step 6: Step back one level
Once you find the point where quality drops, go back to the previous level. That's your maximum compression without quality loss.
This process takes about 2 minutes per image. Once you do it a few times, you'll start to recognize the patterns and know the limits for different types of images.
Real-World Examples: What Different Compression Levels Look Like
Let's look at three real scenarios to see how compression limits vary.
Example 1: Product photo for an online store
Original size: 4.8 MB (JPEG, 4000×3000 px)
- 80% quality: 1.2 MB (75% reduction) — looks identical to the original.
- 60% quality: 480 KB (90% reduction) — slight softness visible when zoomed in.
- 40% quality: 240 KB (95% reduction) — noticeable artifacts, not suitable for product display.
Maximum usable compression: 60–70% quality (approx. 85% file size reduction).
Example 2: Blog post hero image (landscape)
Original size: 2.1 MB (JPEG, 1920×1080 px)
- 85% quality: 600 KB (71% reduction) — excellent quality.
- 70% quality: 350 KB (83% reduction) — very good, minor artifacts only on close inspection.
- 50% quality: 180 KB (91% reduction) — visible compression but still acceptable for web use.
Maximum usable compression: 60–70% quality (approx. 80–85% file size reduction).
Example 3: Logo with transparent background (PNG)
Original size: 850 KB (PNG, 1200×800 px)
- Lossless compression: 620 KB (27% reduction) — identical quality.
- Lossy compression (PNGquant): 320 KB (62% reduction) — slight color shift in gradients.
- Convert to WebP: 180 KB (79% reduction) — excellent quality, better than PNG.
Maximum usable compression: Lossless for PNG (27% reduction) or convert to WebP for much better results.
These examples show that the maximum compression depends heavily on the image type and the intended use case.
When Should You Stop Compressing? Signs You've Gone Too Far
How do you know when you've crossed the line? Here are the warning signs.
Visible artifacts
If you see blocky patches, blurry edges, or strange color patterns, you've gone too far. These artifacts are a clear sign that the compression is destroying image quality.
Loss of detail
If the image looks soft or out of focus compared to the original, you've lost important detail. This is especially problematic for product photos where customers need to see texture and sharpness.
Color banding
If smooth gradients (like a sky or a product background) start showing visible bands of color, you've compressed too much. This looks unprofessional and cheap.
Text becomes unreadable
If the image contains text and the text becomes fuzzy or illegible, you've pushed too far. Text requires sharp edges, which lossy compression destroys quickly.
File size stops dropping
At a certain point, further compression will not reduce the file size significantly. This is a natural limit. If you're not seeing meaningful size reductions, there's no point in compressing further.
When you see any of these signs, step back to the previous compression level. That's your maximum.
Pro Tips for Maximizing Compression Without Losing Quality
Here are advanced techniques to push your compression limits further while keeping quality high.
Resize before you compress
Resizing reduces the total number of pixels. Compressing then works more effectively. A 1200-pixel-wide image compressed at 70% quality will look better than a 4000-pixel-wide image compressed at the same level.
Use WebP for maximum compression
WebP consistently outperforms JPEG and PNG. If your platform supports it, convert your images to WebP before compressing. You'll get the smallest possible file sizes with the best quality.
Test on the actual display size
If an image is displayed small on your site, you can compress it more aggressively. A 300×300 pixel thumbnail doesn't need the same quality as a full-screen hero image.
Always preview at 100% zoom
Don't trust a tiny preview window. Zoom in to 100% or even 200% to check for artifacts. If it looks good at 200%, it will look great at normal size.
Use lossless for text and graphics
Never use lossy compression for images with text, sharp lines, or important details. Lossless compression keeps those elements crisp.
Batch compress with consistent settings
If you have many similar images (e.g., product photos from the same shoot), compress them all with the same settings. This ensures consistent quality across your site.
Common Mistakes That Reduce Your Compression Potential
Avoid these mistakes to get the most out of your compression efforts.
Mistake #1: Compressing images that are already too large
If you upload a 6000-pixel-wide image and compress it to 80%, it will still be large. Always resize to the dimensions you need before compressing.
Mistake #2: Using the wrong format for the image type
Compressing a PNG photo will give poor results. Compressing a JPEG logo will give blurry edges. Use the right format for the right content.
Mistake #3: Over-compressing and not checking the results
Many people push compression too far and don't notice until the image is published. Always preview your compressed images before uploading.
Mistake #4: Assuming all images compress the same way
A simple graphic can be compressed 90% without issue. A complex photo might break down at 60%. Test each image individually.
Mistake #5: Forgetting to save the original
If you compress an image and lose the original, you can't go back. Always keep a copy of the original high-resolution image somewhere safe.
Mistake #6: Using the same compression level for everything
Different images need different compression settings. A product photo needs higher quality than a background pattern. Adjust your settings based on the image's purpose.
Frequently Asked Questions
1. What is the maximum compression for JPEG images?
For most JPEG images, you can compress to 60–70% quality (approx. 70–85% file size reduction) before quality drops noticeably. For simple images, you can sometimes go to 40–50% quality.
2. Can I compress an image by 90%?
Yes, but only in certain cases. Simple graphics with flat colors can be compressed 90% or more. Detailed photos will show significant quality loss at 90% compression.
3. What is the best compression level for web images?
For JPEG, use 75–85% quality. This gives you a 50–70% reduction with excellent quality. For WebP, use 70–80% quality for similar results.
4. Does compression affect image resolution?
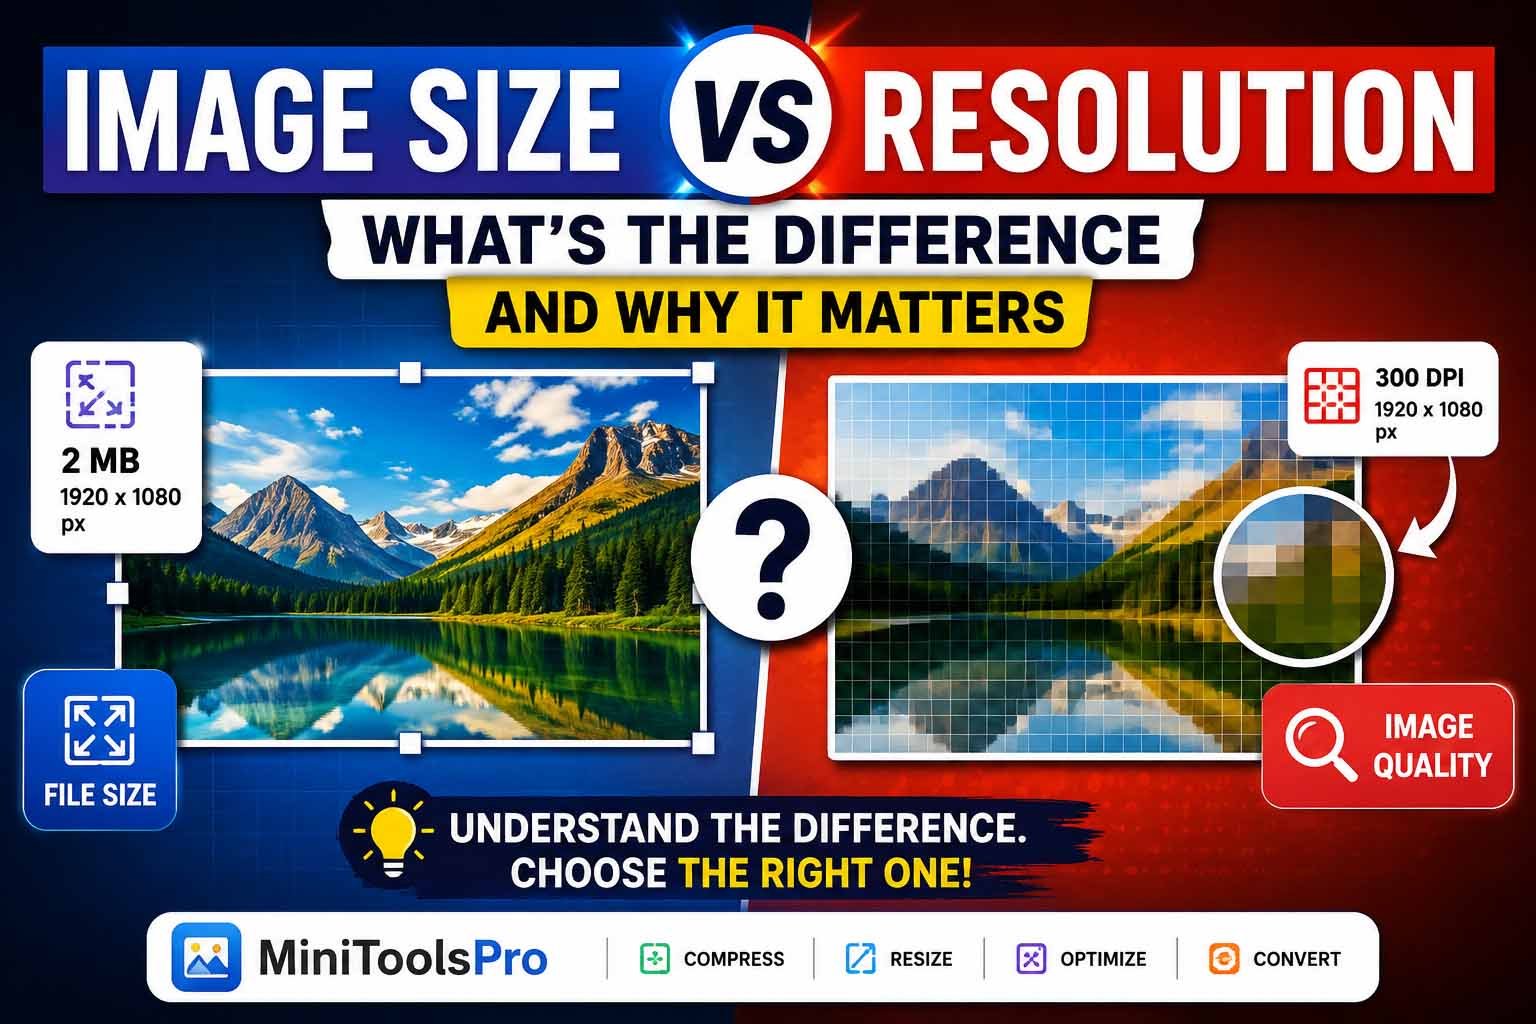
No. Compression reduces the file size, not the pixel dimensions. The image remains the same width and height. Resolution is only affected if you resize the image.
5. How much can I compress a PNG image?
Using lossless compression, you can reduce PNGs by 20–50%. If you use lossy compression, you can go further, but quality will suffer. Converting to WebP gives better results.
6. Is WebP better than JPEG for compression?
Yes. WebP offers 25–35% smaller file sizes than JPEG with the same visual quality. It also supports transparency and animation, making it a more versatile format.
7. What happens if I over-compress an image?
Over-compressed images show artifacts, blurriness, color banding, and loss of detail. In extreme cases, the image becomes unusable. Always preview your images before uploading.
8. Can I compress an image without losing any quality?
Yes. Use lossless compression. It reduces file size without removing any data. However, the reduction is limited to 20–50% depending on the image.
9. Does image compression affect SEO?
Yes. Compressed images load faster, which improves Core Web Vitals. Better Core Web Vitals can lead to higher search rankings.
10. How do I know when to stop compressing?
Stop when you see visible artifacts, blurring, or color banding in the preview. If the image looks good, you can still compress a little more. If it looks bad, step back one level.
11. Can I compress animated GIFs?
Yes, but GIF compression is limited. For better results, convert animated GIFs to WebP or MP4, which offer much better compression.
12. Does the original image quality affect compression limits?
Yes. A high-quality original with lots of detail can be compressed more than a low-quality original with compression artifacts already present.
13. Should I compress images before or after resizing?
Before. Resize your image to the dimensions you need, then compress. This gives you the best results.
14. What is the smallest file size I can achieve?
There's no fixed minimum. It depends on the image. Some simple graphics can be compressed to under 10 KB. Complex photos may never go below 100 KB without quality loss.
15. Can I use the same compression settings for all images?
No. Different images have different compression limits. A landscape photo, a product shot, and a logo all need different settings. Test each image individually.
Key Takeaways
- You can compress most images by 60–80% without noticeable quality loss.
- JPEG images compress best with lossy compression at 75–85% quality.
- PNG images are best compressed with lossless methods (20–50% reduction).
- WebP offers the best compression: 25–35% smaller than JPEG with the same quality.
- The maximum compression depends on the image content, format, resolution, and intended use.
- Always resize your image before compressing for the best results.
- Preview every compressed image before uploading to ensure quality.
- Avoid common mistakes like over-compressing, using the wrong format, or ignoring mobile performance.
- Test different compression levels to find the sweet spot for each image.
Next Step: Test Your Own Images and See the Limits
Now it's your turn.
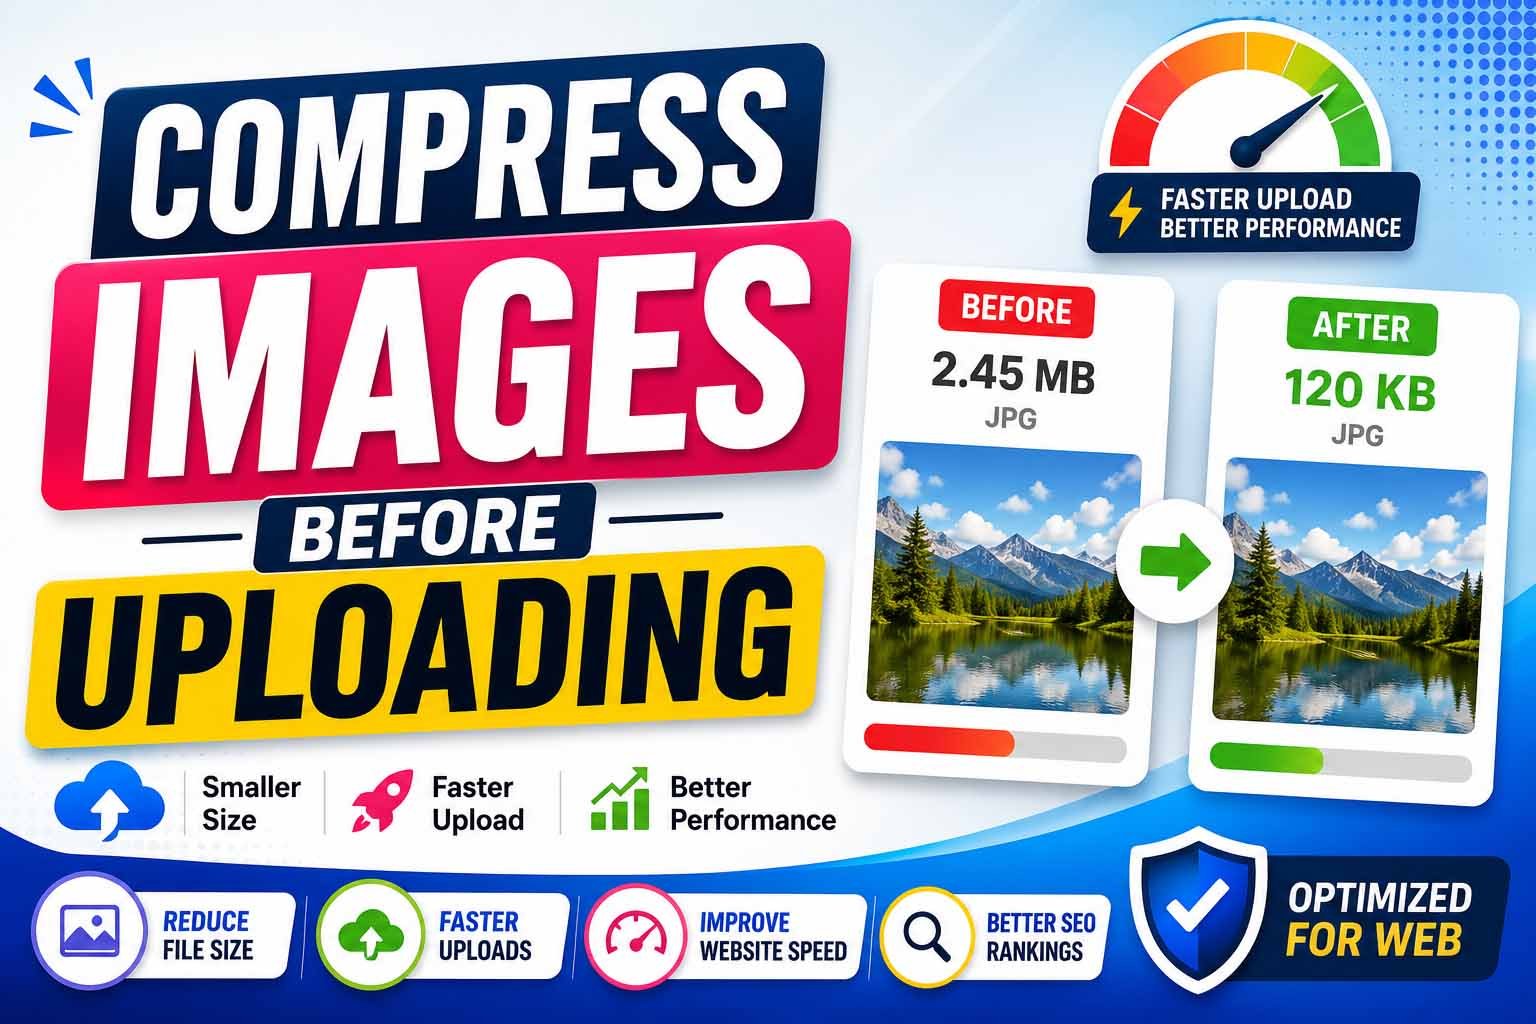
Open the MiniToolsPro Image Compressor right now. Pick an image from your computer. Test different compression levels. See exactly how far you can push it before the quality drops.
Once you know the limits for your specific images, you'll be able to compress every image confidently — knowing you're getting the smallest possible file size with the best possible quality.
Image compression isn't about guessing. It's about testing, observing, and finding the sweet spot. And now you have the tools and knowledge to do it.
Start testing your images today. You'll be surprised at how much you can compress without losing quality.
Ready to test your image limits? Visit the MiniToolsPro Image Compressor and start compressing in seconds.
Resources & References
- Google Developers – WebP – Official WebP documentation.
- MDN – Image file types – Comprehensive image format guide.
- W3C – WebP specification – Official web standards.
- Google Core Web Vitals – Official guide to page speed metrics.
Share this article 👇
0 Comments