
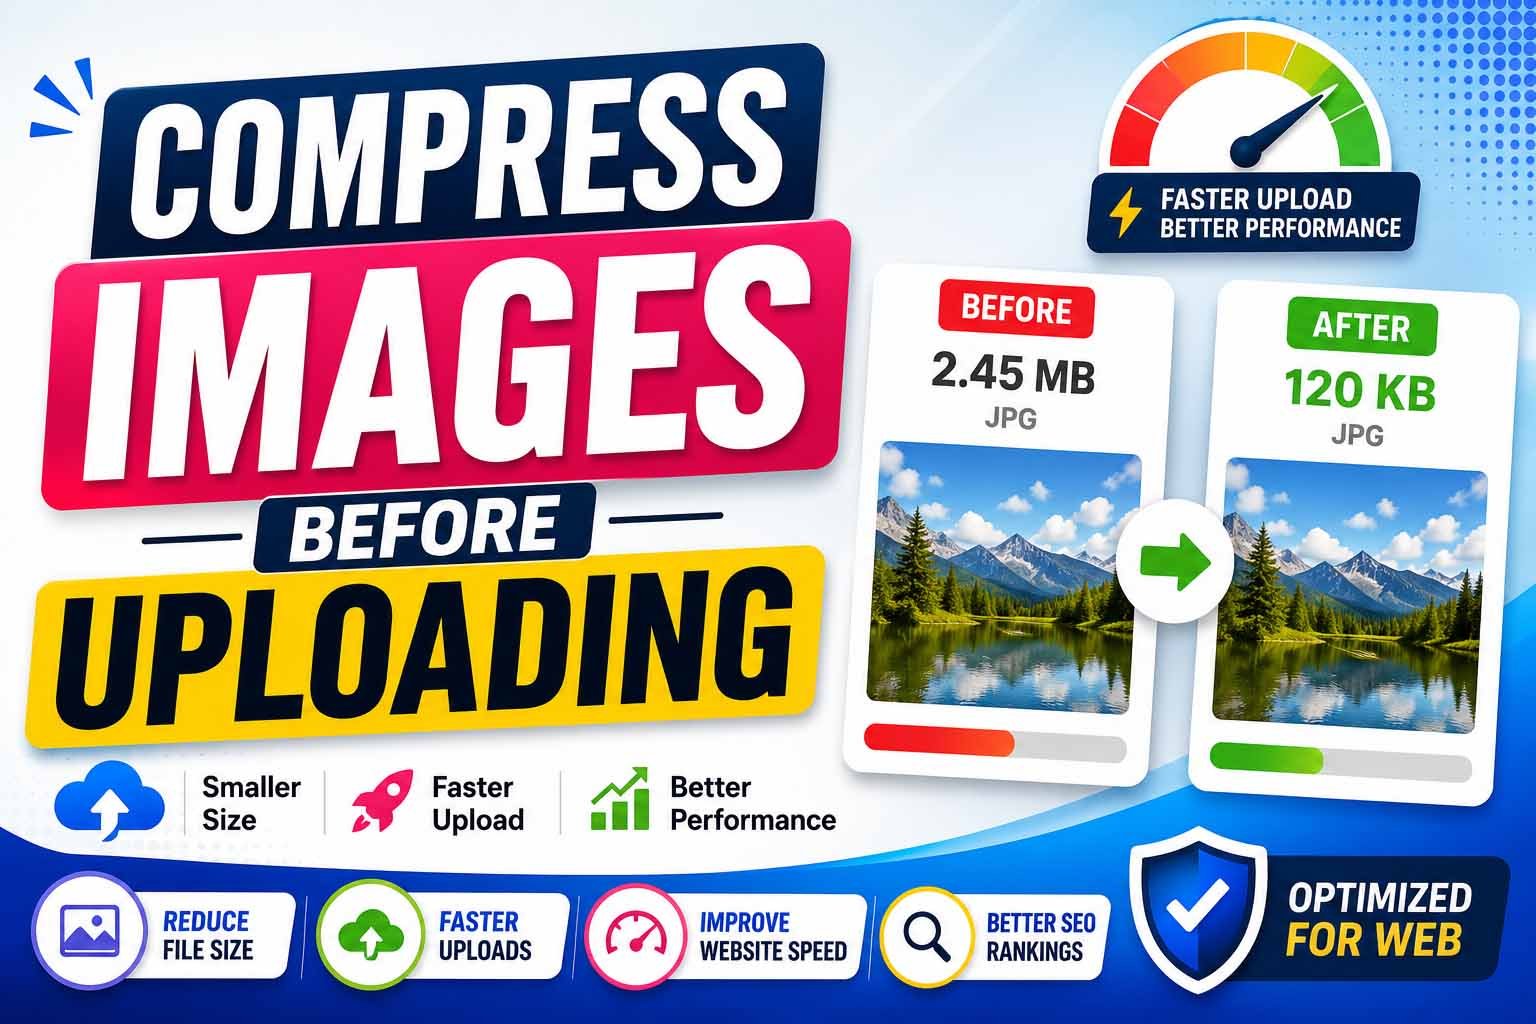
Stop uploading heavy images. Compress them first — and watch your site speed, SEO, and user experience improve instantly.
Here's a scenario that happens every single day.
You take a great photo with your phone. It looks perfect. You upload it to your website, blog, or online store. And suddenly, your page loads like it's stuck in slow motion.
The problem isn't the photo. It's the file size.
Most people upload images straight from their camera or phone. These files are huge — often 3 to 5 MB or more. They're designed for printing, not for the web. And when you upload them without compressing, you're hurting your site's speed, your SEO, and your visitors' experience.
The fix is simple: compress your images before you upload them.
In this guide, you'll learn exactly why compressing images before uploading matters, how to do it step by step, which tools to use, and what mistakes to avoid. By the end, you'll have a repeatable workflow that makes your site faster, your visitors happier, and your rankings better.
We'll also show you how the MiniToolsPro Image Compressor makes this process fast, free, and browser-based — no software installation required.
Table of Contents
Why Compress Images Before Uploading?
Let's start with the most important question: why should you compress images before uploading them, rather than letting your platform handle it?
The answer is simple: control.
When you compress an image before uploading, you decide exactly how much quality to keep and how much file size to save. You get to preview the result. You can adjust if something looks wrong. You are in charge.
When you let a platform or plugin handle it, you're trusting their default settings. Sometimes they work well. Sometimes they over-compress and ruin your images. Sometimes they don't compress enough and your site stays slow.
Here are the key benefits of compressing before uploading:
- Faster page load times – Smaller images load faster. Period.
- Better SEO – Google uses page speed as a ranking factor. Faster pages rank higher.
- Lower bandwidth usage – Smaller files mean less data transferred, which saves hosting costs.
- Improved user experience – Visitors don't wait. They stay, read, and buy.
- Full quality control – You see exactly what your compressed image looks like before anyone else does.
- Works for any platform – Whether you're using WordPress, Shopify, Wix, or a custom site, compressed images work everywhere.
Think of it this way: compressing before uploading is like packing your suitcase before you leave for a trip. You decide what fits. You decide what stays behind. You arrive with exactly what you need — nothing more, nothing less.
What Happens When You Skip Image Compression
If you upload uncompressed images regularly, here's what you're dealing with.
A single 5 MB photo might not seem like a big deal. But multiply that by 10 images per page, and you're asking visitors to download 50 MB of data just to view one page. On a mobile connection, that could take 10–15 seconds.
And here's the reality: most people won't wait that long. They'll leave. Your bounce rate goes up. Your conversions go down.
Beyond speed, there are other consequences:
- Higher hosting costs – Many hosting plans charge based on bandwidth usage. Larger files cost more.
- Poor Core Web Vitals scores – Google measures Largest Contentful Paint (LCP), which is directly affected by image size. Poor scores hurt your rankings.
- Storage limits – If your platform limits storage, uncompressed images fill it up faster.
- Slower backups – Larger files take longer to back up and restore.
- Worse mobile experience – Mobile users on slower networks suffer the most.
The good news? All of this is avoidable with one simple habit: compress before you upload.
The Difference Between Lossy and Lossless Compression
Before you start compressing, it helps to understand the two main types of compression. Each has its purpose.
| Compression Type | What It Does | Best For | File Size Reduction |
|---|---|---|---|
| Lossy | Removes some color data to shrink the file. | Photographs, product images, blog post hero images. | 60–80% smaller than the original. |
| Lossless | Keeps all original data but reorganizes the file structure. | Screenshots, logos, icons, text-heavy graphics. | 20–30% smaller than the original. |
Lossy compression is the default choice for most images on the web. Why? Because it gives you the biggest reduction in file size with almost no visible quality loss when done correctly.
For example, a 4 MB JPEG photo can be compressed to 200 KB using lossy compression. On a screen, the difference is barely noticeable. But the load time difference is dramatic.
Lossless compression is better for images with sharp edges, text, or transparency. If you compress a logo with lossy compression, the edges might become blurry. Lossless keeps those edges crisp and clean.
Here's a simple rule: photos = lossy. Graphics and logos = lossless.
Most online tools, including the MiniToolsPro Image Compressor, let you choose between these two methods or adjust the compression level to find the perfect balance for your needs.
Which Image Formats Should You Compress (and Why)
Not all image formats are created equal. Some compress better than others. Here's a quick guide.
| Format | Best Use Case | Compression Friendly? |
|---|---|---|
| JPEG | Photos, complex images with many colors. | Yes, works very well with lossy compression. |
| PNG | Logos, transparent graphics, screenshots. | Yes, works with lossless compression. |
| WebP | Modern replacement for JPEG and PNG. | Yes, superior compression for both types. |
| GIF | Simple animations. | No, outdated and inefficient for compression. |
| SVG | Vector graphics like icons and logos. | No compression needed — already small. |
JPEG is your default choice for most images. It supports millions of colors and compresses efficiently.
PNG is better for images with transparency, sharp lines, or text. But PNG files are typically larger than JPEGs, so only use them when you need those features.
WebP is a modern format that offers 25–34% smaller file sizes than JPEG and PNG with the same quality. It's supported by all major browsers and is ideal for new websites.
SVG is for vector graphics like logos and icons. These files are tiny and scale infinitely without losing quality. No compression needed.
For most use cases, you'll work with JPEG and PNG. If you want to be more advanced, convert your JPEGs to WebP for even smaller files.
How to Compress Images Before Uploading (Step-by-Step)
Here's a simple, repeatable workflow that works for anyone — whether you're a beginner or a professional.
Step 1: Start with your original image
Take or export your image at the highest available resolution. It's easier to compress a high-quality original than to fix a low-quality one later.
Step 2: Resize to the dimensions you need (optional but recommended)
If you don't need a 4000-pixel-wide image, don't upload it. Resize it first. Most websites use a maximum content width of 800–1200 pixels. Resize your image to that width before compressing.
Step 3: Choose the right format
For photos, use JPEG. For transparent images or graphics, use PNG. For the best performance, use WebP.
Step 4: Open your compression tool
Go to the MiniToolsPro Image Compressor in your browser. It's free, works on any device, and requires no account or installation.
Step 5: Upload and compress
Upload your image. Choose your compression level or method (lossy or lossless). The tool will show you the original size, the new size, and a preview of the compressed image.
Step 6: Check the quality
Look at the preview. Does it look good? If yes, download the compressed image. If no, adjust the compression level slightly and try again.
Step 7: Upload to your platform
Now you're ready. Upload the compressed image to your website, blog, online store, or any other platform. It's optimized, fast, and ready to go.
The entire process takes about 60 seconds per image. Once you make it a habit, it becomes automatic.
How to Resize and Compress Images Together for Best Results
Here's a pro tip that many people miss: resize first, then compress.
Resizing reduces the pixel dimensions of your image. Compression reduces the file size. When you do both, the results are significantly better than doing either one alone.
Here's an example:
| Action | Original File Size | New File Size | Reduction |
|---|---|---|---|
| Original image (4000×3000 px) | 4.2 MB | — | — |
| Resize only (1200×800 px) | 4.2 MB | 1.1 MB | 74% |
| Compress only (lossy 80%) | 4.2 MB | 800 KB | 81% |
| Resize + Compress | 4.2 MB | 180 KB | 96% |
As you can see, combining both steps gives you the smallest file size with the best quality.
Here's how to do it:
- Resize your image to the dimensions you need using an image resizer tool or photo editing software.
- Compress the resized image using the MiniToolsPro Image Compressor.
- Upload the final compressed image to your platform.
This two-step process is the secret to perfectly optimized images.
Best Practices for Compressing Images Before Uploading
Here are the habits that will keep your images fast and your quality high.
Always preview before you download.
Most compression tools, including the MiniToolsPro Image Compressor, offer a preview. Use it. Check the image carefully before you commit to the compressed version.
Start with a moderate compression level.
For JPEG images, start at 75–80% quality. For PNG, use lossless compression first. You can always compress more, but you can't restore lost quality.
Compress every image before uploading.
Make it a rule. No image goes onto your site without being compressed first. This habit alone will dramatically improve your site speed over time.
Keep a copy of your original.
Always save the original high-resolution image somewhere safe. You might need it later for printing, resizing, or different use cases.
Test on different devices.
What looks good on your desktop might not look the same on mobile. After uploading, check your images on a smartphone to ensure they look great at all sizes.
Monitor your page speed.
After compressing and uploading, run a speed test using Google PageSpeed Insights or GTmetrix. If you see improvements, you're on the right track.
Common Mistakes to Avoid When Compressing Images
Even experienced users make these mistakes. Avoid them, and your images will look better and load faster.
Mistake #1: Over-compressing images
Compressing too much destroys image quality. You'll see artifacts, blurriness, and color banding. Always preview your compressed image before using it.
Mistake #2: Uploading images that are too large
Many people upload a 4000-pixel-wide image and rely on their platform to resize it. This wastes bandwidth. Resize your images to the actual dimensions you need before compressing.
Mistake #3: Using the wrong format
Using PNG for a photo or JPEG for a logo is a common error. PNG photos are unnecessarily large. JPEG logos look blurry on edges. Choose the right format for the right content.
Mistake #4: Ignoring mobile users
Your site might load fine on desktop but struggle on mobile. Always test your compressed images on a mobile device to ensure they load quickly and look good.
Mistake #5: Never checking the results
After compressing, check your page speed using tools like Google PageSpeed Insights. If your images are still slowing down your site, you may need to compress further or resize.
Mistake #6: Compressing only once
Your compression needs may change over time. Revisit your images periodically and re-compress if necessary, especially if you update your website's design or theme.
How to Check If Your Images Are Properly Compressed
You can't improve what you don't measure. Here's how to check whether your images are properly compressed.
Use Google PageSpeed Insights
Enter your URL and run the test. Look for "Properly size images" and "Serve images in next-gen formats" warnings. These indicate your images need attention.
Check the file size
Open your image folder or media library. Look at the file size of each image. If you see multiple images over 1 MB, you have room for improvement.
Use browser developer tools
Open your site, right-click on an image, and select Inspect. Go to the Network tab to see the exact file size of each image loaded.
Compare quality visually
Open your original image and your compressed image side by side in different browser tabs. Toggle between them. If you can't tell the difference, the compression is successful.
Measure page load time
Use tools like GTmetrix or Pingdom to measure your page load time before and after compression. A noticeable drop in load time means your compression efforts are paying off.
Frequently Asked Questions
1. What is the best compression level for images?
For JPEG images, start with 70–80% quality. This usually gives a 60–70% reduction in file size with no visible quality loss. Test and adjust from there.
2. Can I compress images without losing quality?
Yes. Lossless compression reduces file size without removing any image data. It won't give you the smallest file size, but the quality remains identical.
3. Should I compress images before or after uploading?
Before. Compressing before uploading gives you full control over quality and file size. You can preview the result and adjust if needed.
4. What is the best image format for web use?
For photos, use JPEG. For graphics, logos, and transparent images, use PNG. For maximum compression, use WebP, which combines the best of both.
5. Does image compression affect SEO?
Yes. Faster loading images improve Core Web Vitals, specifically Largest Contentful Paint (LCP). Better Core Web Vitals can lead to higher search rankings.
6. Can I compress multiple images at once?
Yes. Many tools, including some batch compressors, allow you to compress multiple images at once. The MiniToolsPro Image Compressor handles one image at a time for maximum control.
7. How small should my images be for a website?
Aim for under 200 KB for most images. Hero images may be larger (up to 300 KB), but thumbnails and small graphics should be under 50 KB.
8. What happens if I over-compress an image?
Over-compressed images show visual artifacts, banding, or blurriness. In some cases, they can become unusable. Always preview your compressed images before using them.
9. Do I need to compress images for mobile users?
Yes. Mobile users often have slower connections and smaller screens. Compressed images make your site usable and fast on any device.
10. Can I compress animated GIFs?
Yes, but GIF compression is limited. For animations, consider converting to video or using a more modern format like WebP animation or MP4.
11. How often should I compress images?
Every time you upload a new image. Make compression part of your regular publishing workflow.
12. Is WebP supported on all browsers?
Yes. WebP is supported by all major browsers, including Chrome, Firefox, Edge, and Safari.
13. Can I compress images already uploaded to my website?
Yes. Download the images, compress them using an online tool, and re-upload them. Alternatively, use a plugin if you're using a platform like WordPress.
14. Do I need to resize images before compressing?
It's highly recommended. Resizing reduces the pixel dimensions, and compression reduces the file size. Together, they give you the best results.
15. What is the most common mistake people make?
Uploading images that are too large and over-compressing them without previewing the result. Always resize first, compress second, and preview before downloading.
Related Image Compression Guides
Compressing images before uploading can help reduce storage usage and improve page performance. For a complete overview of image compression, see our Image Compression Guide. If you're preparing images specifically for a website, see our guide to compressing images for WordPress. You can also learn how to reduce image size without losing quality.
Key Takeaways
- Compressing images before uploading gives you full control over quality and file size.
- Lossy compression works best for photos; lossless is better for graphics with sharp edges.
- Choose the right format: JPEG for photos, PNG for graphics, WebP for maximum compression.
- Resize your images to the dimensions you need before compressing for the best results.
- Always preview your compressed images before uploading to ensure quality.
- Avoid common mistakes like over-compressing, using the wrong format, or ignoring mobile performance.
- Test your pages after compression to measure the improvement in load time and Core Web Vitals.
- Make compression a habit — every image, every time.
Next Step: Compress Your First Image Right Now
The best way to learn is to do.
Open the MiniToolsPro Image Compressor right now. Pick one image from your computer. Upload it. Compress it. Preview it. Download it.
Then, upload that compressed version to your website. Check the page speed. You'll likely see an immediate improvement.
Once you see the difference, you'll never upload an uncompressed image again.
Image compression isn't complicated. It's a simple habit that pays off with faster pages, better user experience, and improved search rankings.
Start compressing your images today. Your visitors — and your page speed score — will thank you.
Ready to compress your first image? Visit the MiniToolsPro Image Compressor and get started in seconds.
Resources & References
- Google PageSpeed Insights – Measure your page speed.
- Google Developers – WebP – Official WebP documentation.
- MDN – Image file types – Comprehensive image format guide.
- Google Core Web Vitals – Official guide to page speed metrics.
- GTmetrix – Performance testing tool.
- Pingdom – Page speed testing tool.
Share this article 👇


0 Comments