
Table of Contents
Image compression vs resizing
Image compression and resizing solve different problems, and confusing them leads to blurry photos, unnecessarily large files, or both. Compression reduces file size by removing or reorganizing data without changing the visible dimensions. Resizing changes the actual pixel dimensions of an image. Both can reduce file size, but they do it through completely different mechanisms.
Here's the practical takeaway: use resizing when your image is physically too large for its display space. Use compression when the dimensions are fine but the file size is too heavy. This article explains exactly how each process works, when to use which, and where people commonly go wrong.
What Is Image Compression?
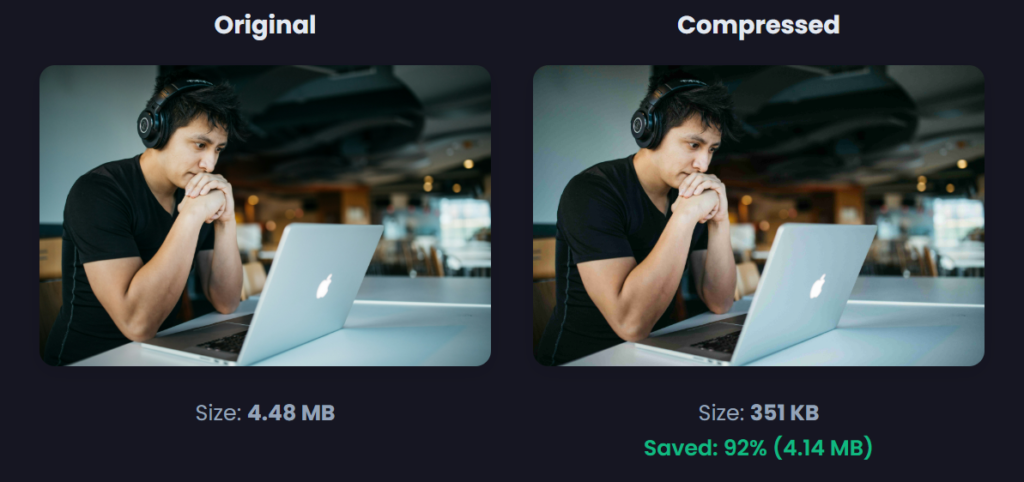
Image compression reduces the file size of an image by encoding the visual data more efficiently. It doesn't change the image's width or height in pixels. A compressed 2000×1500 image is still 2000×1500. It just takes up less storage space.
Compression works in two main ways:
Lossy compression permanently removes some visual data to achieve smaller file sizes. JPEG is the most common lossy format. When you compress a JPEG aggressively, fine details, subtle color gradients, and texture may degrade. The trade-off is much smaller files — often 70% to 90% smaller than uncompressed originals.
Lossless compression reorganizes data without discarding any visual information. PNG uses lossless compression. The image quality remains identical to the original, but file sizes are typically larger than lossy formats. Lossless works best for graphics, logos, screenshots, and images with text or sharp edges.
The key distinction: compression targets file size, not dimensions. The image looks the same size on screen, but the file is lighter.
What Is Image Resizing?
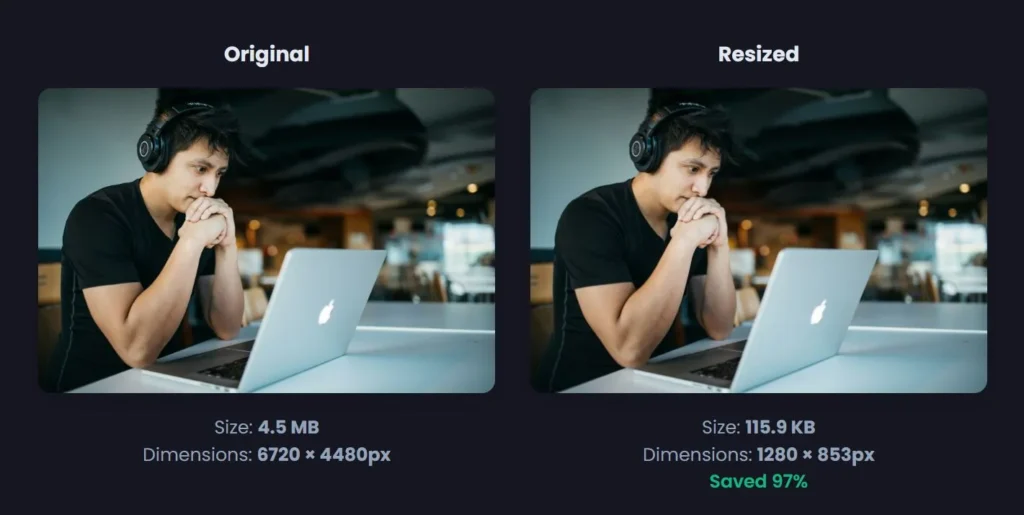
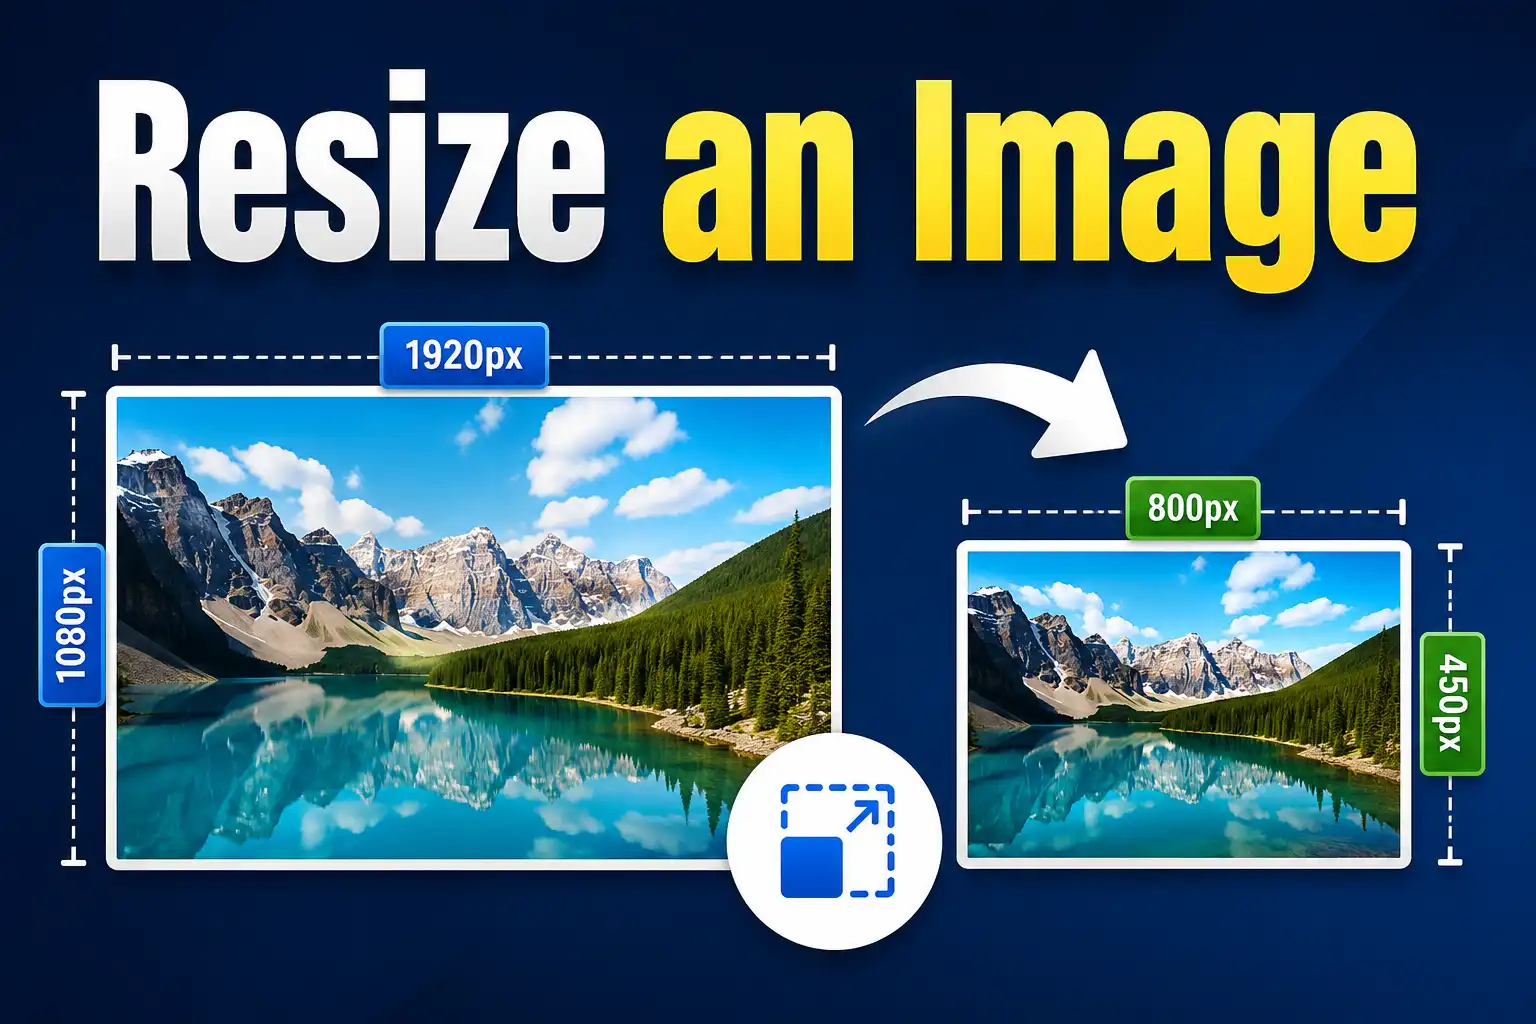
Image resizing changes the actual dimensions of an image, measured in pixels. A 4000×3000 image resized to 1200×900 contains fewer pixels and therefore less data. The file size naturally drops because there's less information to store.
Resizing is irreversible in the downward direction. If you resize a large image to a smaller size and discard the original, you can't recover the missing pixels. Upscaling a small image to a larger size doesn't restore detail either — it just stretches existing pixels, usually resulting in a blurry or pixelated image.
Resizing is fundamentally about display dimensions. It answers the question: "How large does this image actually need to be?" If a blog post displays images at 800 pixels wide, a 4000-pixel-wide source image is overkill.
Image Compressor vs Resizing: The Core Difference
The core difference is what changes. Compression changes how efficiently visual data is stored. Resizing changes how many pixels exist.
A compressed image has the same dimensions but a smaller file. A resized image has different dimensions, which usually results in a smaller file as a byproduct. That's why people confuse them: both can make a file smaller. But the underlying operation is different, and so are the visual results.
You can also combine both processes. A typical workflow for web optimization starts with resizing an image to the maximum display dimensions needed, then compressing the resized version to strip out unnecessary data. The two techniques complement each other.
How Compression Actually Works
To understand compression, it helps to know what happens inside a lossy format like JPEG.
JPEG compression breaks an image into blocks of pixels, then applies mathematical transformations to represent those blocks with fewer bits. It also discards high-frequency detail that the human eye perceives less clearly — subtle shifts in color, fine texture, minor luminance variations. The compression level you choose determines how aggressively this data is removed.
Low compression keeps most visual data and produces a larger file. High compression removes more data and produces a smaller file, but artifacts appear: blurring, blockiness, ringing around edges, and color banding in gradients.
Lossless compression works differently. Formats like PNG identify repeated patterns in pixel data and store those patterns more efficiently. No visual information is discarded. This is why lossless compression works well for flat graphics and poorly for photographs: photographs contain too much unique pixel variation to compress efficiently without losing data.
How Resizing Actually Works
Resizing involves resampling. When you shrink an image, the software examines the original pixels and calculates new pixel values for the smaller grid. Different resampling algorithms — nearest neighbor, bilinear, bicubic, Lanczos — produce slightly different results in terms of sharpness and smoothness.
Bicubic and Lanczos interpolation generally produce smoother, higher-quality results when downscaling. Nearest neighbor is faster but produces jagged edges and is rarely appropriate for photographs. Most online resizing tools handle the algorithm selection automatically, so you don't need to think about it unless you're working in professional photo editing software.
When you upscale an image, the software invents new pixels based on the surrounding area. It can't create detail that wasn't captured originally. The result is always softer than a native high-resolution image. This is why starting with the largest version possible is so important.
When to Use Compression
Compression is the right choice when:
- The image dimensions are already appropriate for the display size.
- You need to reduce file size without changing the visible dimensions.
- You're preparing photos for a website and want to preserve reasonable quality.
- You're emailing images and need to stay under attachment limits.
- You're storing large image libraries and want to save space.
For website images, compression is almost always necessary. Even after resizing an image to the correct dimensions, an uncompressed or minimally compressed version often remains unnecessarily large. Compression strips the remaining redundant data.
Use the MiniToolsPro image compressor when your image dimensions are correct but the file size is still too heavy. It's the right tool for reducing kilobytes or megabytes without altering the pixel dimensions.
When to Use Resizing
Resizing is the right choice when:
- The image is larger than the space where it will be displayed.
- You're uploading a photo from a modern smartphone or camera, which often produces images 4000 pixels wide or more.
- You need a specific pixel dimension for a platform, template, or design requirement.
- You're creating thumbnails or smaller versions of an image.
- You want to reduce file size by reducing the actual amount of visual data.
A common scenario: a website owner uploads a product photo directly from their phone. The image is 4032×3024 pixels. The website displays product images at 800×800. The owner's file is enormous — not because it's inefficiently compressed, but because it contains far more pixels than necessary. Compression alone would help, but resizing first gets much better results.
Use the MiniToolsPro image resizer when you need to change the pixel dimensions of an image to match a specific display size or platform requirement.
Does Resizing Reduce Quality?
Downscaling an image — making it smaller — generally preserves visual quality well. In fact, downscaling often makes images look sharper because fine details are consolidated into fewer pixels. The loss of information is real, but it's usually not noticeable at normal viewing distances.
Upscaling is a different story. Enlarging a small image makes it softer, blurrier, or pixelated. No resizing tool can add detail that wasn't captured in the original. The only exception is AI-powered upscaling, which uses machine learning models to synthesize plausible detail. Those tools have improved significantly but still can't fully replace a genuine high-resolution original.
The important rule: always keep a copy of your original high-resolution image. If you downscale and save over the original, you've permanently lost the extra pixels.
Does Compression Reduce Quality?
Lossy compression does reduce quality, though the amount depends on the compression level and the image content. At moderate compression settings, the quality loss is often imperceptible to the human eye, especially for photographs viewed on screens. At aggressive settings, artifacts become visible.
Lossless compression doesn't reduce quality at all. The compressed image is pixel-identical to the original. The trade-off is that lossless files are larger than lossy files would be.
One important detail: repeated lossy compression compounds quality loss. Each time you open a JPEG, edit it, and re-save it with lossy compression, you lose a little more detail. That's another reason to keep an original uncompressed or losslessly compressed master file.
A Practical Workflow: Resize First, Then Compress
For most web and email use cases, the most effective workflow is to resize first, then compress.
Here's a realistic example. You have a photo from your phone that's 4032×3024 pixels and 4.8 MB. You want to use it in a blog post where images display at 1200 pixels wide. Here's what happens:
- Resize the image to 1200×900 pixels. The file drops to roughly 900 KB just from removing the extra pixels.
- Compress the resized image at a moderate setting. The file drops to around 200–300 KB.
The final image is 4–5% of the original file size, displays crisply at the intended size, and loads significantly faster. You used both tools for different purposes.
If you only compressed the original 4032-pixel image, you might get it down to 1.5 MB — much better than 4.8 MB, but still far larger than necessary. If you only resized it, the 900 KB result would still be heavier than the compressed version.
Common Mistakes to Avoid
Compressing when you should resize
People often reach for a compressor when their image is simply too large dimensionally. The result: a heavily compressed file that still contains more pixels than needed and still weighs more than a properly resized version. Compression can't fix a dimension problem.
Resizing when you should compress
If your image dimensions are correct but the file size is still large, shrinking the image further will make it display smaller or look soft on high-resolution screens. This is a compression problem, not a resizing problem.
Over-compressing lossy images
Aggressive JPEG compression produces visible artifacts. For product photos, portraits, and detailed graphics, the quality loss can undermine trust and professionalism. Moderate compression is usually the right balance.
Saving over the original file
Whether you're compressing or resizing, keep the original. Resizing down and saving over the original destroys pixels. Compressing with lossy settings and saving over the original locks in quality loss.
Using lossless formats for photographs
PNG is lossless and excellent for graphics, but it produces enormous files for photographs. A photo saved as PNG can easily be 5–10 times larger than a visually identical JPEG. Use lossy formats for photos and lossless formats for graphics, logos, and screenshots.
Image Compressor vs Resizing: Side-by-Side Comparison
| Factor | Image Compression | Image Resizing |
|---|---|---|
| Primary target | File size | Pixel dimensions |
| Changes pixel count? | No | Yes |
| Changes visible dimensions? | No | Yes |
| Reduces file size? | Yes | Usually, as a byproduct |
| Affects visual quality? | Lossy: yes, at high levels Lossless: no | Downscaling: minimal Upscaling: noticeable |
| Reversible? | Lossless: yes Lossy: no | No (unless original retained) |
| Best for | Reducing file size at fixed dimensions | Matching image to display size |
How to Choose the Right Tool
Ask yourself two questions before deciding:
Is the image larger in pixels than it needs to be? If yes, resize it first. This is almost always true for images coming from modern cameras and smartphones when the destination is a website, social media profile, or email attachment.
Is the file still too large after resizing? If yes, compress it. At this point, compression will make a meaningful difference without requiring you to sacrifice display dimensions.
If the dimensions are already correct and the file is still heavy, skip resizing and go straight to compression.
For the compression step, use the MiniToolsPro image compressor. For the resizing step, the MiniToolsPro image resizer handles dimension changes cleanly.
Frequently Asked Questions
Does resizing an image reduce file size?
Yes. When you reduce pixel dimensions, the image contains less data, so the file size drops. The reduction isn't always proportional, but it's usually substantial.
Does compressing an image change its dimensions?
No. Compression only changes how the visual data is stored. The width and height in pixels remain the same.
Which is better for web images: compression or resizing?
Both. The ideal workflow is to resize images to the maximum display dimensions your website uses, then compress the resized images to remove redundant data. Neither technique alone produces the smallest possible file at optimal quality.
Can I resize and compress the same image?
Yes, and you usually should for web use. Resize to the correct dimensions first, then compress to reduce file size further while maintaining those dimensions.
Why does my image still look blurry after resizing?
If you upscaled a small image, blurriness is expected because the software is inventing pixels that weren't in the original. If you downscaled and the result is blurry, the source image may have been low quality, or aggressive compression was applied after resizing.
Is lossless compression always better?
Not necessarily. Lossless compression preserves quality perfectly but produces larger files than lossy compression. For photographs on the web, moderate lossy compression usually offers a better balance of quality and file size.
Putting Both Tools to Work
You now know the difference: compression targets file size, resizing targets pixel dimensions. Most image optimization problems require both steps in sequence. Resize to the dimensions you actually need, then compress the result until the file size meets your target without visible quality loss.
When you're ready to optimize your images, resize them with MiniToolsPro's image resizer first, then compress the resized files with the image compressor. The two tools work together, and using them in the right order produces dramatically better results than choosing one approach alone.
Share this article 👇
0 Comments