
Table of Contents
Image Quality After Conversion
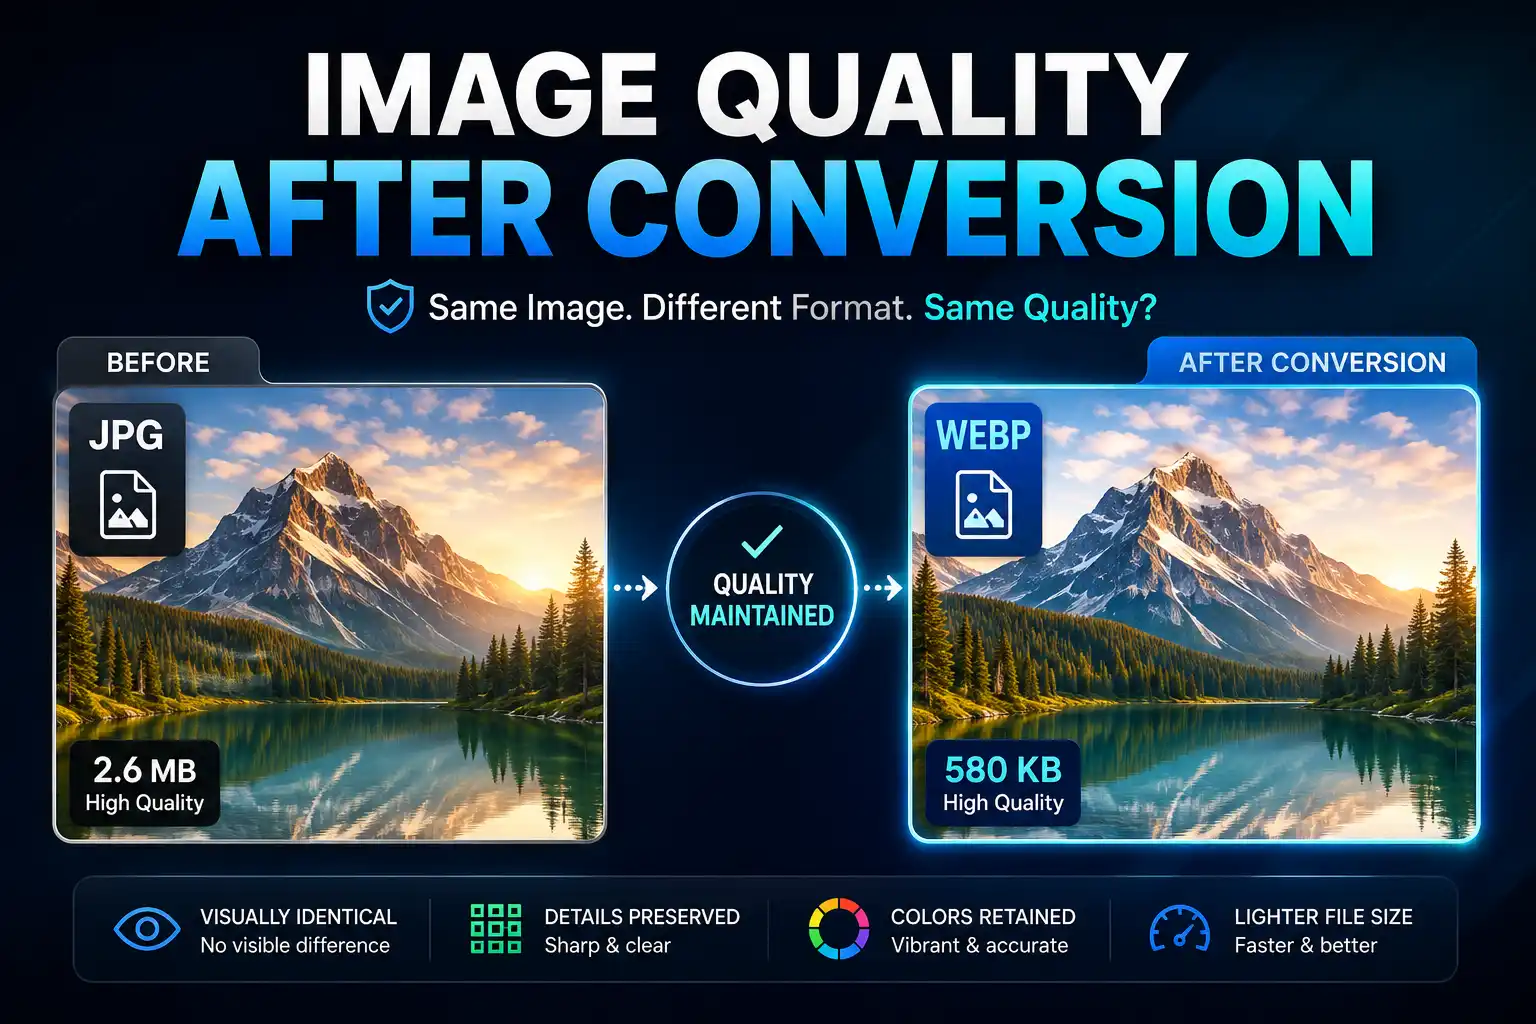
You converted an image from one format to another, and now it looks different. Maybe it's slightly blurry, has strange artifacts around edges, or the colors seem off. This is a common frustration, and it happens for specific, understandable reasons.
The short answer is that most image formats use lossy compression, which permanently removes some image data to reduce file size. When you convert between formats, the image is decoded and re-encoded, and that process can introduce new quality loss—especially if the destination format uses lossy compression.
This article explains exactly why quality changes during conversion, which conversions are riskiest, and how to preserve quality using proper settings and format choices. If you need to convert images, the MiniToolsPro image converter gives you control over the process.
The Short Answer: Lossy Compression
Lossy compression is the primary reason image quality changes after conversion. Formats like JPG and standard WebP use lossy compression to achieve small file sizes. They work by discarding image data that is considered less visible to human eyes—subtle color variations, fine textures, and high-frequency details.
When you convert an image to a lossy format, the compression algorithm analyzes the image and permanently removes data. The result is a smaller file, but the removed data cannot be recovered. If the image was already compressed lossily before conversion, the new compression compounds the quality loss.
Lossless formats like PNG and lossless WebP do not discard data. Converting between lossless formats preserves quality exactly. The problem occurs when lossy compression is involved in either the source or destination format.
How Image Conversion Works
Decoding and Re-encoding
Image conversion is not a simple file rename. The converter must decode the source image into raw pixel data, then encode that data into the destination format. This decode-re-encode process is where quality changes occur.
If the source format used lossy compression, the decoder reconstructs an approximation of the original image—not the exact original. The encoder then applies the destination format's compression to this already-lossy reconstruction. Any imperfections in the source become part of the new image.
What Happens to Image Data
During lossy compression, the encoder makes decisions about which data to keep and which to discard. It analyzes the image in blocks and removes high-frequency details that are less noticeable. At higher compression levels, more data is removed and quality degrades further.
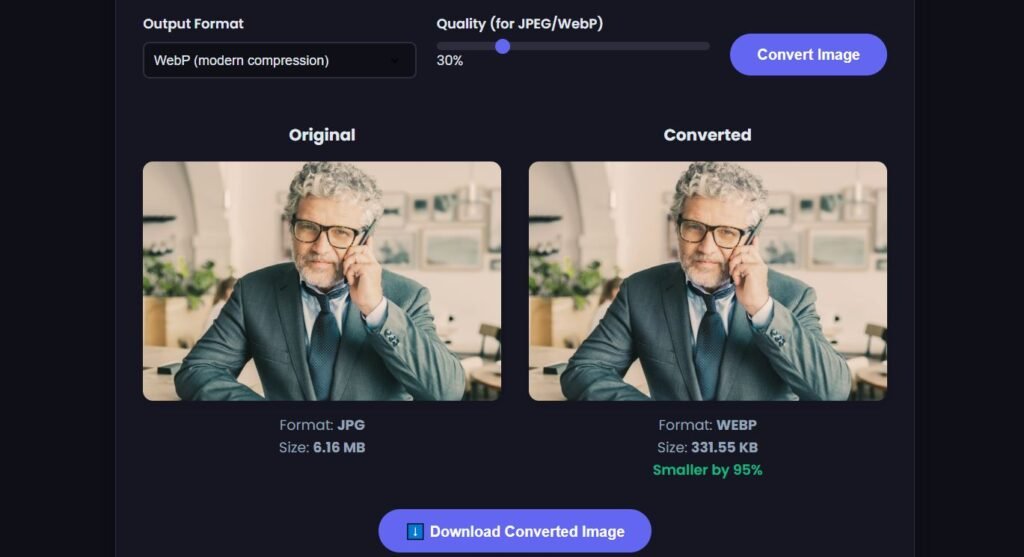
The destination format's compression algorithm may differ from the source format's algorithm. WebP's compression is more efficient than JPG's, meaning it can achieve similar quality with less data. However, converting a JPG to WebP still involves re-compressing an already-lossy image, which can introduce new artifacts.
Which Conversions Cause Quality Loss?
Not all conversions affect quality equally. The risk depends on the compression types of the source and destination formats.
Lossless to Lossy (PNG to JPG)
Lossy to Lossy (JPG to WebP)
Lossless to Lossless (PNG to Lossless WebP)
Lossy to Lossless (JPG to PNG)
Why Repeated Conversion Makes Quality Worse
Every time an image passes through lossy compression, it loses more detail. This cumulative degradation is called generation loss. The first conversion removes some data. The second conversion starts with an already-degraded image and removes more. Each generation is worse than the last.
This is why you should always convert from the original source image when possible. If you have a high-quality PNG original, converting it to JPG produces better results than converting a JPG that was itself converted from the PNG. Keep your original files and work from them for every conversion.
Repeated conversion is especially problematic with aggressive compression settings. A JPG compressed at 50% quality, then converted to WebP at 50% quality, will show visible artifacts that neither format would produce on its own at those settings.
Common Quality Problems After Conversion
Blurriness and Loss of Detail
Lossy compression removes fine details that human eyes perceive as sharpness. After conversion, edges may appear softer, textures may look smoothed over, and fine patterns may disappear. This is most noticeable in images with text, intricate details, or high-frequency patterns like hair and foliage.
Compression Artifacts
Compression artifacts are visible distortions created by lossy compression. Blocky areas, ringing around edges, and color banding in gradients are common artifacts. JPG artifacts often appear as 8x8 pixel blocks, while WebP artifacts may appear as smoothed or smeared regions.
Color Changes
Color shifts during conversion can occur due to differences in how formats handle color spaces and profiles. Some formats may strip or alter embedded color profiles, causing colors to appear differently than intended. This is more common with specialized formats and less of an issue with standard web formats.
Transparency Loss
Converting a transparent PNG to JPG always results in transparency loss because JPG does not support transparency. Transparent areas become filled with a solid color—usually white or black. This is a format limitation, not a compression issue, but it's one of the most common surprises after conversion.
How to Preserve Quality During Conversion
Preserving quality during conversion requires the right format choices and settings. Here are the key strategies:
Convert from the original source whenever possible. Your original images have the most detail. Every lossy conversion from the original produces better results than converting from an already-compressed copy.
Choose the right destination format for your needs. Use lossless formats like PNG or lossless WebP when quality cannot be compromised. Use lossy formats like JPG or WebP for photographs where some quality loss is acceptable.
Use high quality settings when converting to lossy formats. Quality settings of 80-90% for JPG and 80-95% for WebP typically produce visually lossless results for most images while still achieving significant file size reduction.
Avoid repeated conversions between lossy formats. Each conversion compounds quality loss. If you need to convert an image multiple times, start from the original each time rather than converting the converted file.
Use lossless modes when available. WebP and AVIF support both lossy and lossless modes. If quality preservation is critical, choose the lossless mode even though the file will be larger.
Quick Decision Guide: How to Minimize Quality Loss
The right approach depends on your source image and what you need to accomplish.
If you need to convert images while preserving as much quality as possible, the MiniToolsPro image converter gives you control over format selection and quality settings for every conversion.
If your images have already suffered quality loss from repeated conversions and look soft or pixelated, you may want to upscale your image online to improve clarity and recover some visual sharpness.
Related Image Conversion Guides
Image quality after conversion depends on the original format, destination format, compression settings, and whether the conversion introduces additional loss. For practical examples, see our guides to PNG to JPG, JPG to WebP, and WebP to JPG. You can also compare formats in our JPG vs PNG vs WebP guide or explore the complete Image Converter Guide.
Frequently Asked Questions
Why does my image look worse after converting from JPG to PNG?
Converting JPG to PNG does not improve quality. The JPG compression artifacts are permanently embedded in the image data. PNG preserves those artifacts exactly, producing a larger file that looks identical to the original JPG. The quality was already lost when the JPG was created.
Can I convert images without any quality loss?
Yes, if you use lossless formats for both source and destination. Converting PNG to lossless WebP, or lossless WebP to PNG, preserves quality exactly. Converting any format to PNG also preserves the current quality level, though it does not restore quality that was previously lost.
Does converting JPG to WebP reduce quality?
It can, but the impact is usually minimal if you use appropriate quality settings. WebP's more efficient compression means that quality settings of 80-90% often produce visually identical results while significantly reducing file size. However, the image is still re-compressed, which can introduce subtle new artifacts.
How many times can I convert an image before quality becomes noticeably worse?
There's no fixed number, but quality degradation compounds with each lossy conversion. Two or three lossy conversions at moderate quality settings may show no visible difference. After five or more conversions, artifacts typically become noticeable. Always convert from the original source when possible.
Why did my transparent PNG lose transparency after converting to JPG?
JPG does not support transparency. When you convert a transparent PNG to JPG, the transparent areas are filled with a solid color—usually white or black. This is a format limitation, not a quality setting issue. Use PNG or WebP to preserve transparency.
What quality setting should I use when converting to JPG or WebP?
For most purposes, quality settings of 80-90% for JPG and 80-95% for WebP produce visually lossless results. Higher settings preserve more detail but produce larger files. Lower settings save space but introduce visible artifacts. Start high and reduce only if file size is a critical concern.
Can I recover quality that was lost during a previous conversion?
No. Lossy compression permanently removes image data. Once quality is lost, it cannot be recovered from the compressed file. The only solution is to go back to the original uncompressed image. Image upscaling tools can improve perceived sharpness, but they cannot restore lost detail.
Share this article 👇


0 Comments