
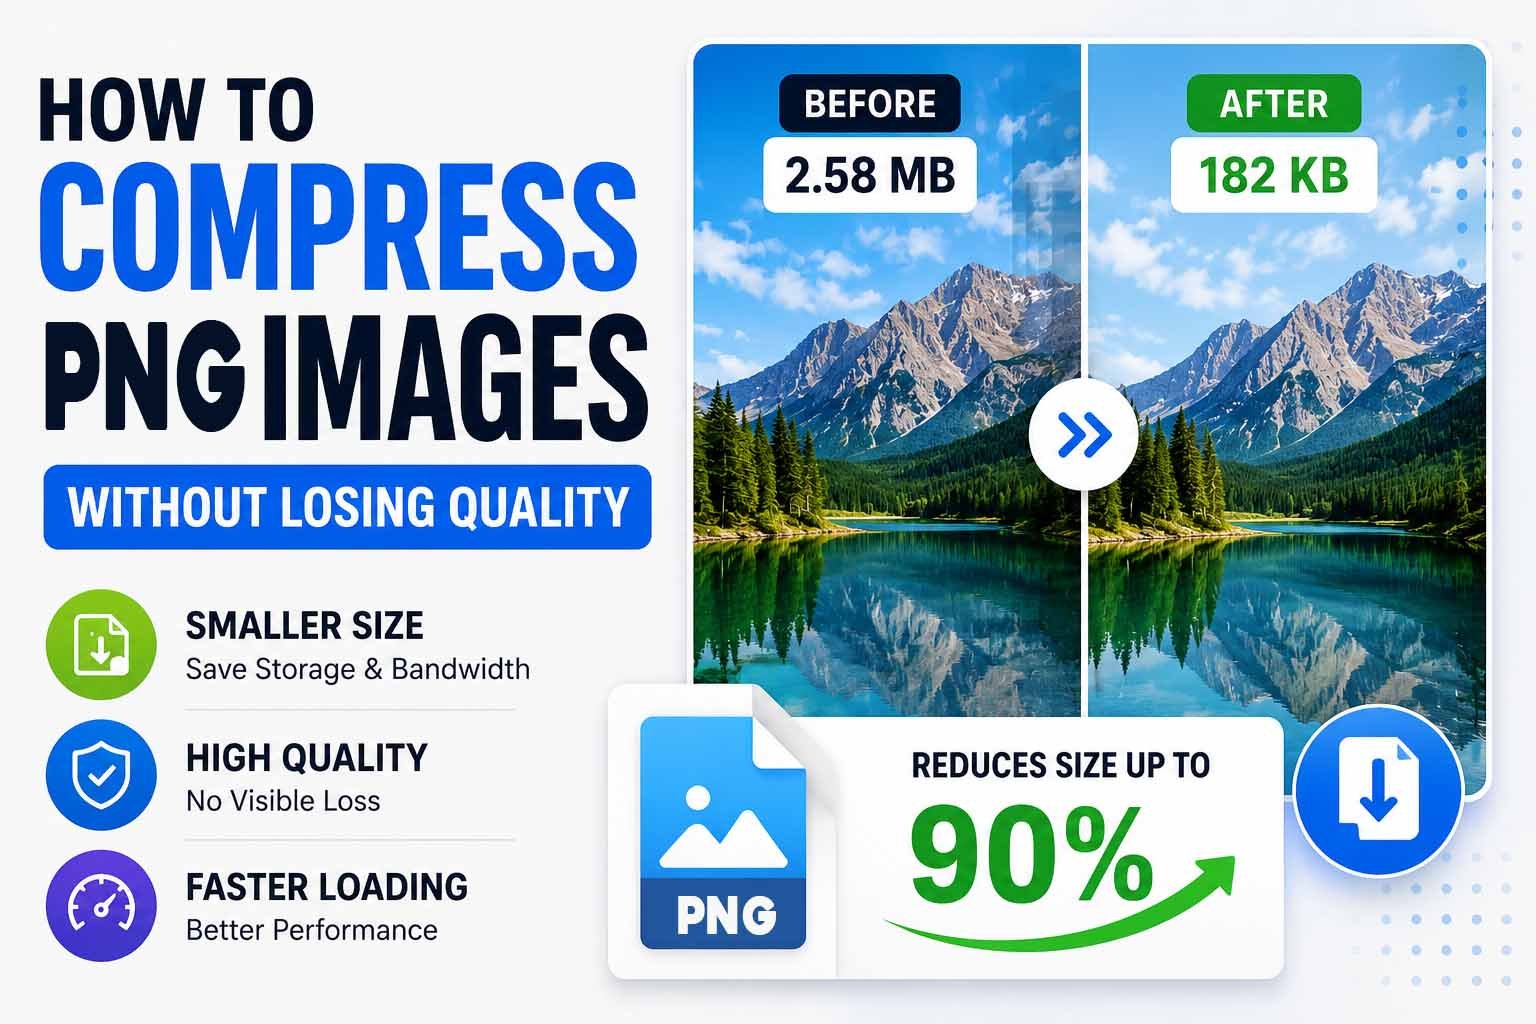
PNG files are everywhere. They're the standard for logos, icons, screenshots, and any image that needs a transparent background or crisp text. The problem? PNG files can be large. Really large.
If you've ever waited for a website to load, only to watch a hero image slowly render line by line, you've felt the impact of uncompressed PNGs. Slow load times hurt user experience, increase bounce rates, and can tank your search rankings.
Table of Contents
This guide explains exactly what PNG compression is, how it works, and—most importantly—how to compress your PNG files effectively. You'll learn the difference between lossy and lossless compression, why filtering matters, and which tools actually work. By the end, you'll have everything you need to shrink PNG file sizes while keeping the quality your projects demand.
Need to compress a PNG right now? Try the MiniToolsPro Image Compressor for fast, free compression directly in your browser.
What Is PNG Compression?
PNG compression is the process of reducing a PNG file's size without ruining its visual quality. PNG (Portable Network Graphics) uses lossless compression, which means the original image data can be perfectly reconstructed from the compressed version.
Think of it like this: when you compress a PNG, you're not throwing away pixels. You're finding smarter ways to store the same information.
A typical PNG from a digital camera or screenshot might be 5–10 MB. With proper compression, that same image could be 1–2 MB—or even smaller—while looking identical to the original.
PNG was created as a patent-free replacement for GIF. Its compression engine is based on the Deflate algorithm, the same technology used in ZIP files. This makes PNG particularly good at handling images with large areas of uniform color, sharp edges, and text.
Lossless vs. Lossy Compression: What's the Difference?
Understanding the difference between lossless and lossy compression is the foundation of PNG optimization.
Lossless Compression (PNG)
Lossless compression reduces file size by removing redundant data without discarding any visual information. When you open a losslessly compressed PNG, the image reconstructs to exactly the same pixels as the original.
Best for:
- Logos and icons with sharp edges
- Screenshots with text
- Graphics with transparency
- Images that need to be edited later
- Any situation where pixel-perfect accuracy matters
Lossy Compression (JPEG, WebP)
Lossy compression reduces file size by permanently discarding some image data—usually details the human eye is less likely to notice. This creates much smaller files but can result in artifacts, blurring, or banding in gradients.
Best for:
- Photographs with millions of colors
- Images where file size is the top priority
- Hero images and backgrounds
- Situations where slight quality loss is acceptable
Quick Comparison Table
| Feature | Lossless (PNG) | Lossy (JPEG) |
|---|---|---|
| Quality retention | Perfect | Degrades with compression |
| File size | Larger | Much smaller |
| Transparency support | Yes | No |
| Best use case | Graphics, text, logos | Photographs |
| Editability | Full (lossless) | Limited |
| Compression artifacts | None | Visible at high compression |
The trade-off: PNG gives you perfect quality at a larger size. JPEG gives you small files at the cost of visual fidelity.
How PNG Compression Actually Works
Understanding the mechanics helps you make better choices when compressing. PNG compression happens in two distinct stages.
Step 1: Filtering
Before compression, the PNG encoder applies a filter to each row of pixels. The filter predicts the value of each pixel based on its neighbors (left, above, or both). The encoder then stores the difference between the predicted value and the actual value.
Why does this help? If the prediction is accurate, the difference is small—and small numbers compress much more efficiently. PNG offers five filter types:
- Type 0 (None): No filtering. Good for images with random pixels.
- Type 1 (Sub): Predicts based on the pixel to the left. Best for horizontal gradients.
- Type 2 (Up): Predicts based on the pixel above. Best for vertical gradients.
- Type 3 (Average): Uses the average of left and above. Good for general use.
- Type 4 (Paeth): Uses a sophisticated prediction. Often the best choice for photographs and complex images.
Modern PNG optimizers like pngcrush and optipng automatically test different filter combinations to find the smallest result.
Step 2: Deflate Compression
After filtering, the data passes through the Deflate compression algorithm. Deflate works by replacing repeated patterns with shorter references. It combines:
- LZ77 matching: Finds and replaces repeated sequences of bytes with pointers to previous occurrences.
- Huffman coding: Replaces frequently used symbols with shorter bit codes and less common symbols with longer codes.
This two-stage process makes PNG highly efficient for images with repetition—like solid backgrounds, logos, and diagrams.
Why Compressing PNG Files Matters
File size isn't just about disk space. It affects nearly every aspect of how users experience your content.
Page Load Speed
Google's Core Web Vitals explicitly measure how fast your content loads. Large PNG files are one of the biggest culprits for slow Largest Contentful Paint (LCP) times. Research shows that reducing image file sizes is the most impactful single change you can make for page speed.
Even a 1-second delay in load time can reduce conversions by 7% and customer satisfaction by 16%.
Bandwidth Costs
Every visitor downloads your images. If your PNG is 5 MB and you get 10,000 visitors, that's 50 GB of bandwidth. Smaller files mean lower hosting costs and faster mobile performance, especially for users on limited data plans.
Search Engine Rankings
Google includes page speed as a ranking factor. Faster pages rank higher. Compressing your PNG files is one of the most straightforward ways to improve your Core Web Vitals scores and organic search performance.
User Retention
Users leave slow websites. If your hero image takes too long to appear, you lose the visitor before they even see your content. Compressed PNGs load faster, look just as good, and keep people on your site.
How to Compress PNG Files Without Losing Quality
Here are four reliable methods to compress PNGs, from the simplest to the most technical.
Method 1: Use an Online PNG Compressor
Online tools are the easiest way to compress PNGs. No software to install, no command line to learn—just upload and download.
The MiniToolsPro Image Compressor is a great option because it:
- Compresses PNGs and JPEGs in seconds
- Preserves quality while reducing file size by up to 70%
- Works entirely in your browser—no uploads to a server, keeping your files private
- Supports batch uploads for compressing multiple images at once
- Has no file size limits (unlike many free compressors)
Here's how to use it:
- Go to MiniToolsPro Image Compressor
- Drag and drop your PNG files or click to upload
- Wait a few seconds while the tool compresses each image
- Download your compressed files individually or as a zip
When to use: Best for most users—quick, private, and effective without any setup.
Method 2: Desktop Tools for PNG Optimization
Desktop software offers more control and handles larger batches without uploading files.
TinyPNG (Desktop app)
TinyPNG is the desktop version of the popular web tool. It supports PNG and JPEG compression with smart lossy compression that minimizes visual impact. The desktop app works offline and handles batch processing efficiently.
ImageOptim (Mac)
ImageOptim is a free, open-source tool that combines multiple compression tools (including pngcrush, optipng, and zopflipng). Drag your PNGs into the window, and ImageOptim runs all optimizers to get the smallest possible file.
PNGGauntlet (Windows)
PNGGauntlet uses pngcrush, optipng, and deflopt to squeeze every byte from your PNGs. It includes a simple Windows interface and supports batch processing.
When to use: Great for frequent compression work or when you need to optimize very large image libraries.
Method 3: Command-Line Tools for Advanced Users
Command-line tools offer maximum control and can be integrated into build processes.
pngcrush
The standard PNG optimizer. It tries different filters and compression settings to find the smallest output. Basic usage:
pngcrush -brute input.png output.pngThe -brute flag tests every possible combination of filters and compression settings. It takes longer but yields the smallest files.
optipng
Another powerful optimizer focused on lossless compression. It tests various compression levels and filters:
optipng -o7 input.pngLevel 7 runs the highest compression, which takes longer but produces the smallest files.
zopflipng
Google's PNG optimization tool based on the Zopfli compression algorithm. It produces files 3–8% smaller than standard Deflate, at the cost of much slower compression speed:
zopflipng -m input.png output.pngWhen to use: Excellent for developers, build processes, and anyone comfortable with the command line.
Method 4: Automate with Plugins
For WordPress websites, plugins automate compression for every image you upload.
Popular options include:
- ShortPixel: Compresses PNGs and JPEGs on upload with configurable settings
- Imagify: Offers three compression levels (normal, aggressive, ultra)
- EWWW Image Optimizer: Uses server-side tools like optipng and pngcrush
- Smush: Popular free option with bulk compression and lazy loading
These plugins usually connect to cloud APIs or use local server tools to optimize images automatically. Many support WebP conversion as well.
When to use: Essential for WordPress sites; handles compression in the background without manual work.
Advanced PNG Optimization Tips
These techniques squeeze even more size from your PNGs.
Reduce Color Depth
PNG-24 supports up to 16.7 million colors—overkill for most graphics. PNG-8 uses a palette of up to 256 colors, which dramatically reduces file size.
For logos, icons, and simple graphics, PNG-8 often looks identical to PNG-24 but takes up 50–80% less space. Use a tool that supports indexed color conversion.
Example: A 1.2 MB logo compressed to PNG-8 might shrink to 180 KB with no visible difference.
Remove Unused Metadata
PNG files often contain EXIF data, color profiles, and other metadata that adds to file size. Stripping this data can save a significant amount for large image libraries.
Tip: On macOS, right-click a PNG and select "Get Info" to check for metadata. Tools like ImageOptim remove this automatically.
Optimize Transparency
PNG transparency stores alpha channel data for every pixel, which adds to file size. For images with simple transparency (solid cutouts rather than soft edges), saving as a PNG-8 with 1-bit alpha (fully transparent or fully opaque) reduces file size while preserving transparency.
Use a Lossy PNG Compressor for Photos
If you must use PNG for photographic images (perhaps because you need transparency), consider a lossy PNG compressor like pngquant. It reduces the color palette with dithering to maintain perceived quality while significantly shrinking file size.
Result: A 5 MB photographic PNG can shrink to under 800 KB with careful lossy compression.
PNG vs. JPEG vs. WebP: Which Format Should You Use?
Choosing the right format is often more important than compression settings. Here's a side-by-side comparison:
| Format | Compression Type | Transparency | Best For | Typical File Size |
|---|---|---|---|---|
| PNG | Lossless | Yes | Logos, text, diagrams, screenshots | Larger |
| JPEG | Lossy | No | Photographs, gradients, complex images | Small |
| WebP | Both (lossy/lossless) | Yes | Modern web use—ideally as a PNG replacement | Smallest |
When to Use PNG
- Images with sharp edges or text
- Logos with transparency
- Screenshots and UI elements
- Any graphic requiring pixel-perfect preservation
- Images that will be edited repeatedly
When to Use JPEG
- Photographs with millions of colors
- Images without text or transparency
- Cases where file size matters more than absolute quality
- Backgrounds and hero images
When to Use WebP
WebP is becoming the standard for modern web because it supports both lossy and lossless compression with transparency. It typically produces files 25–35% smaller than PNG.
The pragmatic approach: Use PNG for UI elements and graphics, WebP where possible for the web, and JPEG for photographs.
When Should You Convert PNG to WebP?
WebP is a strong alternative to PNG because it supports lossless compression, transparency, and animation while producing much smaller file sizes. However, WebP still has slightly less browser support than PNG (Edge and Internet Explorer, though soon obsolete, are notable gaps). For most modern websites, converting PNG to WebP is a smart optimization.
You can convert PNG to WebP using the MiniToolsPro Image Converter for fast, free conversions.
Common PNG Compression Mistakes to Avoid
1. Over-Compressing Lossy PNGs
Lossy PNG compression (using tools like pngquant) is powerful but can introduce artifacts if pushed too far. Always check the output visually—banding in gradients and pixelated edges are signs you've compressed too aggressively.
Better approach: Use lossy compression on photographs but stick with lossless for logos and text.
2. Saving Photographs as PNG
JPEG is purpose-built for photographs. Saving a photo as PNG adds extra file size without any quality benefit. If you need transparency with a photographic subject, consider WebP or a carefully compressed PNG.
3. Ignoring Dimensions
Compressing doesn't change dimensions. If your image is 4000 x 3000 pixels but displays at 800 x 600, you're wasting bandwidth. Use the MiniToolsPro Image Resizer to reduce dimensions before compressing.
4. Skipping Batch Compression
Compressing images one by one is tedious. Most tools support batch processing—use it. The MiniToolsPro Image Compressor supports batch uploads, saving significant time.
5. Forgetting to Check Output
Always verify the compressed file. Open it at 100% zoom and compare it with the original. Check edges, text, and gradients for artifacts.
Frequently Asked Questions
Does PNG compression reduce quality?
Lossless PNG compression does not reduce quality at all—the image reconstructs to exactly the same pixels as the original. Lossy PNG compression (sometimes used by tools like pngquant) can reduce quality but is optional.
How much can PNG compression reduce file size?
File size reduction varies widely based on the image. Simple graphics with solid colors might compress 70–80%, while complex images might only shrink 10–20%. For most PNGs, expect 30–60% reduction with lossless compression.
Is PNG lossless or lossy?
PNG supports both lossless and lossy compression. The original PNG specification is strictly lossless, but tools like pngquant add lossy compression options. In practice, "PNG compression" usually refers to lossless compression.
How do I compress a PNG without losing transparency?
Lossless PNG compression preserves transparency without any loss. Even lossy PNG compression tools like pngquant maintain transparency while reducing the color palette.
Can I compress PNGs on my phone?
Yes. Apps like Image Size (iOS) and Compress Image (Android) provide on-the-go PNG compression. Many online tools also work on mobile browsers.
Does Instagram compress PNGs?
Yes. Instagram compresses all uploaded images to JPEG format and reduces quality significantly. The platform is designed for photographs, not high-quality PNG graphics.
How do I compress PNGs in bulk?
Use a tool that supports batch processing. The MiniToolsPro Image Compressor allows multiple uploads, and desktop tools like ImageOptim and PNGGauntlet handle large batches efficiently.
What's the difference between PNG-8 and PNG-24?
PNG-8 uses an indexed palette of up to 256 colors, producing much smaller files. PNG-24 supports 16.7 million colors for photographic quality. Use PNG-8 for simple graphics and PNG-24 for complex images.
Should I compress PNGs for web use?
Absolutely. Compressed PNGs load faster, improve Core Web Vitals, reduce bandwidth costs, and provide a better user experience—all with no quality loss if you use lossless compression.
Is WebP better than PNG?
WebP typically produces smaller files than PNG for comparable quality and supports transparency. However, PNG has slightly broader browser support. For most modern use cases, WebP is the better choice when available.
Can I edit a compressed PNG?
Yes, you can edit a losslessly compressed PNG just like the original. Lossy PNG compression may reduce editability slightly due to color quantization, but you can still edit the file.
Related Image Compression Guides
PNG compression is particularly useful when you need to reduce file size while preserving the characteristics that make PNG useful, such as transparency and lossless image data. For a broader comparison, see our JPEG vs PNG File Size guide and our Best Image Compression Formats guide. For general compression techniques, visit our Image Compression Guide.
Key Takeaways
- Lossless PNG compression preserves quality perfectly while reducing file size
- Filtering and Deflate compression are the two stages of PNG optimization
- Smaller PNGs mean faster load times, better SEO, and lower bandwidth costs
- Online tools offer the easiest compression for most users
- Desktop and command-line tools provide more control for advanced needs
- PNG-8, metadata removal, and dimension resizing further reduce file sizes
- Choose PNG for text, logos, and graphics—JPEG for photos
- WebP is increasingly the best choice for modern web use
Summary
PNG compression is one of the most effective ways to improve website performance without sacrificing quality. By understanding how PNG compression works—from filtering to Deflate compression—you can choose the right tools and settings for your needs.
Whether you use an online tool like the MiniToolsPro Image Compressor, a desktop app like ImageOptim, or a command-line tool like pngcrush, the key is to compress your PNGs before publishing them online.
Your next step: Go through your images and compress them. Start with the largest files—they'll give you the most impact. Use this guide to choose the right approach for your workflow and never upload an uncompressed PNG again.
Other tools you might find useful:
- Image Converter – Convert PNG to WebP, JPEG, or other formats
- Image Resizer – Reduce dimensions before compression
- Image Cropper – Focus on key areas before saving
- PNG to JPG – Convert when JPEG is the better choice
- PDF Compressor – For PDF document optimization
Share this article 👇


0 Comments